Download these free winter DnD battlemaps & be ready to play in minutes! Many come with system-agnostic adventures written just for them. Perfect for VTTs.
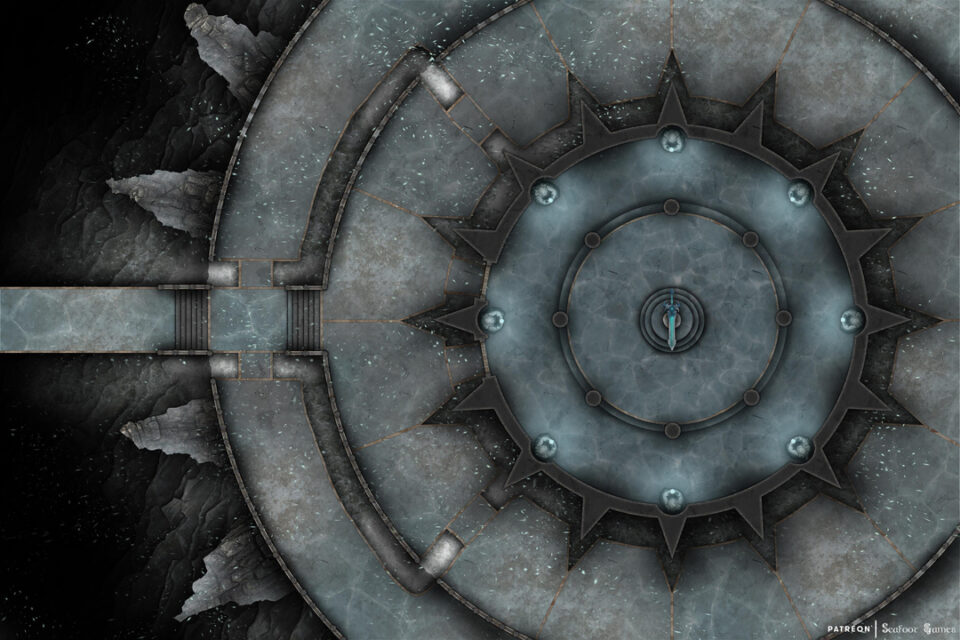
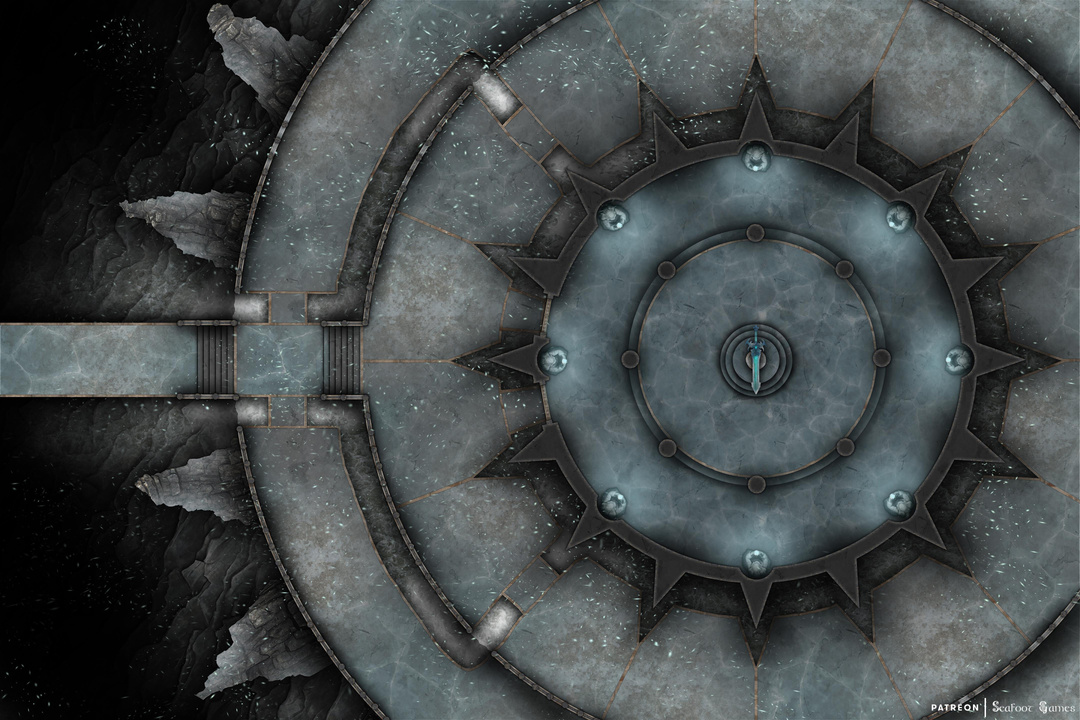
Step into the chilling halls of the Lich King’s Temple, a free 60×40 battlemap designed for epic encounters in your favorite tabletop RPGs like Dungeons & Dragons, Pathfinder, and other virtual tabletops (VTTs). This detailed map features a vast circular chamber of stone and ice, complete with jagged walls, shadowy recesses, and a foreboding central dais topped with an icy greatsword. Perfect for boss battles, undead rituals, or final confrontations against a lich or necromancer.
Whether you’re running an undead-themed campaign, staging a high-stakes dungeon crawl, or setting up the ultimate showdown with a dark overlord, this battlemap provides the perfect atmospheric backdrop. Its 60×40 grid size offers plenty of room for tactical combat, while the design’s eerie symmetry and frozen details immerse players in a truly ominous environment.
Free download. Perfect for any game night.
Grid free JPEG optimized for VTTs like Roll20, Foundry VTT, and Fantasy Grounds. They’re less than 5MB so should work on a free Roll20 account.
High-resolution for crisp detail at most zoom levels.
Ideal for boss fights, lich lairs, or undead encounters.
Bring your players face-to-face with the ultimate evil and make your next session unforgettable with the Lich King’s Temple Free 60×40 Battlemap. Want this map FoundryVTT ready with walls, lighting, sound, ect. already added, or formatted for easy to-scale printing? You can grab it from our Patreon if you sign up! Your support helps Luke and I keep making maps like this.
If you would enjoy more DnD battlemaps like this but don’t like subscriptions like Patreon, try my bestselling and 5-star reviewed (here and on DriveThruRPG) Quarantine Bundle of 520+ FoundryVTT ready maps with walls, lighting, sounds and animations already added (plus easy to follow instructions to import them, fast!).
The bundle’s maps are also ready for easy to-scale printing, plus fully indexed into categories by theme (like forest, city, pirate, dwarven, ect.) so unlike most other huge bundles they’re actually easy to find for your sessions.
AND, all of my maps are painted with level design in mind, so your murder hobos have to stop and think tactically and creatively during encounters (something AI can’t manage yet). I have years of experience running TTRPGs and each map layout takes a lot of thought regarding how the combat and session will flow.
So why not try my Quarantine Bundle for $39? If you don’t love it I’ll give you a full refund within 30 days of purchase, just shoot me an email—it really is that simple 🙂
How would time travel work in your campaign? Does the very act of going back jump your players into a parallel timeline, meaning the future your players came from still exists somewhere else? Or would you keep it as the same timeline, and anything your players do could stop their own births from coming about if they’re not careful? Let me know in the comments below! As always, keep scrolling for the one-shot adventure written for this Frozen Alien Machine free TTRPG battlemap! ⬇
While traveling through a large, rough-looking city inhabited by surly-looking peasants and lavish nobles with private guards, you see a poster with an urgent bounty on it. It’s not hard to miss–there are plenty of them, all over the city, and the reward is HIGH. The original price has been crossed out a few times, and replaced with larger sums every revision.
The wanted man is a prisoner who escaped from the city’s jail, named Oswald the Artificer. The poster has a linework print of a thin man with his long hair drawn back in a ponytail, and a tattoo across one eye. The poster warns that though the man appears somewhat weedy, he is known to be cunning and incredibly dangerous—hence the high reward. Those interested in taking on the job are urged to speak with the jail’s warden, Old Ben.
Should you go and speak with Old Ben, he’s located in an office at the top of a high tower which overlooks the jail. He thanks you warmly for inquiring about the contract, and explains that almost no other bounty hunters have come forward–most likely due to the underworld’s influence, as Oswald the Artificer had a lot of friends. The warden doesn’t have any guards to spare in this near-lawless town, and of those bounty hunters who did apply for the job, he’s since lost contact with them and fears they may have been killed. He needs you to know that if you take this job you must hurry, for time is short.
Old Ben explains that the escaped prisoner, while not a mage, specializes in strange and ancient artifacts. He sold those skills to the underworld, and eventually ended up working as part of an elite thieving crew. The underworld has strong sway here in this city, unfortunately, and eventually he was involved in an attempted coup of the royal family here. Thankfully he was betrayed, and apprehended by the law–but the right people must have been bribed, because instead of being executed Oswald was sentenced to lifetime imprisonment.
He kept Oswald in isolated confinement, fearing he’d get something or other smuggled in which he’d use to escape. Unfortunately, that’s exactly what ended up happening–only, the corruption here is so deep that it was one of his own guards who gave Oswald the device, despite being in isolation.
The warden pulls out a map while explaining that his guards interrogated the traitor and learned that Oswald is likely traveling to a location marked on the map with a red X. The warden says that there’s supposedly an ancient artifact there of some sort. Powerful, and unlike anything you’ve ever seen. Old Ben is worried that the escaped prisoner is going to use the artifact to somehow finish what was started with the coup, to prove he wasn’t the betrayer and be accepted in his old thieving crew again.
Old Ben rolls up the map and gives it to you, saying that–due to his tattoo–Oswald is a highly identifiable man. He’s on the run, and will be taking a roundabout way to the location, and likely on foot. It’s been more than a week since he escaped, but if you take some good horses the guards are willing to lend you, you should be able to intercept him in time.
If you accept the job, Ben writes you a letter to take to the guards at the stables outside the prison’s gate, so you might borrow a fast horse. While handing it to you, he looks around quickly and lowers his voice. He tells you softly that he’ll pay you extra if you bring Oswald back dead. It’s highly irregular, he says, but the underworld in this city has far too much sway, and you can bet if he is apprehended again he won’t be trialed fairly. He doesn’t see any way the man won’t end up escaping again and start causing more trouble.
You’ll find the large, muscular warhorse Old Ben is lending you at the stables just outside the entrance to the jail. He is a fiery, gray stallion with a scarred hide. While there, one of the guards gives you a pouch of stimulant seeds to feed the horse, so that it will not tire—but they warn you not to stop feeding them to it until you’ve caught your prisoner, as the horse might well collapse for several days afterwards if you push it too hard.
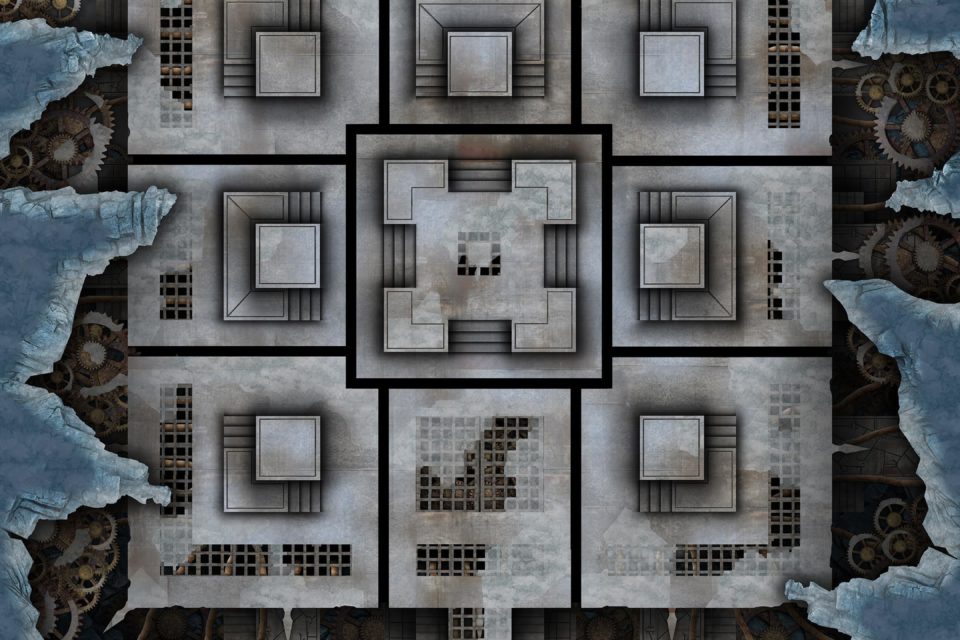
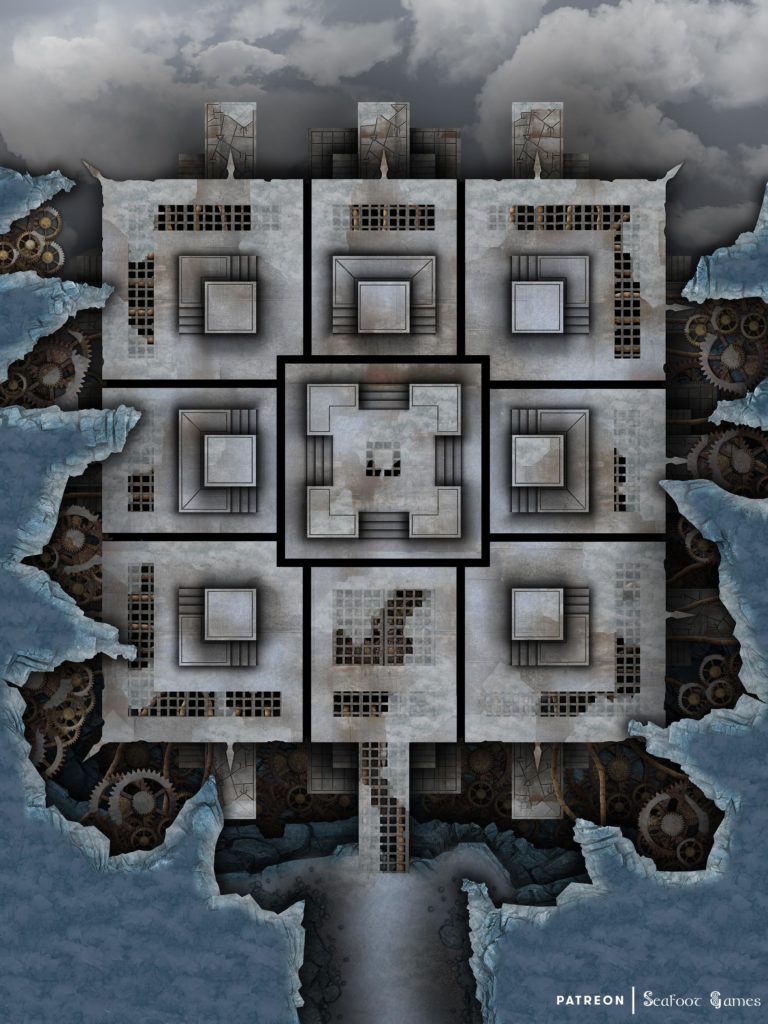
The journey to the place marked on the map takes just under two weeks. The roads wind through towns up steep mountains, until eventually you go through a thin, frozen gully between two mountain peaks. The other side opens up to wide, open space and eventually drops off to a cliff. Much of the floor consists of a giant, metal cube, whilst rusted metal gears wait frozen around its edges.
However, at the center of the cube, standing on a dais, is Oswald the Artificer. When he sees you, he growls that Ben finally got some rats to do his dirty work. In-between pressing a number of different buttons on the machine, he throws something at you that skitters across the metal ground. It’s a small, jade turtle which suddenly turns into a giant, living–and very angry–alligator snapping turtle.
The creature attacks you immediately, trails of glowing green smoke coming from its eyes and nose. But if you’re on the huge metal cube while Oswald finishes clicking his buttons, you’ll feel a sickening sensation and suddenly you’ll no longer be on a glacier overlooking a cliff, but a similar cube structure that’s overgrown in a hot jungle. Water runs over its mossy surface, and Oswald will curse loudly.
Should you manage to defeat the giant turtle, it disappears with a pop as shattering jade pieces scatter across the ground. Oswald cries out in despair, saying “No, Snappy!” before grumbling and fumbling on the buttons even faster.
The sickening feeling comes over you again, and suddenly the air is supercharged–almost too hard to breathe. Spiked rocks surround you as heat radiates from lines of magma which run along a clean metal cube, while the metal cogs around it tick and shudder loudly. Large, metal golems turn and look at you angrily from where they were previously standing guard on the cube, and attack all life forms; yelling warnings of “Intruder! Alert! Alert!”
Over the next minute Oswald will desperately teleport everyone on the cube again (unfortunately including the golems), and you’ll arrive on a version of the cube that’s flying in a crimson sky. Violent winds whip around you, while red lightning streaks past angrily.
There’s another giant cube passing close above you, and a hoard of ragged looking people jump off it with angry yells. They land on your cube, attacking any remaining golems as well as anything else living on it.
Oswald will throw up a flying orb which shoots little streaks of light, fending off his attackers but not doing much damage.
When there are only a few enemies left, the sickening sensation will come over you once more and you’ll be on a broken cube, floating in a sea of green stars, amidst the nothingness. Any surviving people from the red cube in the sky will freeze in confusion for a few moments, before deciding it’s some kind of trick and continuing the fight.
Should you manage to defeat them and get to Oswald, he’ll draw a small shank and try his best to defend himself. It takes a lot for him to surrender, and it is only when captured or near death that he holds up his hands and yells “wait, wait!”.
He tells you that only he knows the coordinates to get you back to your plane of existence, and to get them you need to let him go! If you say that you can’t let him kill the royal family, he’ll look at you in confusion before saying that they’re not the royal family, he is. He’s the only one of the true royal bloodline left, and the people who sit on the throne of the city slaughtered his family when he was a child. He escaped, and when they found him later those New Royals sold him into slavery in distant lands, and his masters branded this tattoo over his eye.
It took him years to escape, and years more to journey back to his homeland. When he did, he was welcomed by his people, and formed a rebellion. They’re called criminals by the nobles, but that’s because all the nobles who were truly loyal to the royal family were executed alongside his family!
If you ask him why you should believe him, he’ll sputter and grow quiet, thinking. Then he’ll snap his fingers, saying that the warden must have told you about the guard who helped him escape! She knew he was of the old bloodline, which is why she helped him. He formed bonds with his people, you see, and they know him and care for him. Not like the New Royals, who have stepped on the peasants since the day they seized power.
The man tells you that, if used correctly, this device will allow him to travel back in time and stop his attempted coup from failing–but it only has enough charge to do it once.
If you ask why he doesn’t just go back in time to stop his family from being slaughtered to begin with, he’ll shake his head and say that it would be going back too far, it’s too risky and could change too much. All he’s comfortable doing is going back and stopping the man who betrayed him from doing so, so that the coup may succeed. You seem like a good person–in truth, if you let him go, the codes will be of little value to you as you won’t remember any of this, because none of this will have happened if he succeeds. But you will have his gratitude, and–perhaps–knowledge in your souls that you have done the right thing.
Should you let him go, he thanks you emphatically, before dialing in another sequence in the machine. There is a hum, and a flash of light, and suddenly you are traveling through a large city which appears to be undergoing some kind of celebration. Should you stop and ask any of the cheerful peasant’s what’s going on, they’ll say that a despot has finally been overthrown and their corrupt followers are being put to execution. There are posters all over the city showing a thin man with a tattoo over an eye, with flags behind him and the slogan “Long Live the Revolution”.
GM’s Notes:
Should your players take Oswald back alive, the warden Old Ben will grumble that they didn’t do their job properly and try to kill him himself. If he succeeds, his guards will turn a blind eye to the murder, and everyone will believe that your players killed Oswald as he didn’t allow himself to be brought in alive.
If your players bring Oswald back dead, Old Ben will be relieved and pay them an incredibly high sum. Some might consider it a bribe to keep quiet and leave the town without causing a fuss…
If you’d enjoy way more maps like this free TTRPG battlemap of this Frozen Alien Machine, Luke and I have just released our newest bundle of 420 large, 40×30″ battlemaps (double the size of those in the Quarantine Bundle) for $59.99. It’s your chance to have a great deal on some of our most beautiful maps! We guarantee that is something here for every GM—no matter what setting you prefer, from large cities to underwater seascapes.
Paying just $59.99 rather than full price saves you over 97%! Take a look at all the extra maps you can download with one click here.
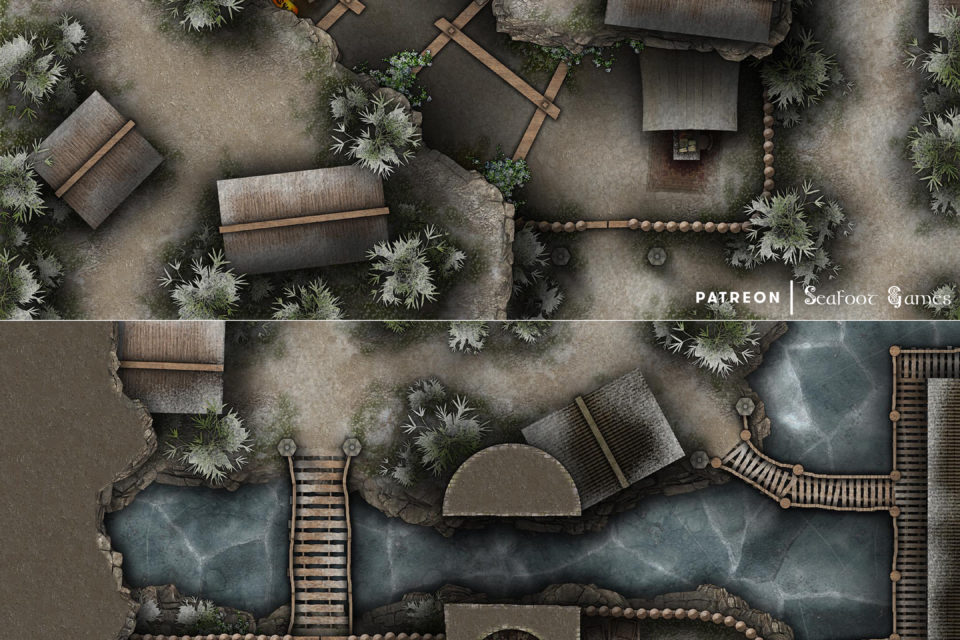
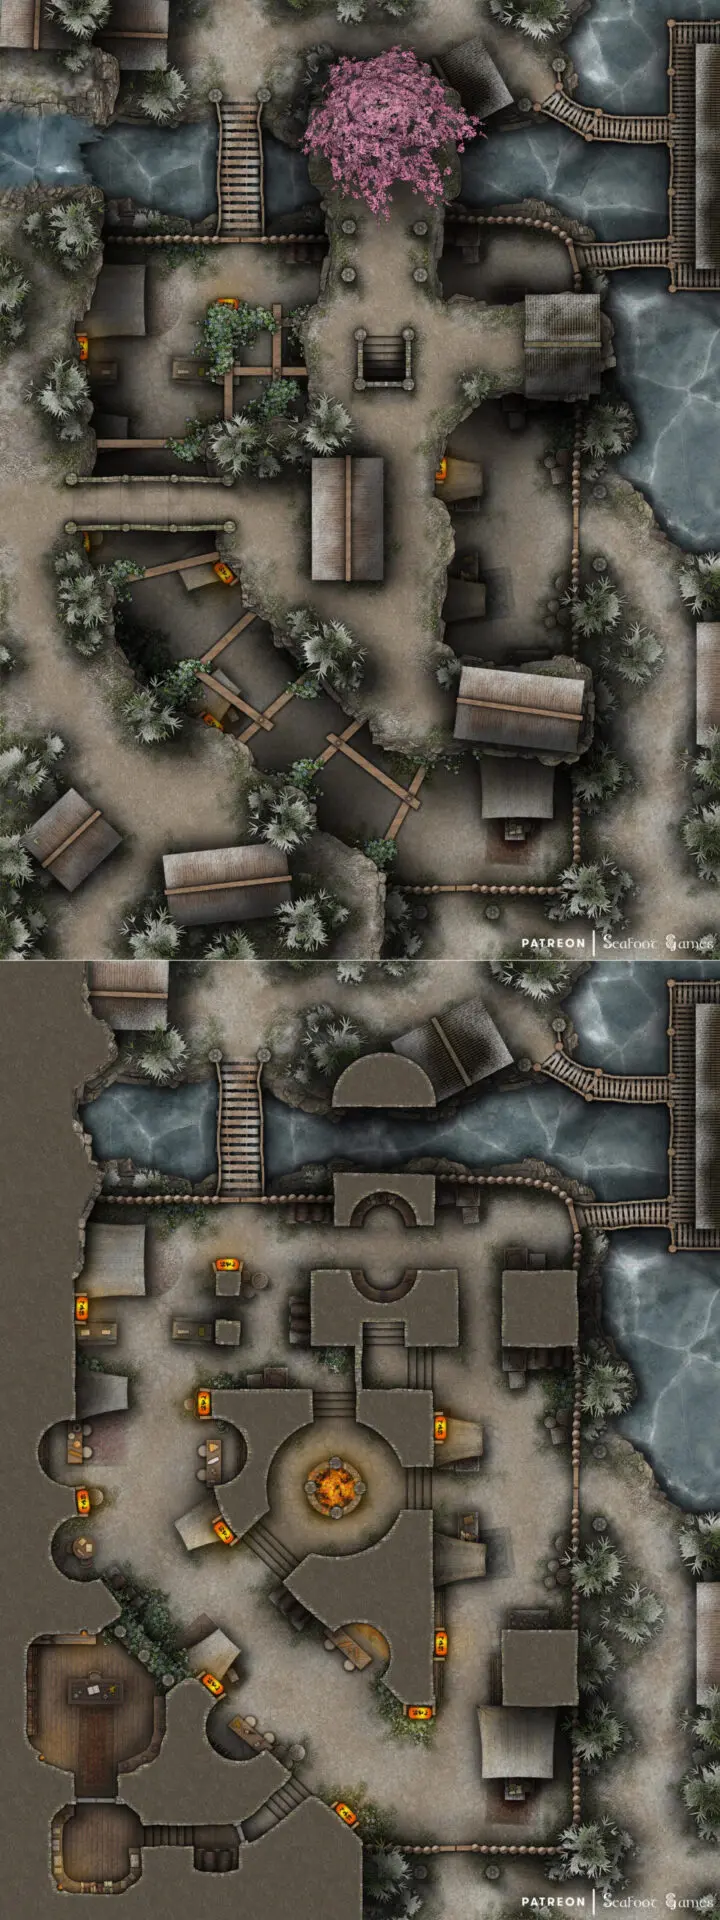
Click image to download this free multi-level TTRPG battlemap of Izumi’s Winter Japanese Village, then keep scrolling for the detailed adventure prompt written for it.
You arrive at a lively winter festival. Hot food skewers are sold alongside candied fruit and cups of warm sake. Loud music wafts through the air while children run underfoot giggling and throwing snowballs. Then you hear screaming from above. When you arrive at the source, you find a frozen man beneath the cherry blossom tree and an old woman in distress.
It looks like he froze to death but if the body is investigated you’ll find he died from hitting his head on a rock, as well as evidence of a struggle. His only possessions are jewellers equipment, plus a small white daffodil in his front pocket. No-one recognizes him—strangers travel into the village for the festival, but they believe his death is a dire omen.
Later that night, a blizzard rolls down from the mountains and you’re invited to shelter in a family’s home. The next morning a peasant boy and his alcoholic father are dead—frozen solid in their hovel of a shelter, near the still-warm embers of a fire…
WHAT’S HAPPENING? The first dead man, with the daffodil, had a wife who is a yuki-onna; a winter-spirit. She looks like a beautiful young woman with long black hair, blue lips, and pale, nearly transparent skin. She leaves no footprints, and when threatened can transform into a cloud of mist or snow. Her breath can freeze, but she can’t tolerate hot water.
Her husband had journeyed down from their mountain cabin, as he did every few years, to sell the gems he cuts. This time he was killed and robbed by three street urchins, who stole his gems and now keep them on their persons. After learning of his death, she returned with a blizzard and froze one murderer and the man with him. She will continue nightly until they are all dead.
The robbers are street children without homes, though one was a teenager caring for his abusive alcoholic father. The group didn’t mean to kill the jeweller, but when he realized one of them was pickpocketing he grew angry and they panicked. He was pushed over as they escaped and hit his head on a rock, killing him.
The thieves eat scraps and have been struggling to survive for months, but they will die soon if the yuki-onna isn’t stopped. If you figure out what’s happening in time and are persuasive, you might be able to remind her of her love for her own children and beg her to show mercy. Otherwise, you could trick her into believing the murderers are dead by returning the gems.
If you like this free multi-level TTRPG battlemap of Izumi’s Winter Japanese Village, take a look at our bundles!
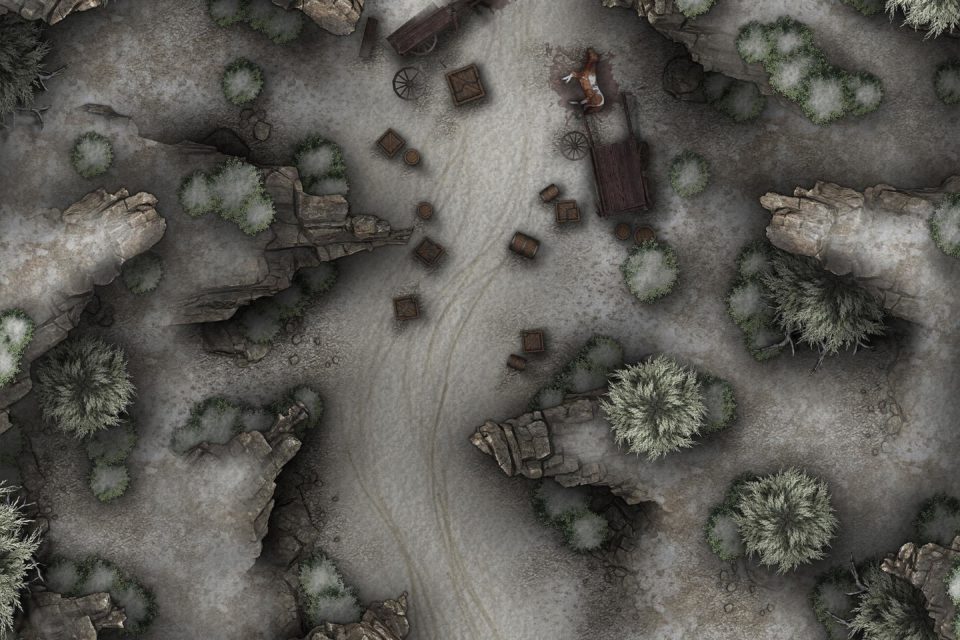
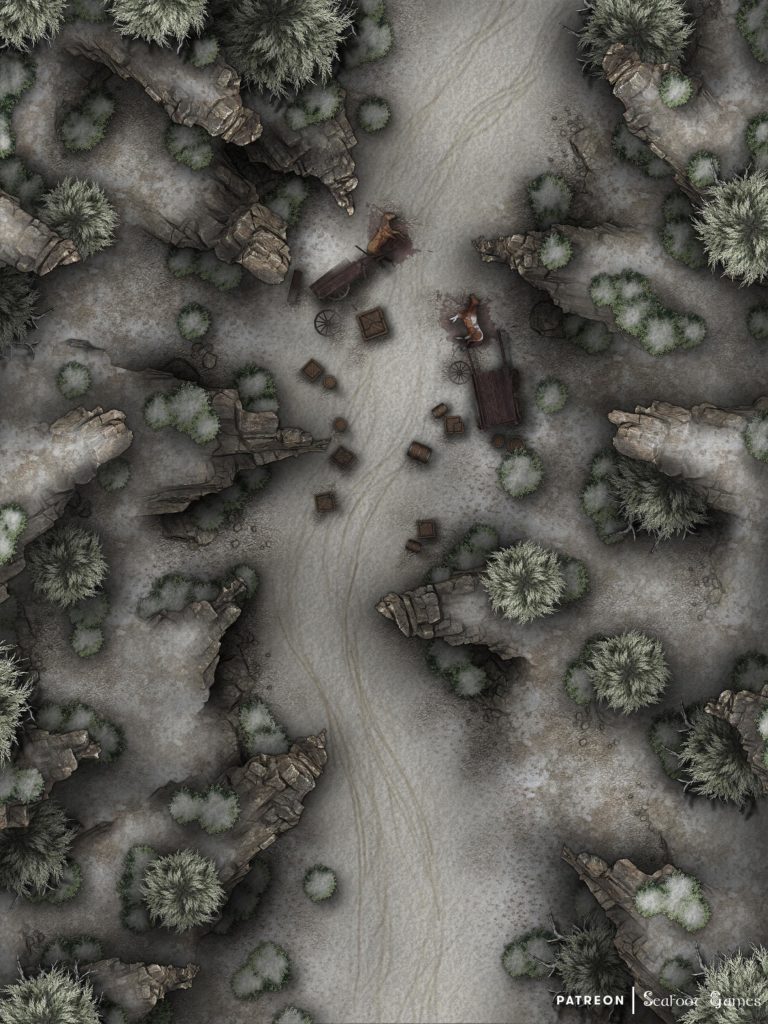
Click image to download this free TTRPG battlemap of the Frozen Maw Pass Ambush, then keep scrolling for the detailed adventure prompt written for it.
Hired as guards for a merchant caravan, you travel through an icy pass in the mountains only to find your way is blocked by the remnants of an earlier caravan. The two horses lie dead in the snow and are being torn apart by two different monsters.
You hear yelling from a nearby tree on one of the rocky bluffs, and see a man clinging to the high branches. Another, different monster is prowling around its base, trying in vain to get to him. He shouts at you not to kill the monsters, explaining that they’re his family and they were only polymorphed into the creatures by a tainted potion. They don’t remember who they are, but the effects will wear off in a couple of hours.
Until then, he begs you to restrain them, not kill them.
WHAT’S HAPPENING? The man, his wife and children were transporting their alchemical wares to sell at seasonal markets. But the carts went over a large log that had been buried by snow, which jostled the volatile crates and caused an explosion.
Some tainted polymorph potions splashed onto the others, but the man was already crouching looking for a snack in his rucksack when the blast went off which is how he avoided the substance.
If you try to get past the monsters or move the wreckage off the road, they’ll attack. If the monsters are killed, they turn back into a woman and two young boys—twins, about ten years old. The man will weep over their bodies, then try to stab you with a dagger while yelling at you and crying.
If you’d enjoy more maps like this free TTRPG battlemap of the Frozen Maw Pass Ambush, Luke and I are currently offering 520+ battlemaps for $39. It’s your chance to have a great deal on some of our most popular battlemaps! With over 520 total maps, we guarantee that is something here for every GM—no matter what genre or setting you prefer, from grimy dungeons to beautiful overgrown ruins.
Paying just $39 rather than full price saves you over 96%! Take a look at all the extra maps you can download with one click here.
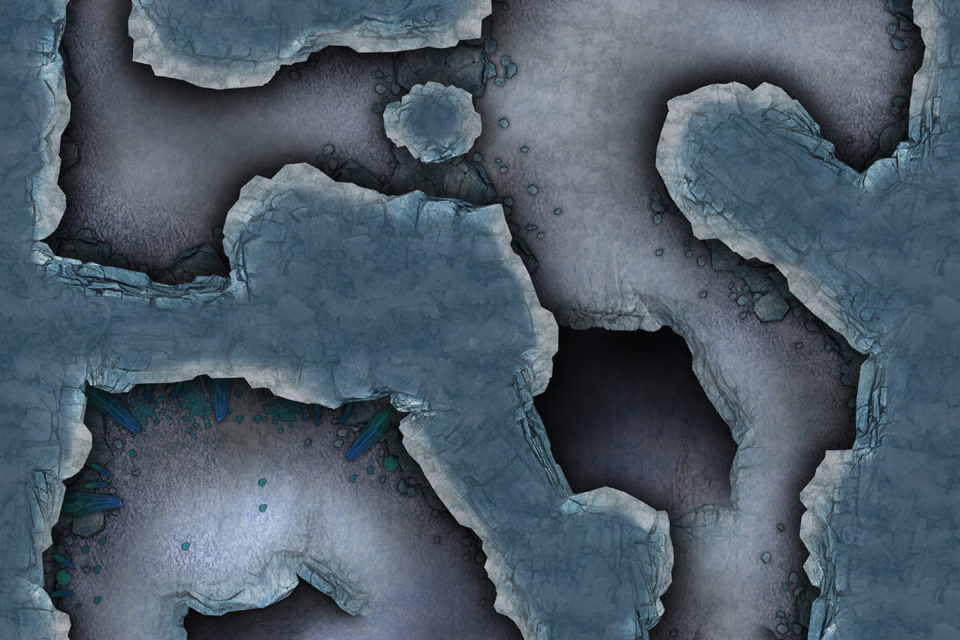
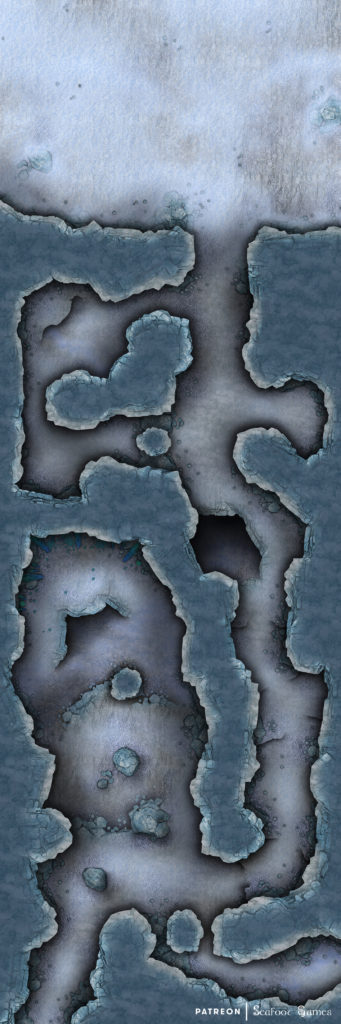
Click image to download this free TTRPG battlemap of a Caverns of Frigid Death, then keep scrolling for the detailed adventure prompt written for it ?
Frigid wastes give way as you find yourself at the entrance into the depths of a cavernous icy hollow. Passages fork off the main tunnel, one leading to a small chamber which then curves to connect to a small cavern full of ice and rubble.A small pool of frozen water can be found under a small overhang as you travel deeper into the cave system, It’s glass like surface perfectly still.The passage curves around and meets with a large cavern where above a rocky structure sits piles of blue crystals.What horrors might lurk in this icy lair?
If you’d enjoy more maps like this free TTRPG battlemap of a Caverns of Frigid Death, Luke and I are currently offering 520+ battlemaps for $39. It’s your chance to have a great deal on some of our most popular battlemaps! With over 520 total maps, we guarantee that is something here for every GM—no matter what genre or setting you prefer, from grimy dungeons to beautiful overgrown ruins.
Paying just $39 rather than full price saves you over 96%! Take a look at all the extra maps you can download with one click here.