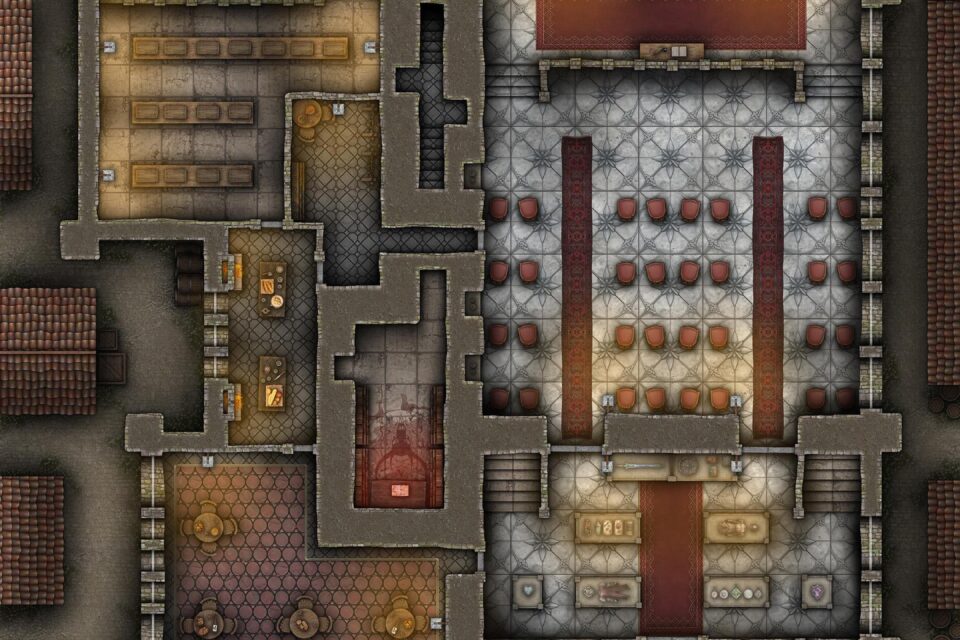
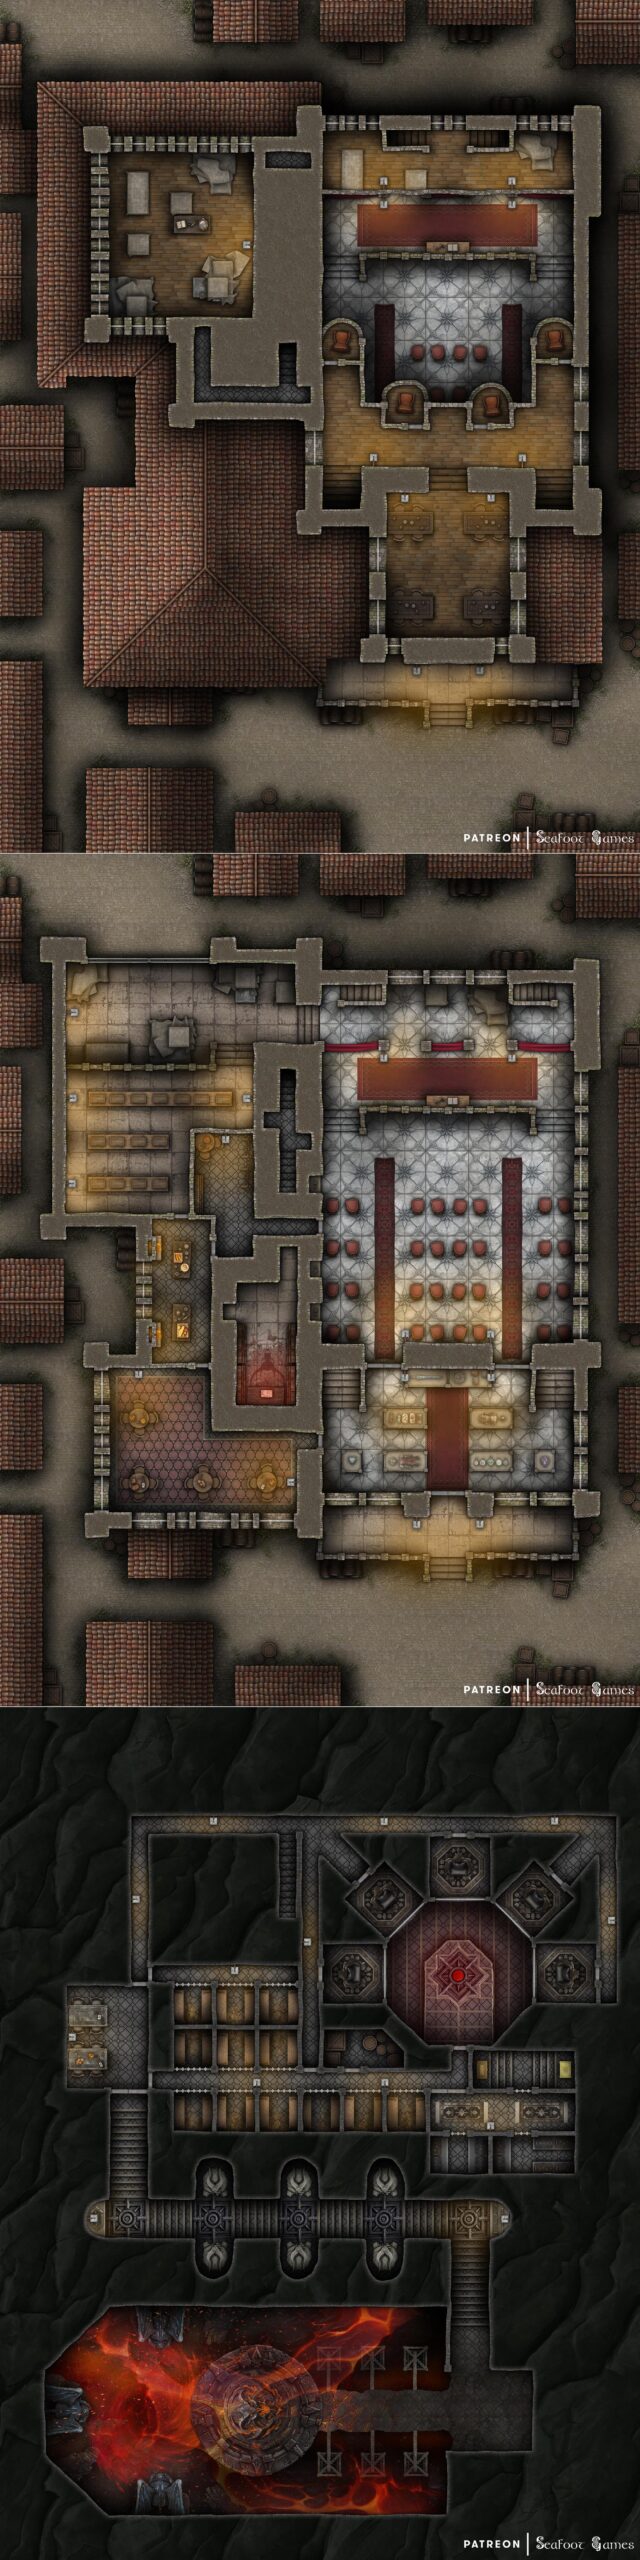
Devilbend Auction House Free 40×30 Multi-Level DnD Battlemap, with a hidden and distinctly evil basement level replete with a variety of group or isolation prison cells, torture cages, and a portal to the hells. VTT ready!
If you’d enjoy more DnD resources like this Devilbend Auction House Free 40×30 Multi-Level DnD Battlemap, Luke and I have released our newest Hardcore GM’s DnD bundle of 520 large, 40×30″ DnD battlemaps (double the size of those in the Quarantine Bundle) with 255 fantasy adventures for $39. It’s your chance to have a great deal on some of our most beautiful maps! We guarantee that is something here for every GM—no matter what setting you prefer, from large cities to underwater seascapes.
Paying just $39 rather than full price saves you over 98%! Take a look at all the extra maps you can download with one click in the Hardcore GM’s DnD Battlemap Bundle here.
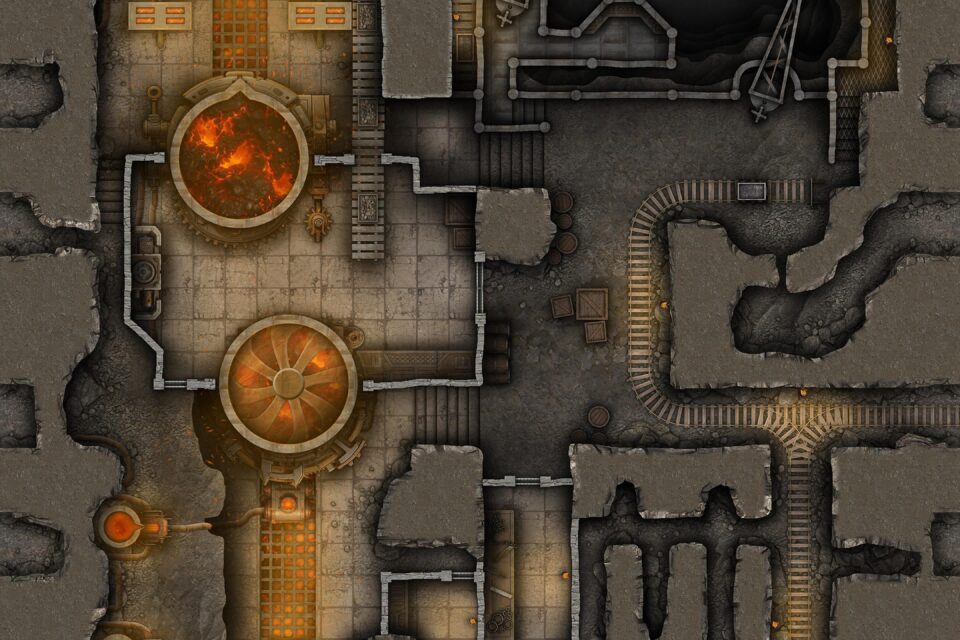
The Dwarven Mining Guild has reached out to anyone willing to help in investigating a sudden and widespread malfunction in the gnomish magi-tech servitors that manage the enchanted forges, they caution that the servitors have become dangerous and only those with combat experience should contact them as a confrontation is very likely.
Choosing to help, you find yourself in the mines control center, where you meet Chief Engineer Gearspark. She explains that two days ago all of the magi-tech servitors that normally run the forge went haywire at the same time, breaking off from their normal tasks, Attempts to reboot them failed and a couple of the dwarven overseers were injured but managed to make it out of the mines with their lives.
Engineer Gearspark points to a large magical display showing the status of the forges and the locations of malfunctioning servitors before explaining that there are at least six servitors within the main forge complex but the display hasn’t been able to track them correctly since they went haywire so you should be careful.
If you choose to take on this request Gearspark explains you’ll need to deal with the servitors before investigating the rest of the complex. She requests you don’t destroy the servitors completely as they cost a lot to replace but understands if you need to damage them somewhat to put them out of commission for the meantime.
In addition one of the cogmasters has also gone missing within the complex and Gearspark fears the worst and would be very grateful if you found them. Taking a railcar you descend several miles deeper into the mines before it slows and you disembark at a small station used for miners. Signs up ahead point you in the right direction and following the mine tracks you soon find yourself within the Forge complex.
If you’re careful you might be able to observe some of the servitors carrying around strange purple ore in crates before pouring it into one of the many forges. If they spot you or you intervene in their work they will however attack you with deadly force, using their hammer like fists to pummel you to death.
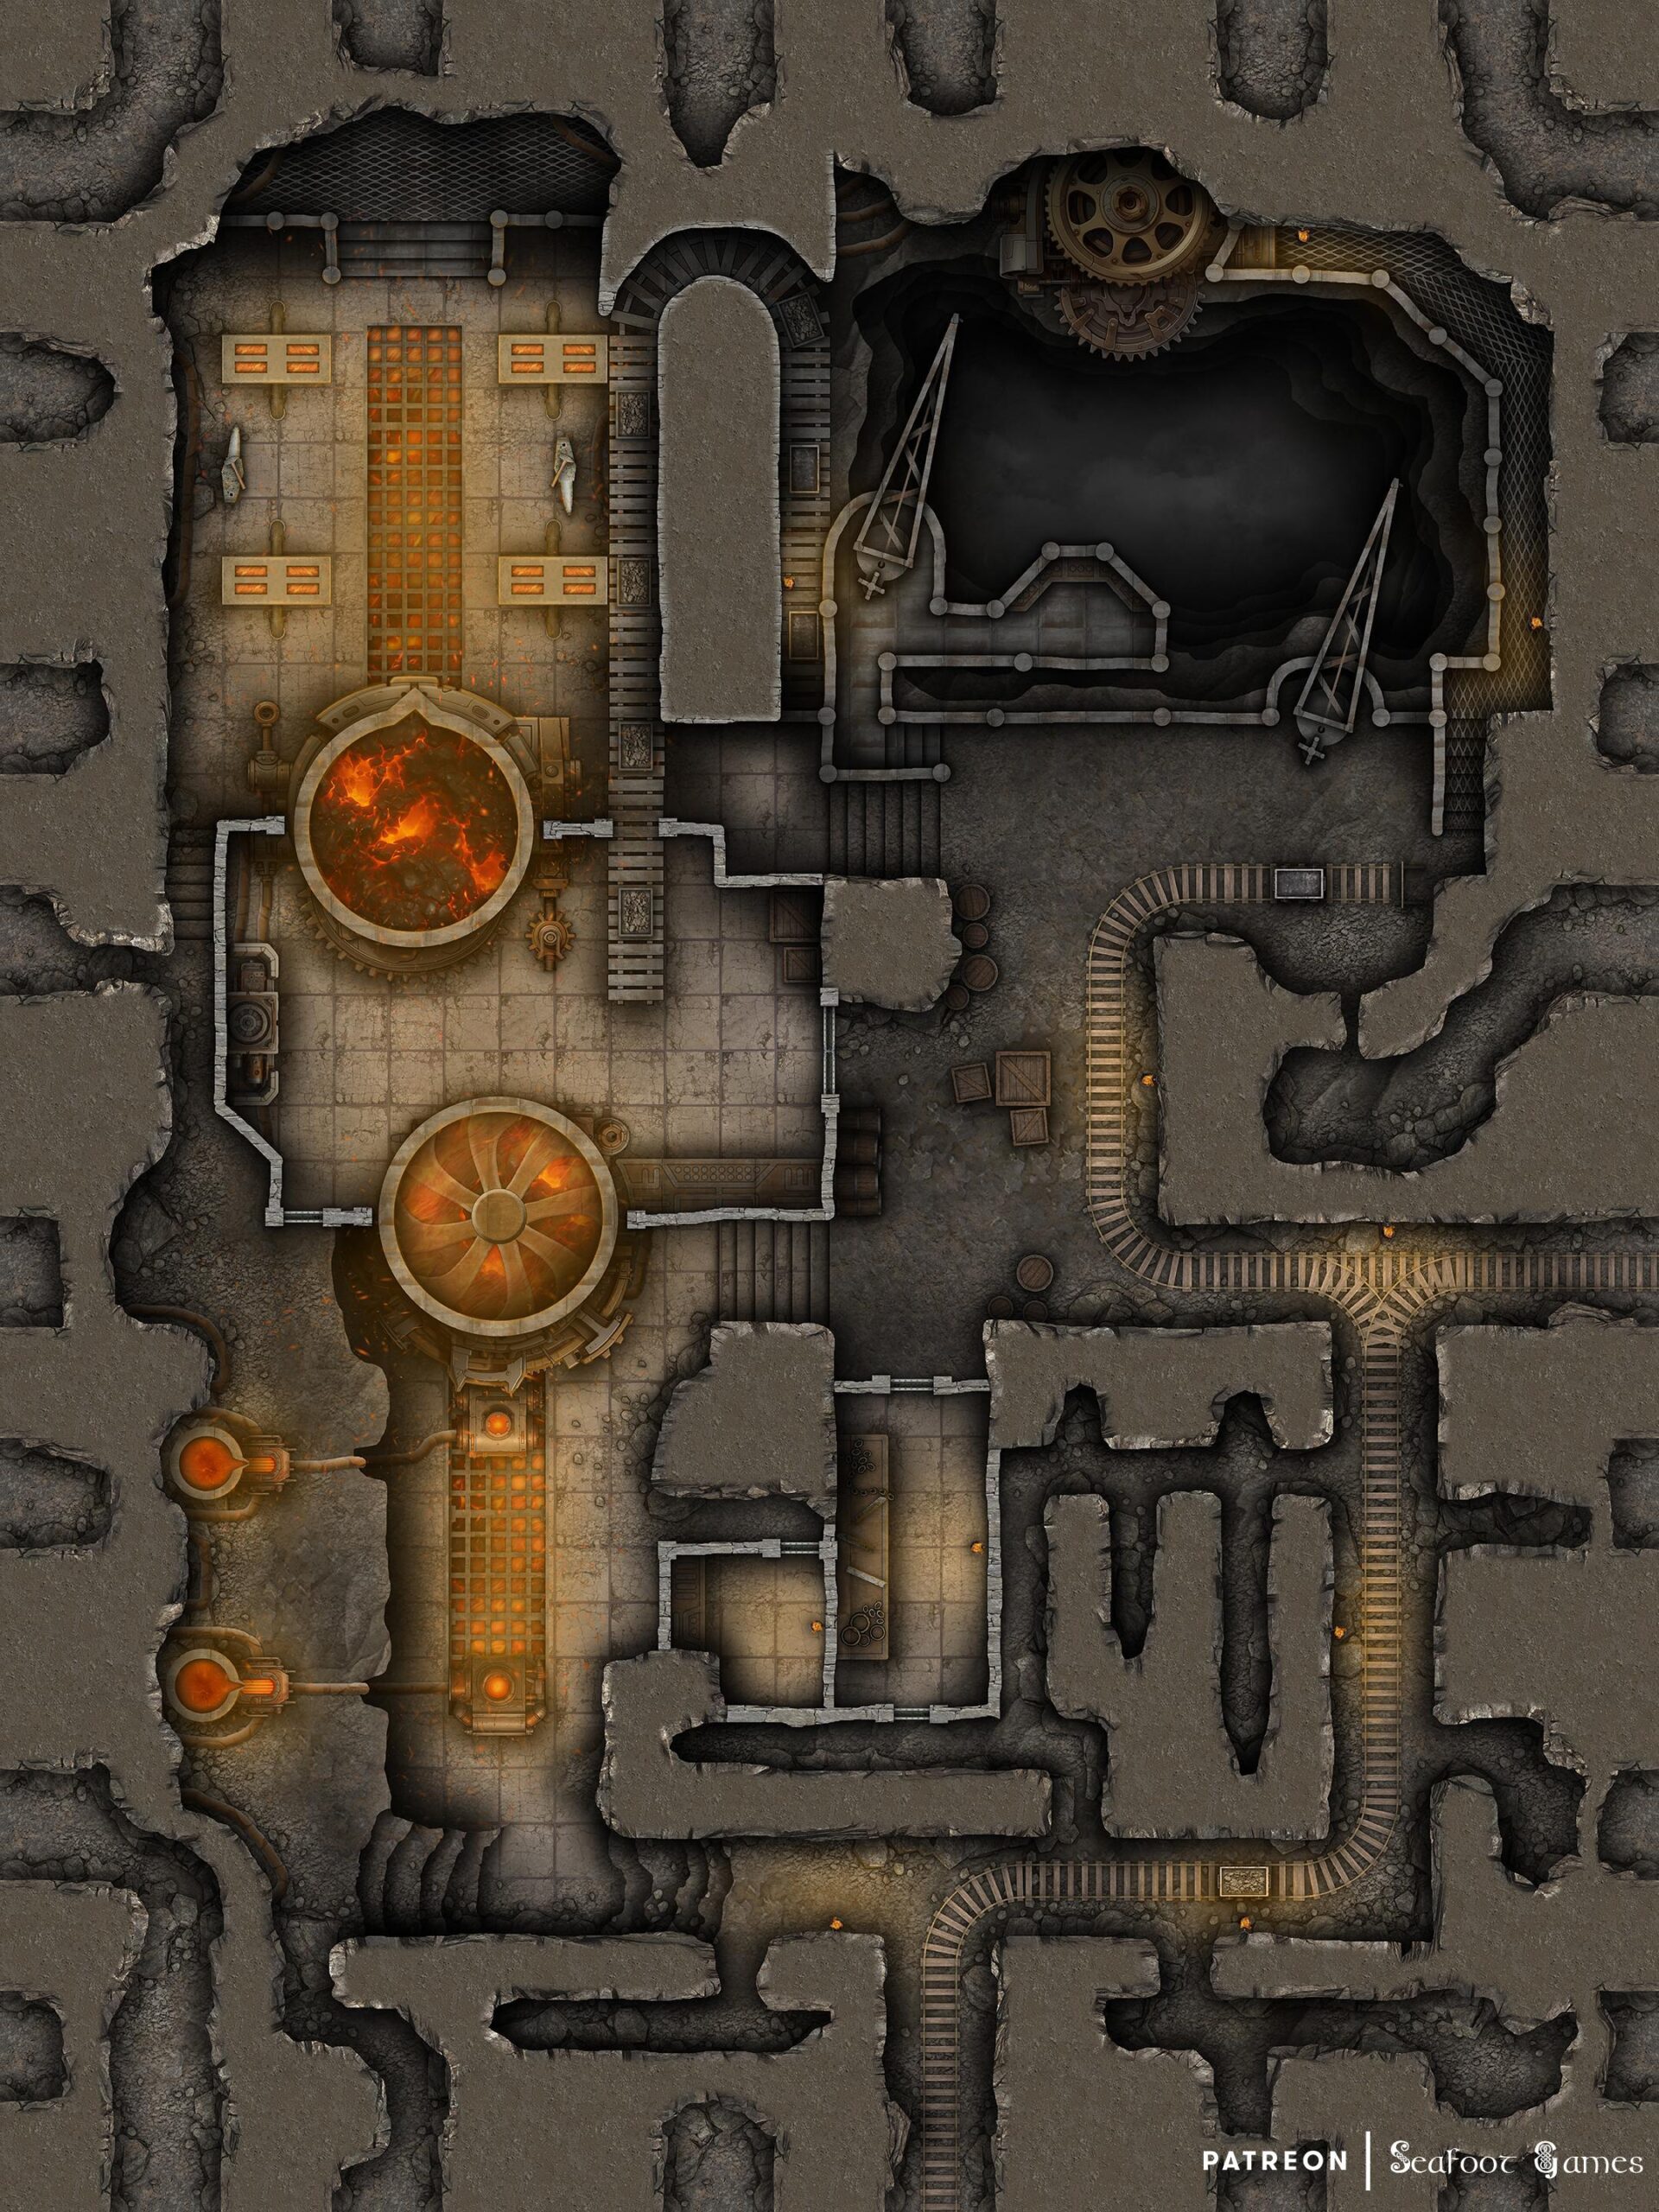
Making your way around the complex you may find a servitor repair bay, with a desk full of parts. If you’re knowledgeable about engineering or other crafts which may include servitor design you might notice the remains of some strange parts which are not normally part of the usual design.
Further inspection reveals them to be transcription cogs which are normally used to help program the servitors but in this case they look like they may function as additions on top of the usual cogs, perhaps even overriding the original transcription cogs.
Outside the repair bay you find some crates which if inspected look to have recently been filled with purple ingots which seem to almost glow and upon closer inspection it appears crates have been moved in the area recently, perhaps onto the rail network.
Inside the main building which houses the largest forges, you find three of the servitors busily carrying purple ore and depositing it into the forges. When spotted, they head towards you threateningly.
Deeper within the complex you find a large pit with cranes above it, the cranes appear to be pulling up the purple ore from below and if you listen closely it’s almost like you can hear a faint whisper coming from the pit. Perhaps it’s just the wind, however.
The last area you come upon is the ingot forging room which is heavily guarded by the servitors who are collecting the fresh purple ingots and preparing them to be shipped. They also attack you on sight. On a platform at the end of the room you find the missing cogmaster passed out but alive.
Returning to Engineer Gearspark with the unconscious cogmaster, she motions for you to place them on a sleeping cot nearby. Gearspark is intrigued to hear about the purple ore and ingots, explaining that while the ore they normally mine is used in the creation of magically infused ingots via the forges, the purple ore must be new. She pauses for a few moments in thought before speculating that perhaps they broke into a new cavern in the pit mine that contained this new ore.
If you mention the odd transcription cogs you found or the whispers you heard near the pit mine, Gearspark is concerned and suggests that you and her try and wake the cogmaster as perhaps they have more information.
While difficult, you eventually get the cogmaster semi-conscious, they seem confused rolling about in the bed cot, talking softly about whispers from the mine. That it felt like they were watching through another’s eyes as their body moved, creating the transcription cogs and implementing them in the servitors.
The cogmaster continues that the voices wanted them to collect the ore to make the ingots and to send them to a specific kingdom and that several shipments have already been sent via the rail network… With that last sentence the cogmaster passes out again.
Engineer Gearspark looks very concerned about everything, before thanking you for your help. She explains that in the meantime she’ll make sure no one else accesses that area of the mine or the forges while she tries to trackdown where those ominous purple ingots were sent to. With that she offers you a reasonable reward, either in gold or some of the usual magical ingots they produce which can be used in crafting magical equipment.
If you’d enjoy more DnD resources like this Underground Forge Complex Free 40×30 DnD Battlemap & Adventure, Luke and I have released our newest Hardcore GM’s bundle of 520 large, 40×30″ DnD battlemaps (double the size of those in the Quarantine Bundle) with 255 fantasy adventures for $39. It’s your chance to have a great deal on some of our most beautiful maps! We guarantee that is something here for every GM—no matter what setting you prefer, from large cities to underwater seascapes.
Paying just $39 rather than full price saves you over 98%! Take a look at all the extra maps you can download with one click in the Hardcore GM’s DnD Battlemap Bundle here.
While sailing the seas, the ship you booked passage on docks at a large, mediterranean island to resupply. The captain recommends you go and explore the city as the resupply could take a few days and the island’s known for great food in taverns that are built into the sheer stone cliffs, as well as warm beaches to relax on, frequented by beautiful women who work at very fine brothels. There is even a renowned library, if you are so inclined.
As you leave the docks, a woman wearing a purple cloak in gold trim runs up to you. She has a few scrolls tied to her waist, as well as a satchel of books. Her eyes are purple, and she has long, black curly hair. The woman, panting, introduces herself as Ariadne, and says that you look like a warrior. She says she desperately needs your help, explaining that her husband has been sent into the island’s labyrinth to be eaten by a monster and she needs you to save him.
If you ask what she means, she gets a pained look on her face and explains hurriedly that the city sends its worst criminals to die at the hands of a terrible monster living in an underground labyrinth. Her husband was about to uncover the corruption of the royalty in this city, and before he could show his evidence he was kidnapped in the middle of the night and accused of treason.
Few of the locals believed her claims of his innocence, and those who did said they could do nothing against it. He was sent into the labyrinth earlier today, and she has no-one else to turn to for help. She has bars of gold and jewels–the fortune of her household–which she will pay you gladly if you save him!
If you ask what the monster in the labyrinth is, she explains that he is called Minotauros. He’s a being with the head and strength of a bull, but the cunning of a man. He was a ferocious seafaring conqueror, long ago, who’s atrocities pleased a dark god. They say he made the seas red with blood from the islands and coasts he raided, and as a gift from that god he was transformed into the immortal monster he is now.
Minotauros was unstoppable, until a powerful cleric met him in battle on this very island, and cursed him. Now, he is condemned to forever wander a labyrinth the cleric’s god made, and never find his way out; killing and devouring any who stray inside.
If you ask how Ariadne thinks you can save her husband, she says she’s been reading as much as she can about the labyrinth and Minotauros since her husband was abducted, and pulls out one of the scrolls from her belt as she speaks. She unravels it; revealing an illustration of a stone statue of a bull’s head, with hollow marks in the floor in front of it. Ariadne points at it with shaking hands, explaining that from what she’s read, the marks in the ground are for four magical keys. They are hidden throughout the labyrinth, and if you collect them all you should be able to open up some kind of rear passage to escape.
If you point out that none have survived the labyrinth, and ask where the information comes from, Ariadne pales and stammers, saying that perhaps someone got out once, long ago, using these keys, which is why they wrote about them. Or perhaps it was notes left by the cleric who locked Minotauros away.
Should you ask about bringing a spool of rope in behind you, so that you may find your way out the way you came in instead of relying on the keys, Ariadne shakes her head angrily, saying the labyrinth doesn’t work like that–but she doesn’t have time to explain or answer any more questions, her husband could already be dead and you need to hurry if you’re going to save him in time!
The journey to the labyrinth takes a few hours on foot from the city, up steep and winding pathways to the high hills at the top of the island. While walking, Ariadne describes her husband to you, saying he is a large man with burly muscles, short curly black hair, and a black beard and moustache. She doesn’t know if she guards stripped him of his clothes, but he is likely wearing the purple clothes of their household and has a signet ring with a seagull on it. His name is Thesius, she tells you.
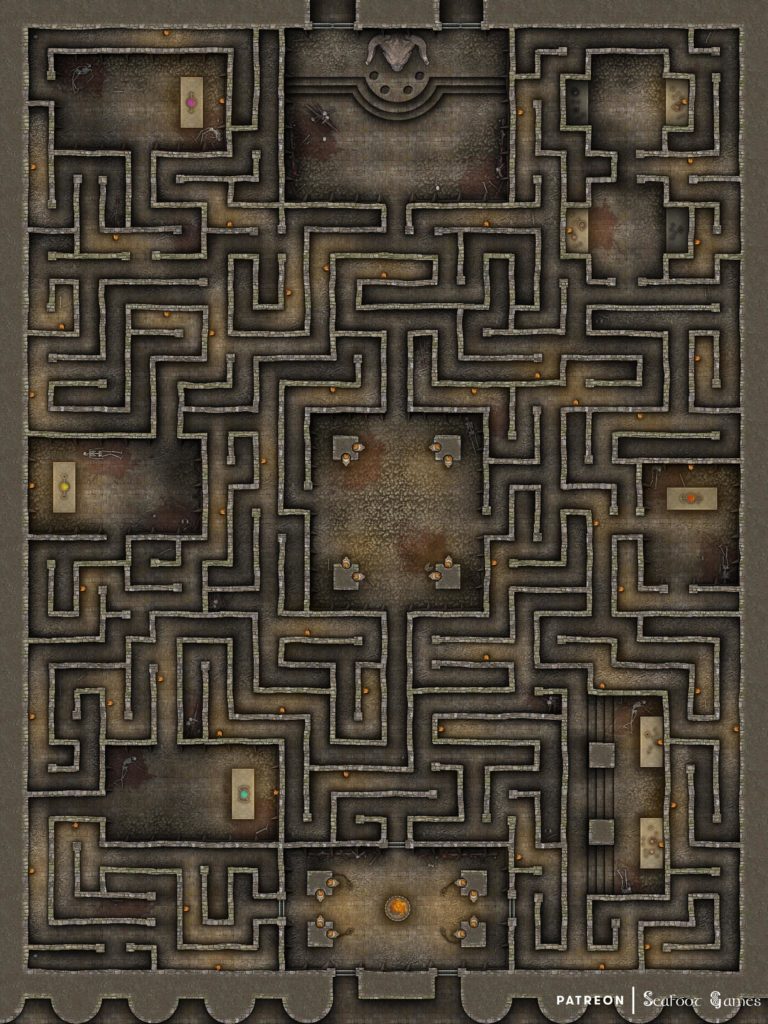
When you arrive at the labyrinth, it is a huge structure, with a large stone façade as its exterior. It’s built into the cliff, and unguarded. If you ask about that, Ariadne explains quickly that when the prisoners are delivered they are guarded by a large retinue of warriors from the palace until they’re lost inside. However, you can tell she’s hiding something–but she won’t elaborate if you ask her, instead insisting that you need to hurry.
You can see a couple of metal doors, engraved with a bull’s head and the curving corridors of a labyrinth in the metal, in-between stone columns. When you place your hands on them, your hands begin to pass through–and you can’t pull them out again. You find yourself being slowly sucked through, no matter how hard you try to pull away, and the experience is excruciating. If you give in and step through quickly, the experience will be easier.
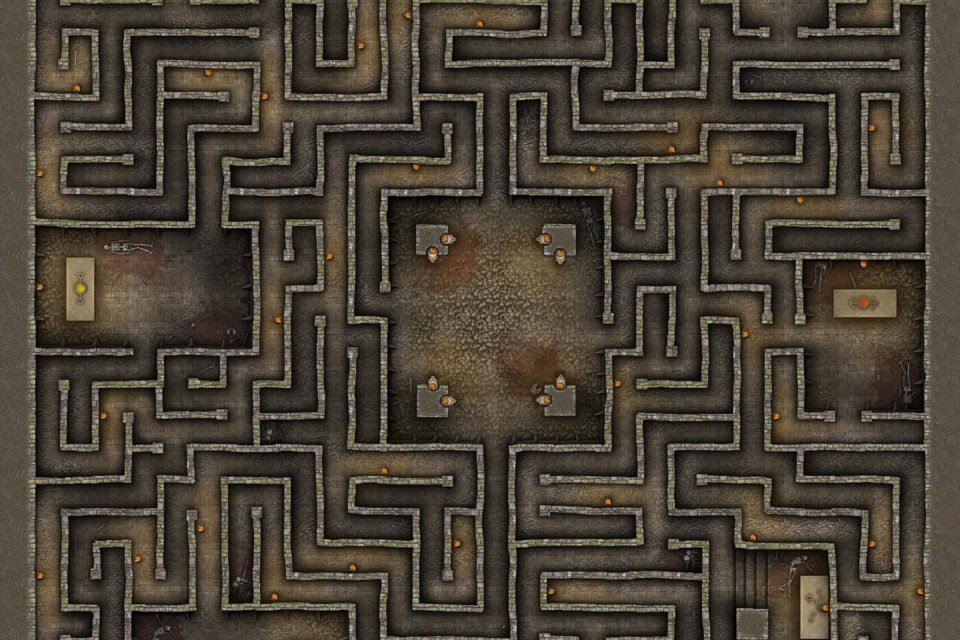
Once inside the labyrinth, the air is oddly warm, and humid. Sweat begins to cling to your skin, and you can hear the sounds of dripping water from elsewhere in the labyrinth. It smells putrid, like rotting meat and offal, and there are bloodstains on the ground and walls. It looks like rudimentary barriers have been set up, long ago, in various places.
There are echoing screams, and terrible ripping and snapping noises–as of breaking bones and tearing flesh–further in. If you turn around, there is only a solid stone wall behind you; there are no signs of the door you touched to enter, and there is no way out.
While traversing the labyrinth looking for the keys, Minotauros will smell your scent. He is hunting you, and every now and then you can hear him getting closer, on the other side of a wall, or around a corner; breathing heavy breaths like an angry bull, hoofs thudding on the floor loudly.
You eventually come across Ariadne’s husband Thesius in one of the rooms with the keys. He is covered in blood and one of his arms is hanging limply by his side. He is surprised to see you, as you weren’t with the original group and you haven’t been stripped of weapons–as he says this, you can see he’s wielding a modified stake he must have ripped off one of the sharpened timber barricades throughout the labyrinth.
He will be relieved to hear that his wife sent you, and glad to know that she’s ok. If you explain the keys to him, he will say that he passed another similar object as the one in the room but didn’t take it because he didn’t know what it was. He can guide you back to that key.
When you’ve collected all the keys and are about to put them into the keyholes, Minotauros comes through the entrance into the room behind you, preparing to attack. His body is covered in a thick layer of black fur, on an even thicker hide. While his shape is vaguely human, his muscles are far larger than they should be, and there is a bull-ring in his nose.
Two curved horns tipped with steel and blood arch in front of his bovine face, and his eyes glow red with rage; steaming breath pouring forth from his flared nostrils. He prepares to attack.
Once the keys are in place, Minotauros collapses to his knees, saying in a deep, huffing voice “finally, peace…” before collapsing into ash. Behind the bulls-head statue, two doors will open to the outside world.
If you go through them, you will be in front of the doors you used to enter the labyrinth, only this time they are swung ajar behind you.
Ariadne is out there, pacing frantically back and forth, crying silently to herself. She spins around when she hears you exiting, then gasps “you did it!” while running to her husband. If his arm hasn’t been healed, she begins tearing strips of cloth from her dress and using them to bind the wound, crying about how relieved she is to see him while she does. When she is done, she kisses him intensely and strokes his hair, before saying that she better get him back to a healer in the town.
She gives you your reward before rushing him away, thanking you profusely and saying that thanks to your efforts they can root out the corruption in the royalty of their city–they will not have expected Thesius to survive, and will be unprepared for his return. If anything, his injuries further cement his claims!
GM’s Notes:
If the players kill Minotauros, he will regenerate somewhere else in the labyrinth and resume hunting them down. It is part of his curse, he can never die in the labyrinth. However, when the labyrinth is unlocked, the curse ends; finally releasing him from his torture.
Should your players remain on the island for a couple more days, the royalty will be overthrown by Thesius, who will institute a republic. He will try find your players again, to thank them for what they did one last time, and show them the fruits of his efforts, before they leave.
If you’d enjoy way more maps like this free Minotaur’s Maze TTRPG battlemap, Luke and I have just released our newest bundle of 420 large, 40×30″ battlemaps (double the size of those in the Quarantine Bundle) for $59.99. It’s your chance to have a great deal on some of our most beautiful maps! We guarantee that is something here for every GM—no matter what setting you prefer, from large cities to underwater seascapes.
Paying just $59.99 rather than full price saves you over 97%! Take a look at all the extra maps you can download with one click here.
Your birthday’s coming up and you have no friends. Do you: A. Invite a bunch of random strangers to your party. B. You never wanted a party anyway and get drunk alone. C. Literally make friends. That is to say, reanimate the dead.
Let me know in the comments below! 😀 As always, keep scrolling for the one-shot adventure written for this Necromancer’s Underground Cavern Lair free DnD battlemap! ⬇
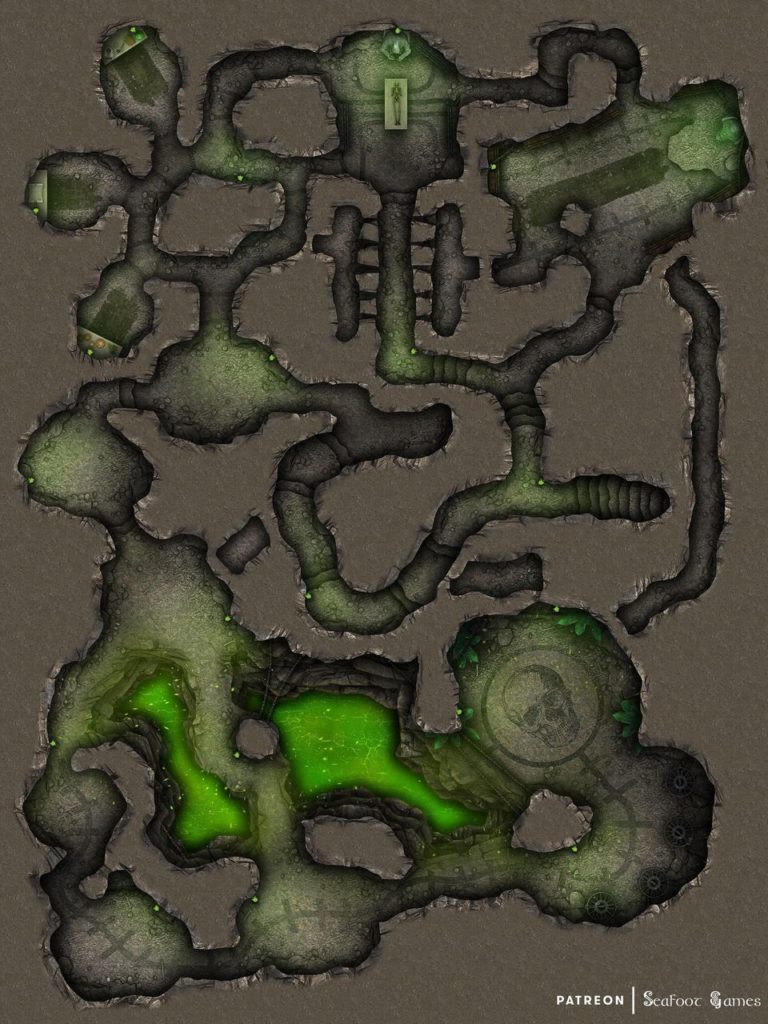
Necromancer’s Underground Cavern Lair Free DnD Battlemap with Adventure, plus the whacky one-shot adventure for it. VTT ready, come download!
Necromancer’s Underground Cavern Lair Free DnD Battlemap with Adventure
Making Friends
While buying goods at a market in a rural town, a local pastor will stop by your shoulder and ask if you might be an adventurer. If you say you are, he’ll ask you for a private word about some troubles their town has been having. If you humor him, he’ll take you aside discreetly for a stroll through some quieter, overgrown lanes between cottages. He’ll explain in a soft voice that a shadowy figure has been spotted in the graveyard at night, but no-one knows who it is. However, they’ve been seen digging up graves.
The pastor says this has disturbed those who have lost their loved ones’ remains, so he would like to know if you might be willing to follow this person back from the graveyard one night and figure out where they’re going. He explains that he has some ample donations which should pay for the job.
Should you agree, he’ll nod somberly and walk you to the village’s small graveyard, which has had a number of the graves disturbed. He says that the figure shows up every night, but usually around 2 or 3 AM. If you make sure you know where they’re taking the bodies before you deal with them–so the pastor might recover the remains–he and the townsfolk would be incredibly thankful.
If you go to the graveyard around that time, you will indeed find a robed figure digging up a body from one of the graves. Once they’ve broken the bones out of a casket, the figure will shove them into a bag and begin carrying them away with an odd, excited gait.
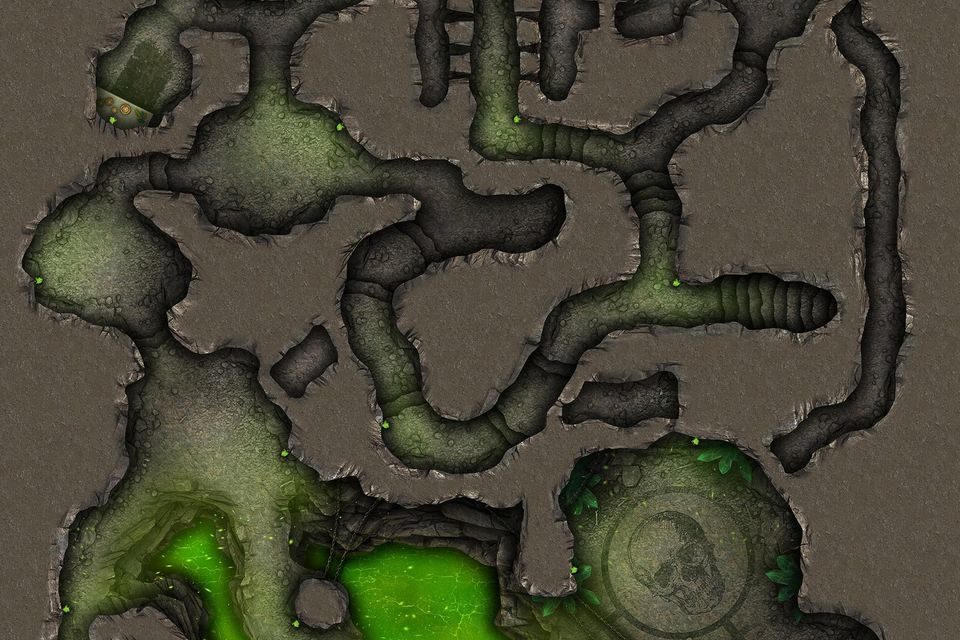
They’ll slink from the outskirts of the village, and into the surrounding rolling hills. Eventually, the figure will disappear down a steep, dry gully and down some stairs which lead even deeper, into some kind of underground cave system.
Should you attack the robed figure once they’re in the cave, you’ll find that they’re not a person at all–but rather, a reanimated skeleton with glowing green eyes! It will defend itself, and if you destroy it the bones will fall apart with a loud rattle. If you continue deeper into the cave system, you’ll come across more skeletons with the same eyes, but with pointed black cones tied to their heads.
When these other skeletons see you, they will become aggressive and attack. Further in are instruments playing themselves in merry tunes, as well as an altar with a skeleton waiting to be animated on it.
When you reach it, you’ll find an old man in a dark robe with another little cone on his head, working on reanimating the body with some magical artifacts. His sleeves are rolled up and he is humming merrily to himself, alongside the tune of the instruments.
When he sees you, however, the man will start with a yell, before asking accusingly who you are and what you’re doing here. Then he’ll look at you closer, observing the bone dust, and say “Oh no, you didn’t destroy my friends did you?! What the hell is wrong with you, they took me days to make!” If you point out that the skeletons attacked you, he’ll throw down his artifacts loudly and yell that of course they attacked you, you were trespassing–what did you expect would happen!
If you point out he shouldn’t be stealing bodies from the cemetery, he’ll scoff that they would have walked themselves back after he was done with them, if it wasn’t for you! Now he won’t be able to tell any of the bones apart, let alone return them all! And besides, everyone knows souls go to the heavens or hells–it’s not like they’re USING the bodies, the old man will huff.
Should you ask what on earth he’s doing here, the old man will open his arms wide and yell at you that this is his holiday home, and it’s his birthday! He was going to throw a party, and he doesn’t have any friends, so he has to MAKE them. He does this every year. But no, you had to come along and ruin it. Now the only way to make this right is for you to go back to the cemetery and bring him the bodies he needs. He’s even prepared the feast hall with illusions of food, and games, the old man will finish with a huff; crossing his arms.
GM’s Notes:
If your players go back to the village to dig up more graves, the wizard will be thankful and even, shyly, invite them to attend his birthday party. There they might learn he is actually a very illustrious and achieved researcher at the land’s most prominent University of Magic, and specializes in destroying undead–incase a lych king should ever rise again. He does, however, appear to have VERY bad people skills which might be why he has no friends.
If the party goes well, he might thank you sincerely for becoming his friends, and give you his card should you wish to socialize again in future.
Should your players get caught digging up the graves by the pastor, the man will be horrified. If they explain what’s happening and that they’ll bring the bodies back afterwards, plus the others, he’ll be utterly perplexed and stammer in confusion. If the pastor protests, he won’t have an argument against the fact that the souls aren’t using the bodies anymore and might just watch in helpless bewilderment as your players saunter off with the bodies.
If the party replaces ALL the bodies that the wizard and the players took afterwards, the pastor will still pay them the agreed upon sum–but he will still be confused and not entirely sure what happened, or why. He will feel slightly violated and request that the party and the wizard don’t come back to the town. The wizard, of course, will not respect the wishes of some small-town pastor and his illogical presumptions.
If you enjoyed Necromancer’s Underground Cavern Lair Free DnD Battlemap with Adventure, Luke and I released the Hardcore GM’s bundle of 520+ large, 40×30″ DnD battlemaps (double the size of those in our famous Quarantine Bundle) with 255 adventures for $39. It’s a great deal on some of our most beautiful maps and adventures! I’m sure there’s content in it you’d have so much fun running for your friends, from large cities to underwater seascapes. Paying $39, rather than full price per map ($3 – $4.50 each), saves you over 98%! Take a look at all the extra content here.
Otherwise, I also recommend our latest bundle of system agnostic campaign sourcebooks, filled with battlemaps, locations, NPCs, loot, AND adventures! Luke and I love them so much, they have some of our favorite adventures in quite often grimdark or Lovecraftian horror settings. If you’re not sure about it, download our favorite campaign sourcebook for FREE—it’s about a super whacky location that will have your players roaring with laughter. That is, if their sense of humor is anything like ours 😉
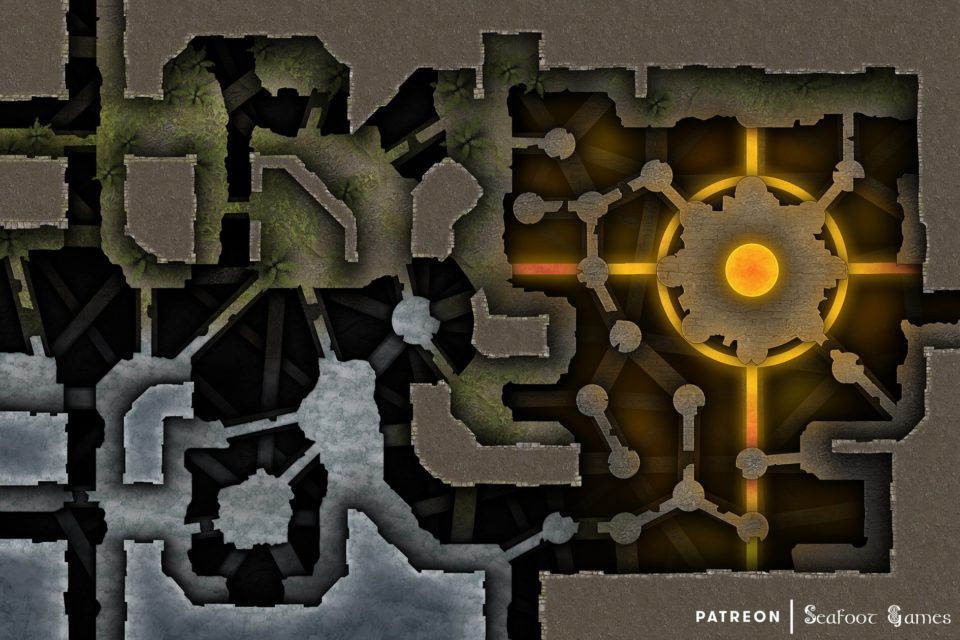
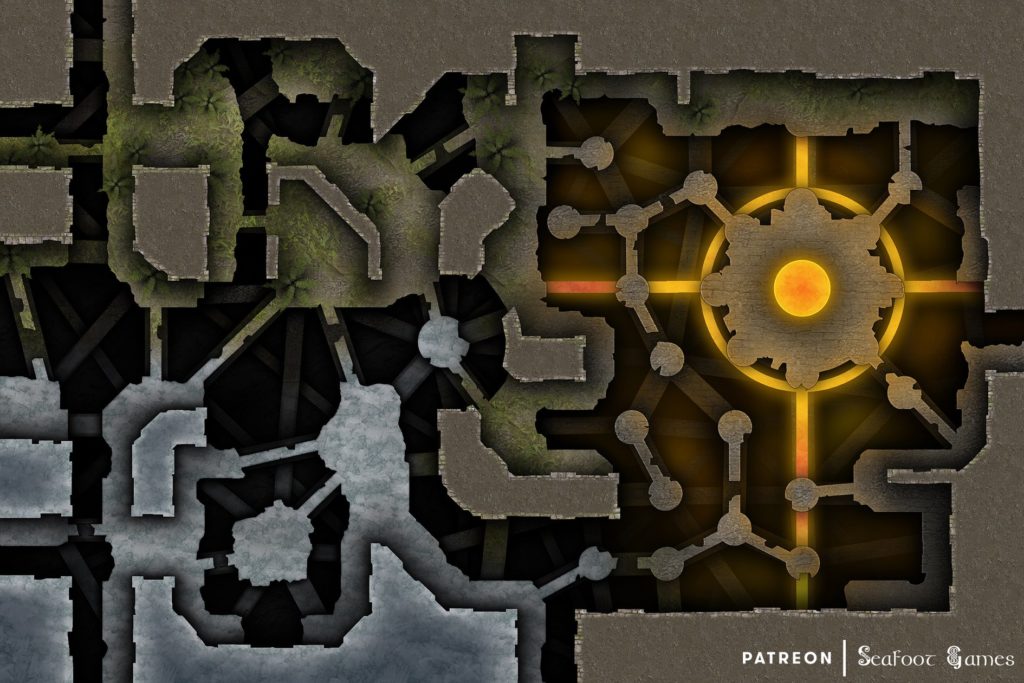
Click image to download this free TTRPG battlemap of a Elementalist’s Crucible, then keep scrolling for the detailed adventure prompt written for it ?
Built long ago this ancient structure now lies dormant. Pedestals, beams, platforms and walkways have crumbled over the ages leaving a dangerous trial that few are willing to attempt, for to fall would certainly lead to death.
Roots and ferns have grown over some of the old stone floors, while a supernatural icy formation covers others and yet still, eternal fires burn far below the platforms and a large fiery orb hovers complacently filling the chambers with light and heat giving combatants an additional challenge.
If you’d enjoy more maps like this free TTRPG battlemap of a Elementalist’s Crucible, Luke and I are currently offering 520+ battlemaps for $39. It’s your chance to have a great deal on some of our most popular battlemaps! With over 520 total maps, we guarantee that is something here for every GM—no matter what genre or setting you prefer, from grimy dungeons to beautiful overgrown ruins.
Paying just $39 rather than full price saves you over 96%! Take a look at all the extra maps you can download with one click here.
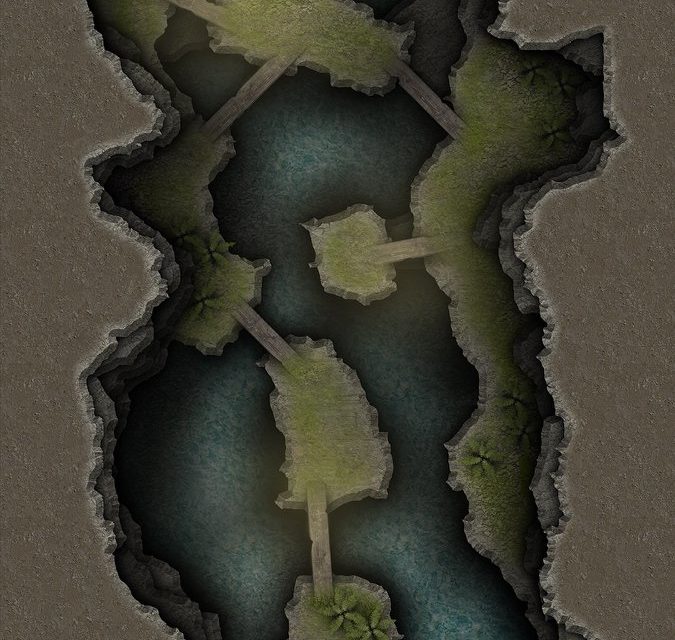
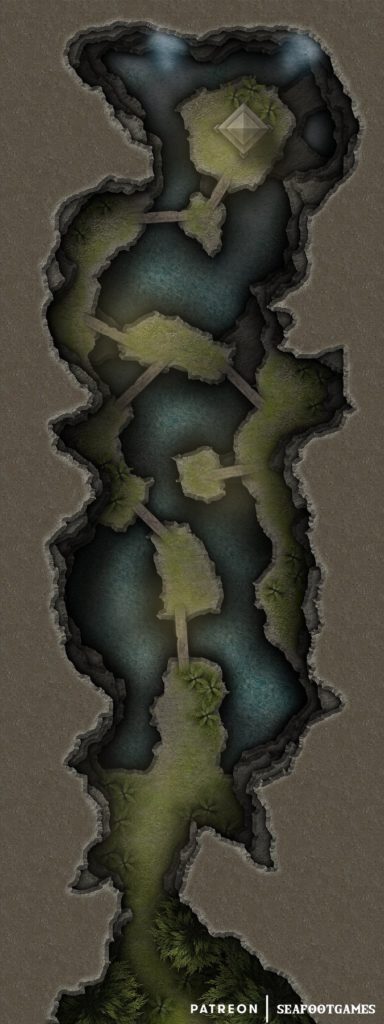
Click image to download this free TTRPG battlemap of a Brindalwood Falls, then keep scrolling for the detailed adventure prompt written for it ?
As a thanks for just reaching 1000 likes, have this 40×15” battle map I made just for you! It’s of Brindalwood Falls and would be great for a perilous climb to find ancient, lost treasure.
If you’d enjoy more maps like this free TTRPG battlemap of a Brindalwood Falls, Luke and I are currently offering 520+ battlemaps for $39. It’s your chance to have a great deal on some of our most popular battlemaps! With over 520 total maps, we guarantee that is something here for every GM—no matter what genre or setting you prefer, from grimy dungeons to beautiful overgrown ruins.
Paying just $39 rather than full price saves you over 96%! Take a look at all the extra maps you can download with one click here.