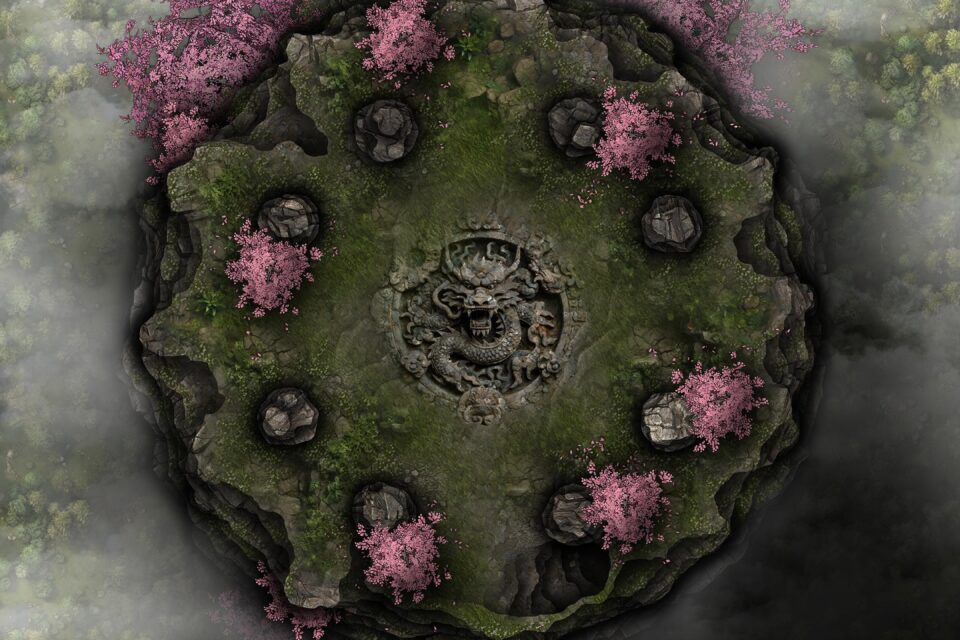
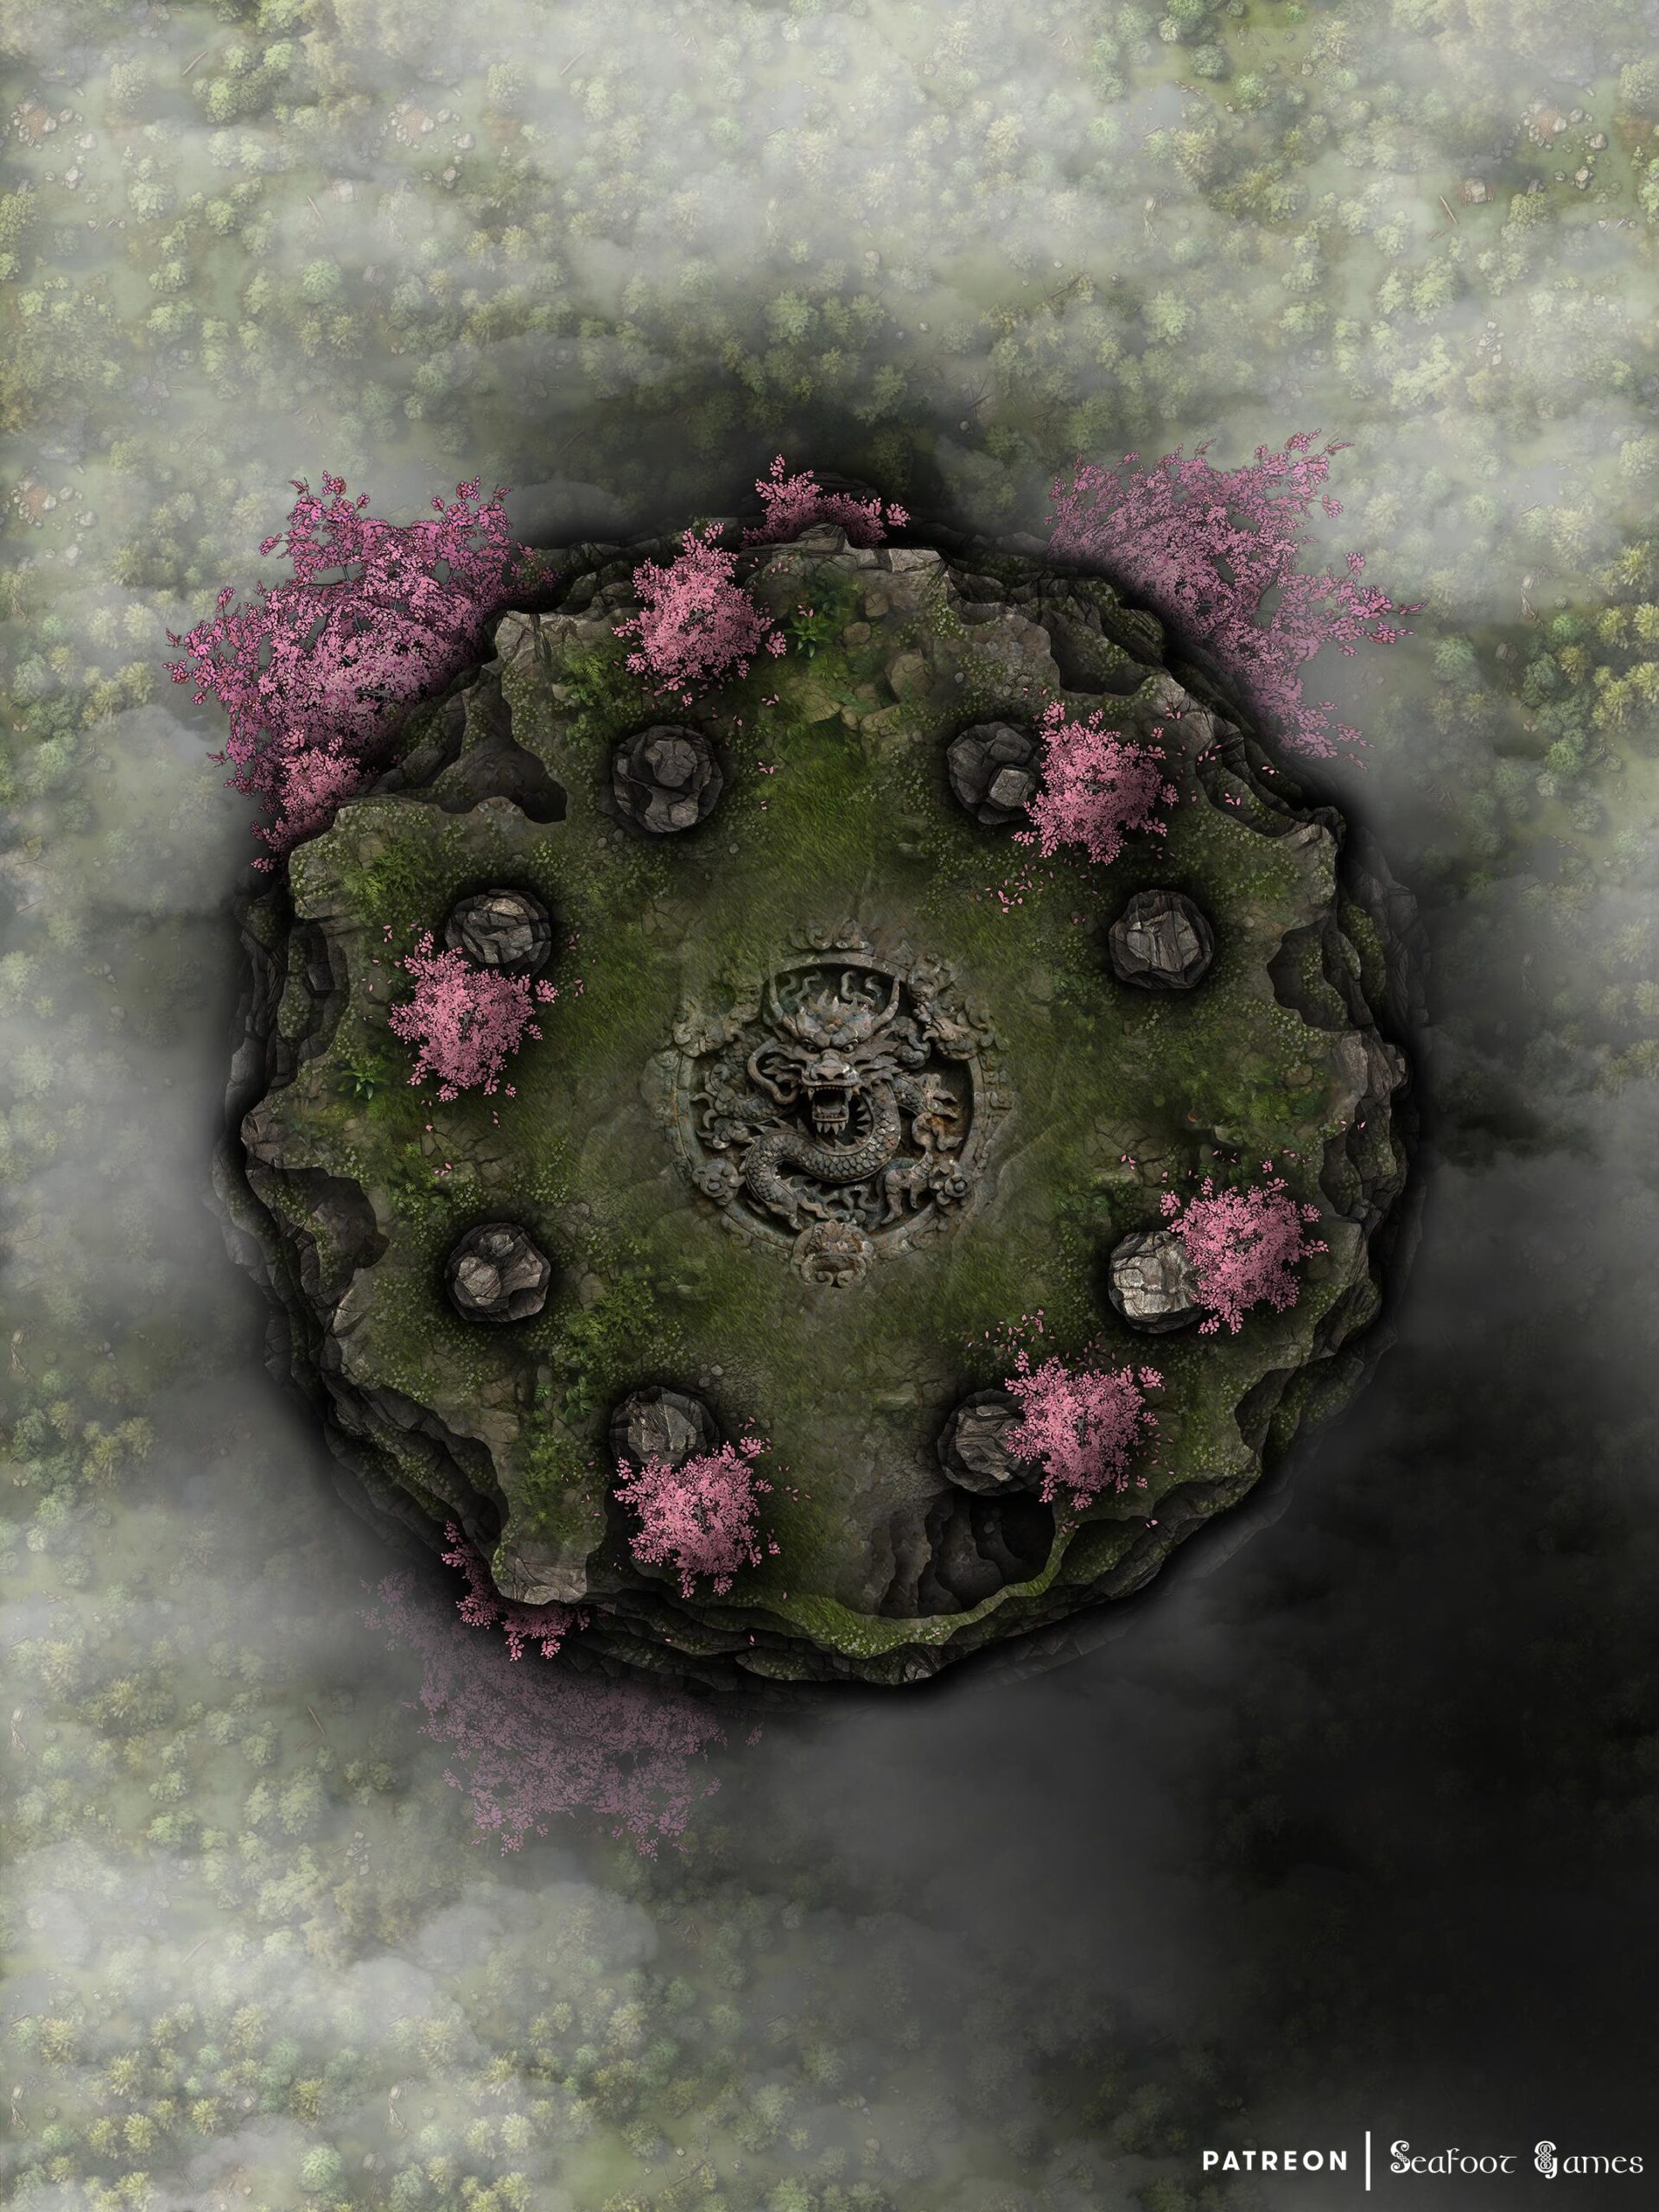
Download these free magical DnD battlemaps & be ready to play in minutes! Many come with system-agnostic adventures written just for them. Perfect for VTTs.
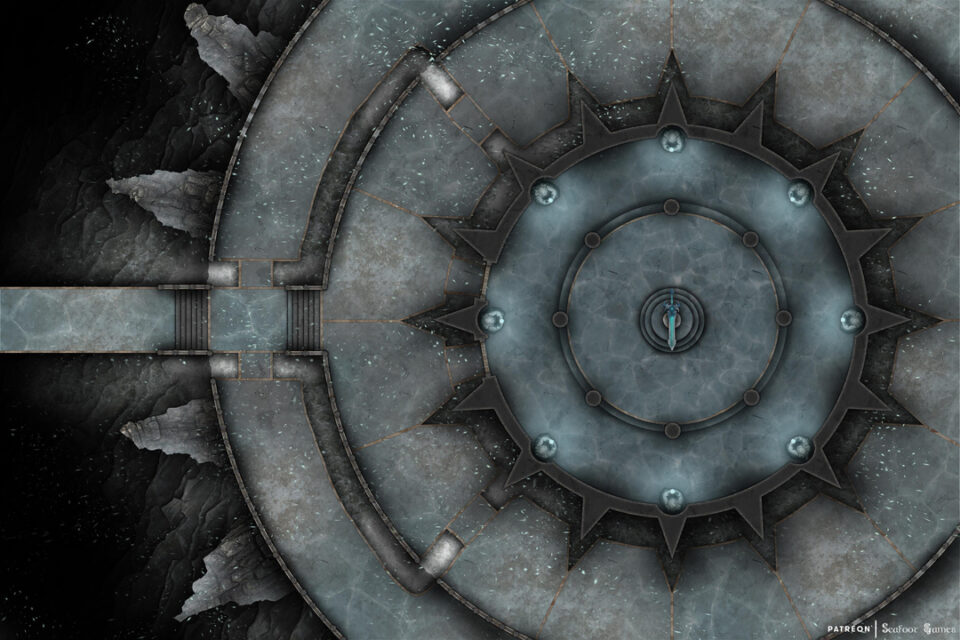
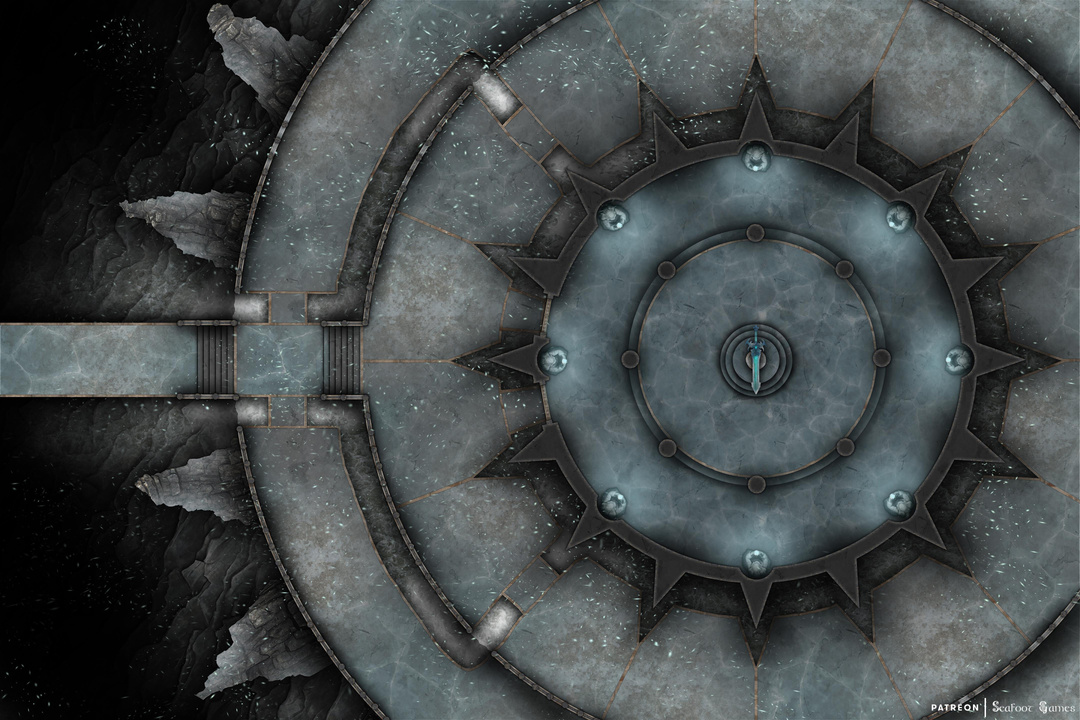
Step into the chilling halls of the Lich King’s Temple, a free 60×40 battlemap designed for epic encounters in your favorite tabletop RPGs like Dungeons & Dragons, Pathfinder, and other virtual tabletops (VTTs). This detailed map features a vast circular chamber of stone and ice, complete with jagged walls, shadowy recesses, and a foreboding central dais topped with an icy greatsword. Perfect for boss battles, undead rituals, or final confrontations against a lich or necromancer.
Whether you’re running an undead-themed campaign, staging a high-stakes dungeon crawl, or setting up the ultimate showdown with a dark overlord, this battlemap provides the perfect atmospheric backdrop. Its 60×40 grid size offers plenty of room for tactical combat, while the design’s eerie symmetry and frozen details immerse players in a truly ominous environment.
Free download. Perfect for any game night.
Grid free JPEG optimized for VTTs like Roll20, Foundry VTT, and Fantasy Grounds. They’re less than 5MB so should work on a free Roll20 account.
High-resolution for crisp detail at most zoom levels.
Ideal for boss fights, lich lairs, or undead encounters.
Bring your players face-to-face with the ultimate evil and make your next session unforgettable with the Lich King’s Temple Free 60×40 Battlemap. Want this map FoundryVTT ready with walls, lighting, sound, ect. already added, or formatted for easy to-scale printing? You can grab it from our Patreon if you sign up! Your support helps Luke and I keep making maps like this.
If you would enjoy more DnD battlemaps like this but don’t like subscriptions like Patreon, try my bestselling and 5-star reviewed (here and on DriveThruRPG) Quarantine Bundle of 520+ FoundryVTT ready maps with walls, lighting, sounds and animations already added (plus easy to follow instructions to import them, fast!).
The bundle’s maps are also ready for easy to-scale printing, plus fully indexed into categories by theme (like forest, city, pirate, dwarven, ect.) so unlike most other huge bundles they’re actually easy to find for your sessions.
AND, all of my maps are painted with level design in mind, so your murder hobos have to stop and think tactically and creatively during encounters (something AI can’t manage yet). I have years of experience running TTRPGs and each map layout takes a lot of thought regarding how the combat and session will flow.
So why not try my Quarantine Bundle for $39? If you don’t love it I’ll give you a full refund within 30 days of purchase, just shoot me an email—it really is that simple 🙂
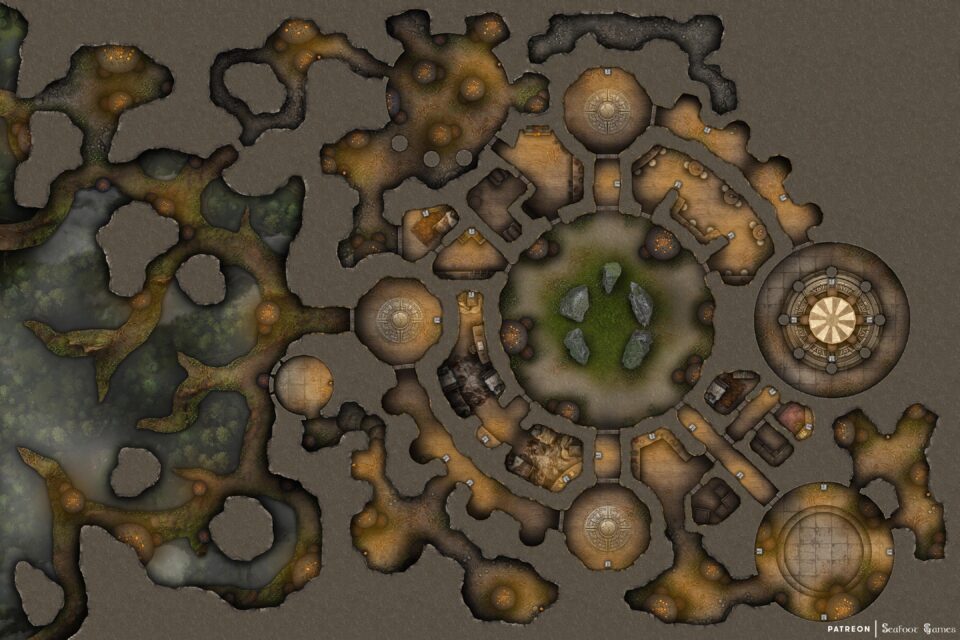
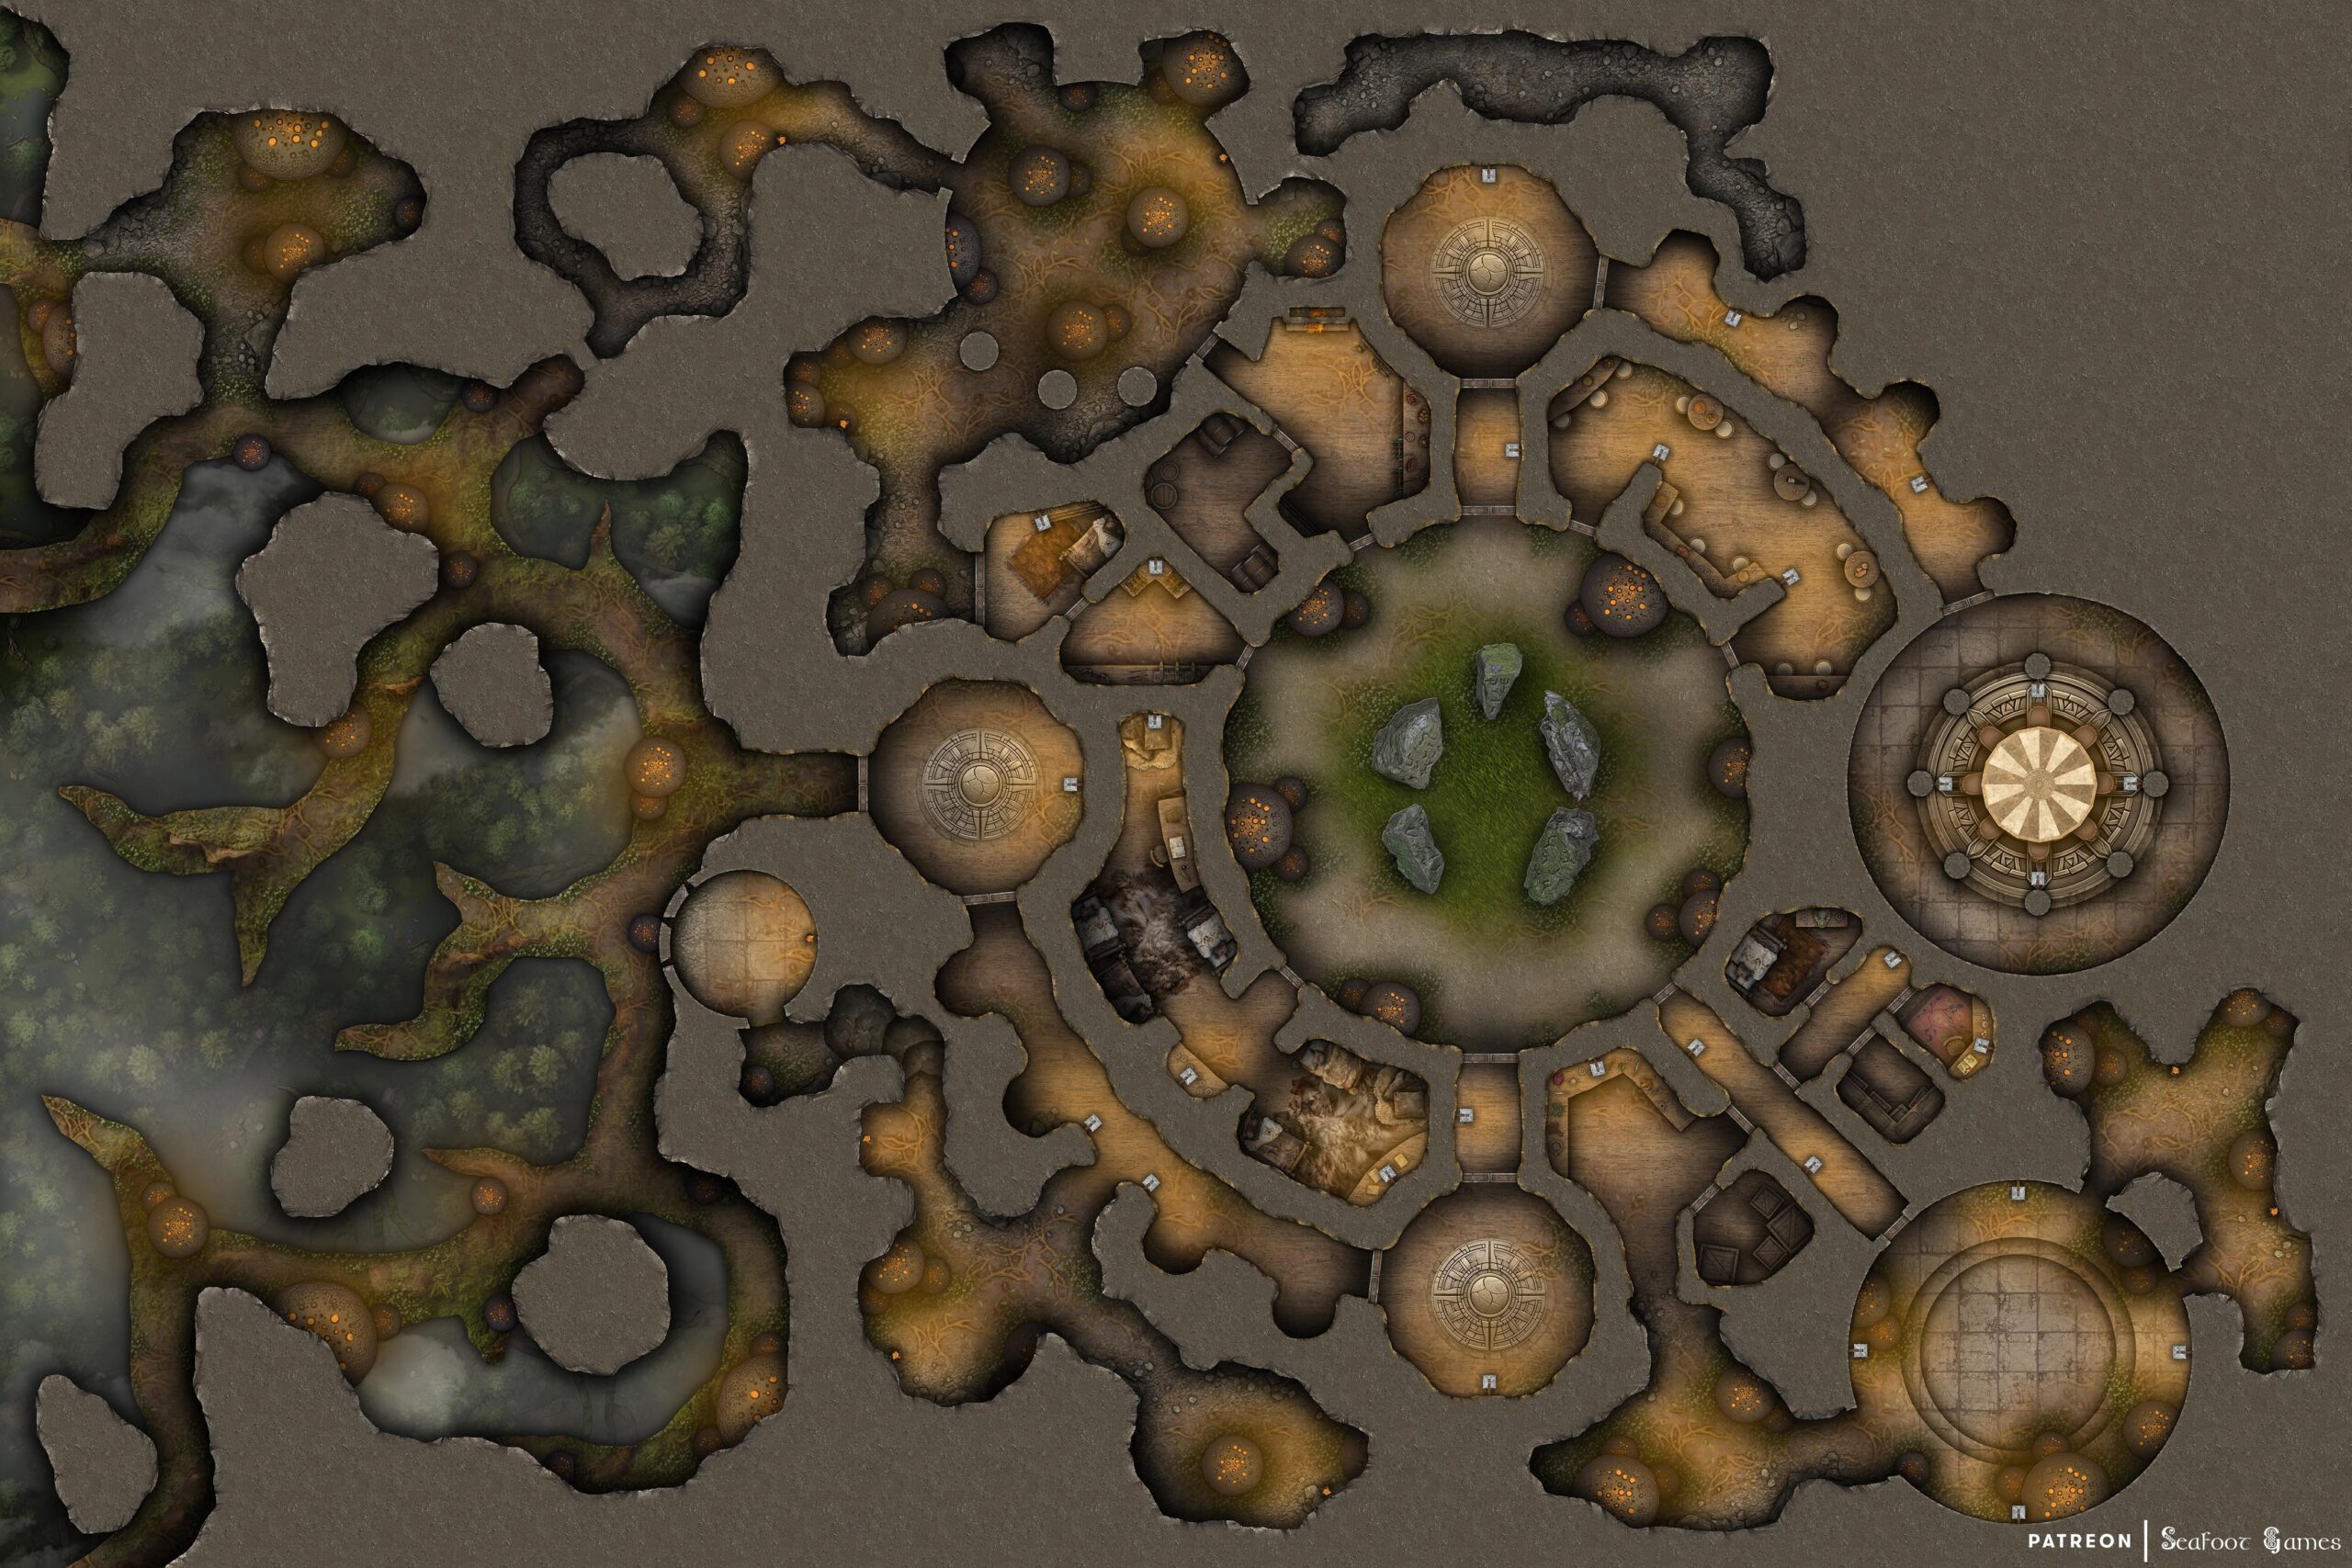
Fungal Peaks Enclave Free 60×40 DnD Battlemap, featuring a druidic sanctuary carved into a cliff face, high above the forest floor, and filled with glowing mushrooms. VTT ready!
If you’d enjoy more DnD resources like this Fungal Peaks Enclave Free 60×40 DnD Battlemap, Luke and I have released our newest Hardcore GM’s bundle of 520 large, 40×30″ DnD battlemaps (double the size of those in the Quarantine Bundle) with 255 fantasy adventures for $39. It’s your chance to have a great deal on some of our most beautiful maps! We guarantee that is something here for every GM—no matter what setting you prefer, from large cities to underwater seascapes.
Paying just $39 rather than full price saves you over 98%! Take a look at all the extra maps you can download with one click in the Hardcore GM’s DnD Battlemap Bundle here.
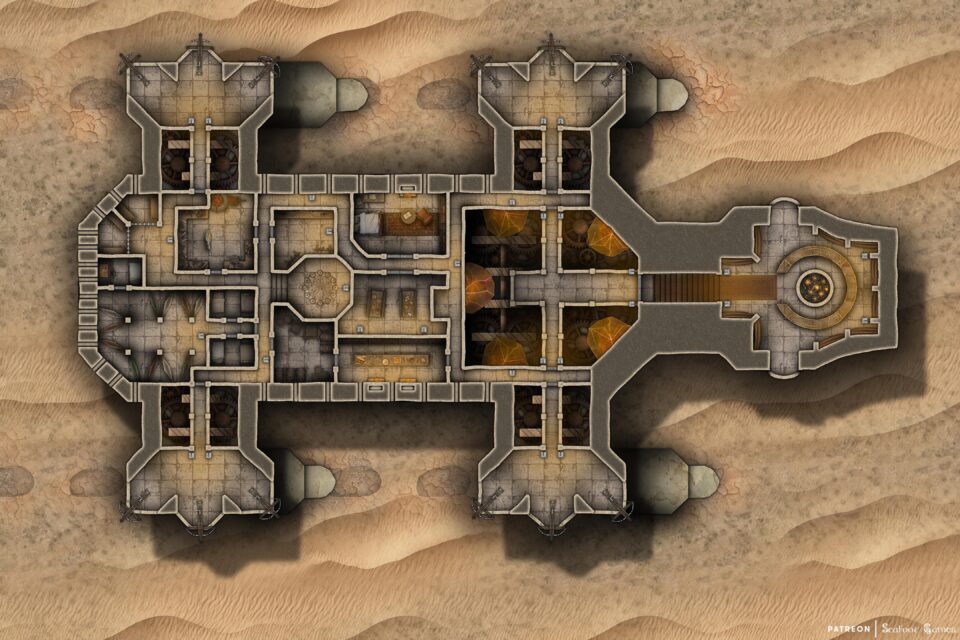
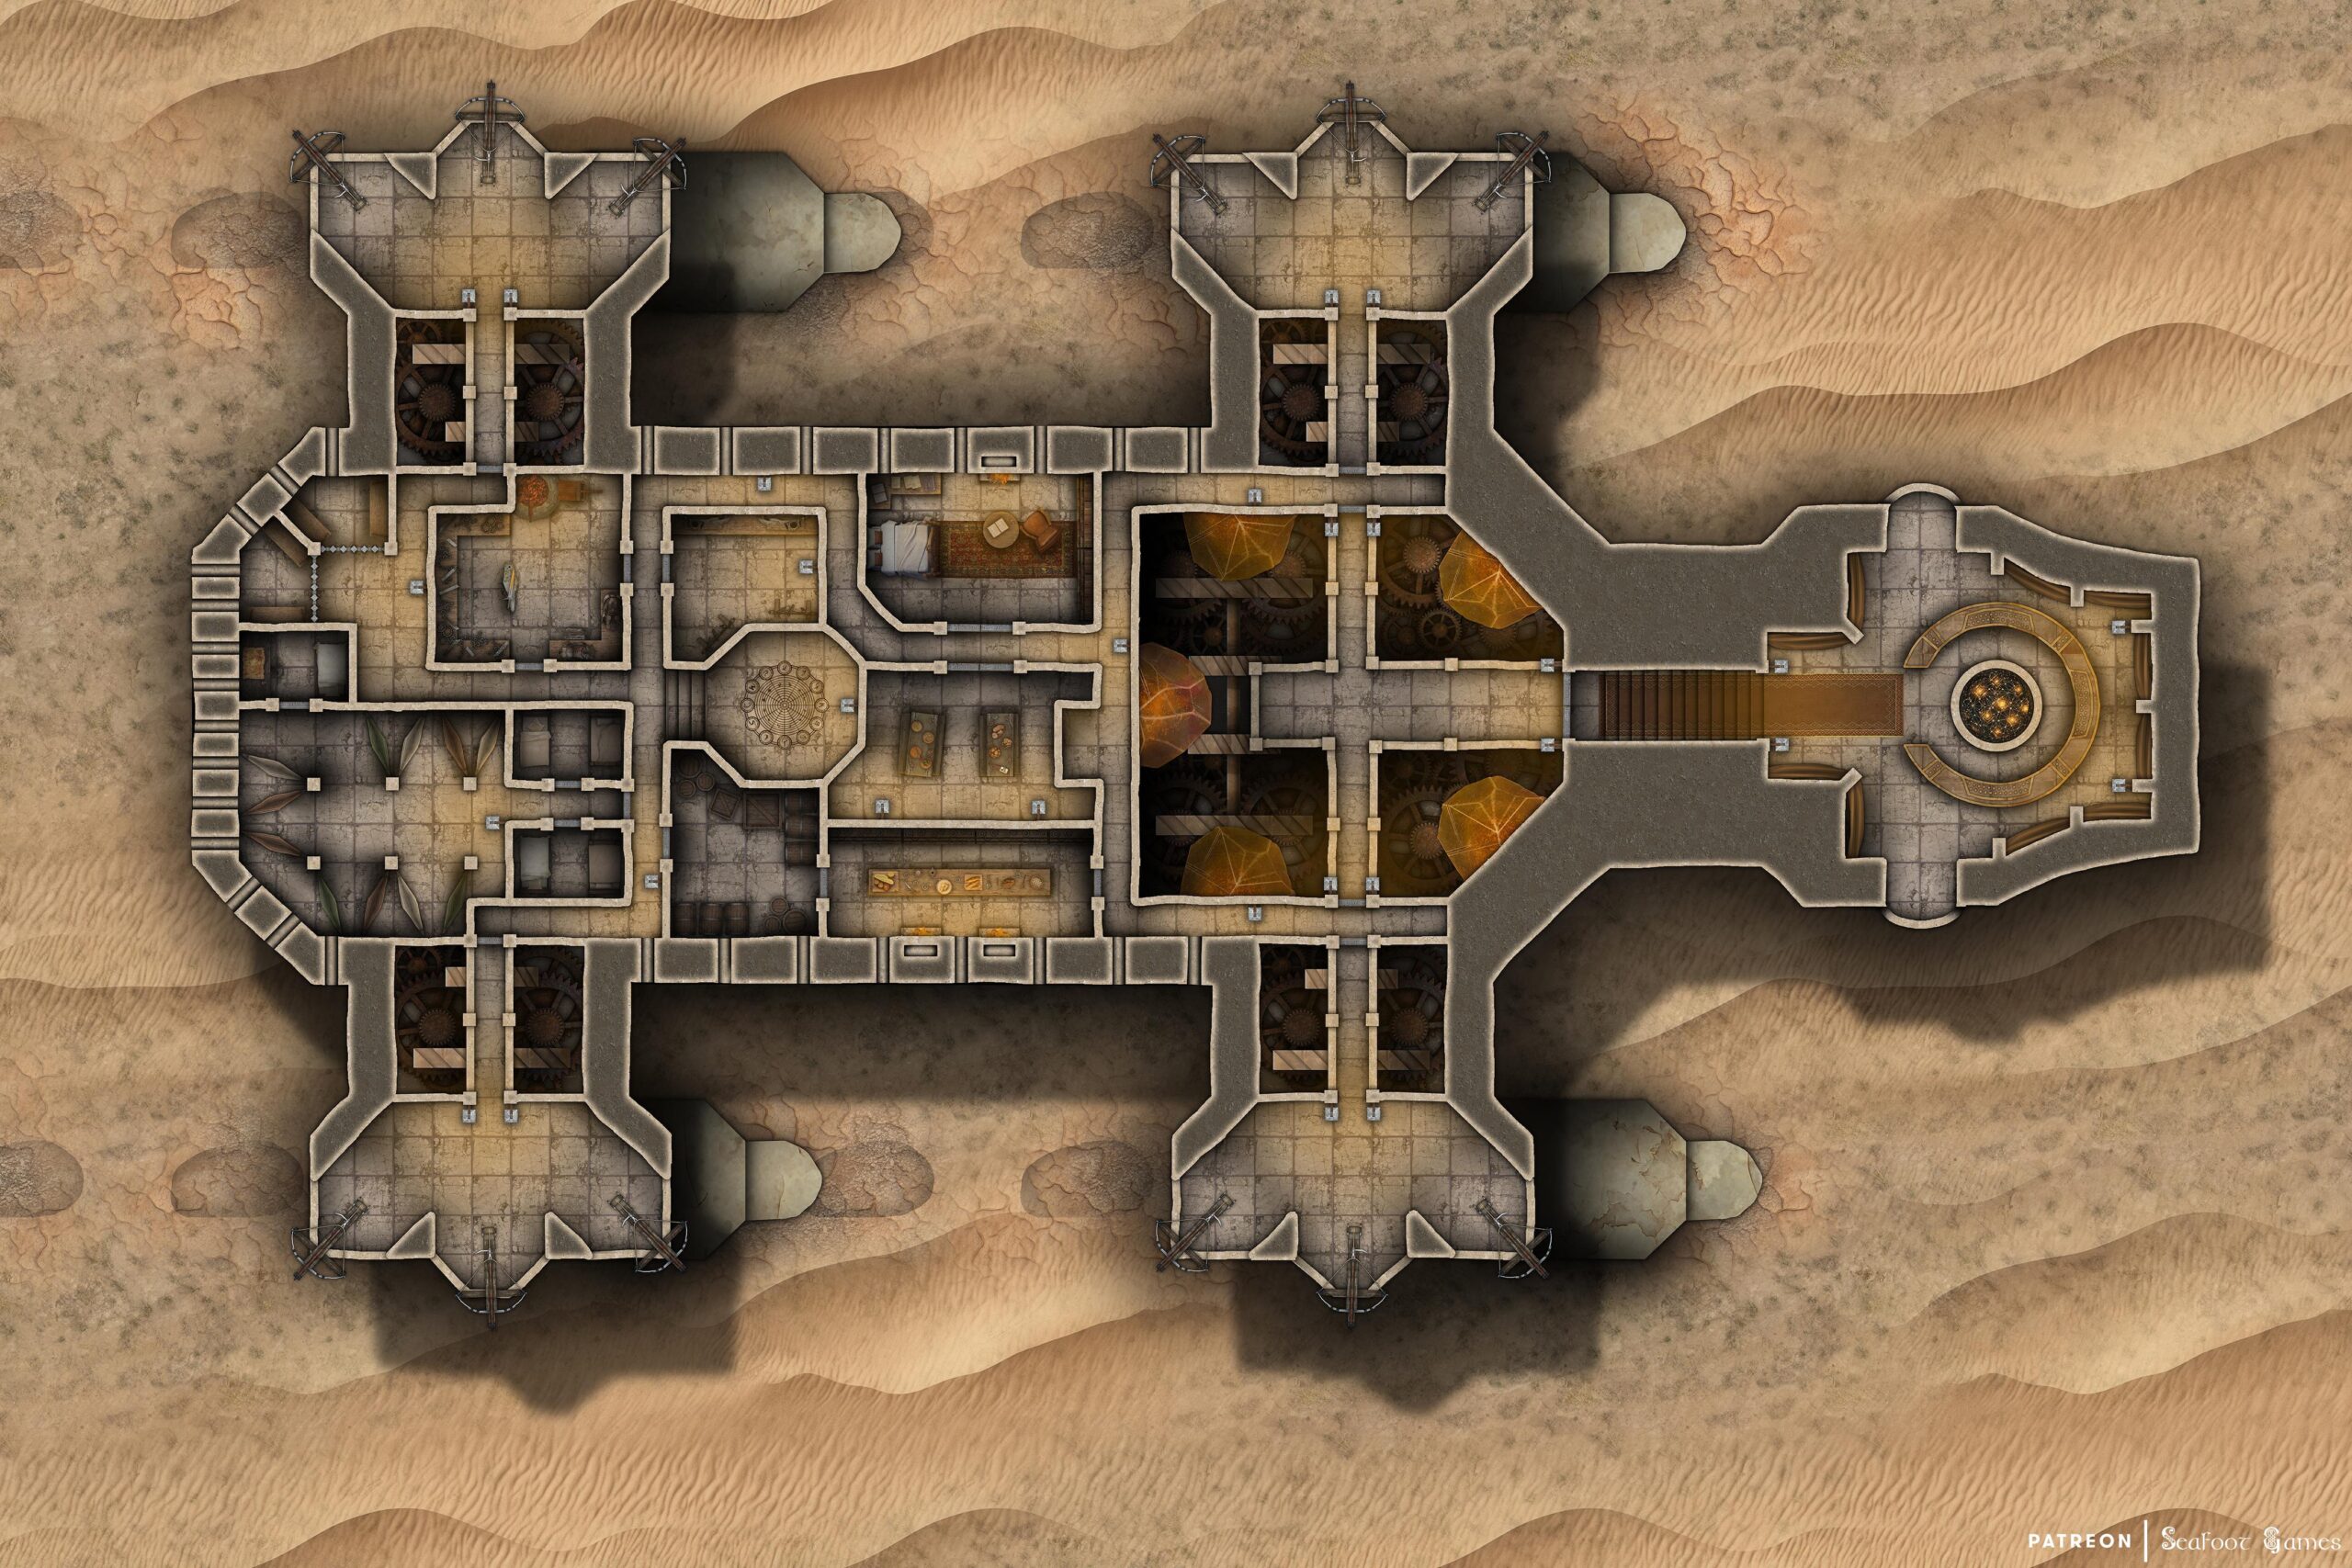
Desert Camel Walking Stronghold Free 60×40 DnD Battlemap, which was inspired by a Star Wars ATAT and the Camel Divine Beast from Zelda: BotW. VTT ready!
If you’d enjoy more DnD resources like this Desert Camel Walking Stronghold Free 60×40 DnD Battlemap, Luke and I have released our newest Hardcore GM’s bundle of 520 large, 40×30″ DnD battlemaps (double the size of those in the Quarantine Bundle) with 255 fantasy adventures for $39. It’s your chance to have a great deal on some of our most beautiful maps! We guarantee that is something here for every GM—no matter what setting you prefer, from large cities to underwater seascapes.
Paying just $39 rather than full price saves you over 98%! Take a look at all the extra maps you can download with one click in the Hardcore GM’s Bundle here.
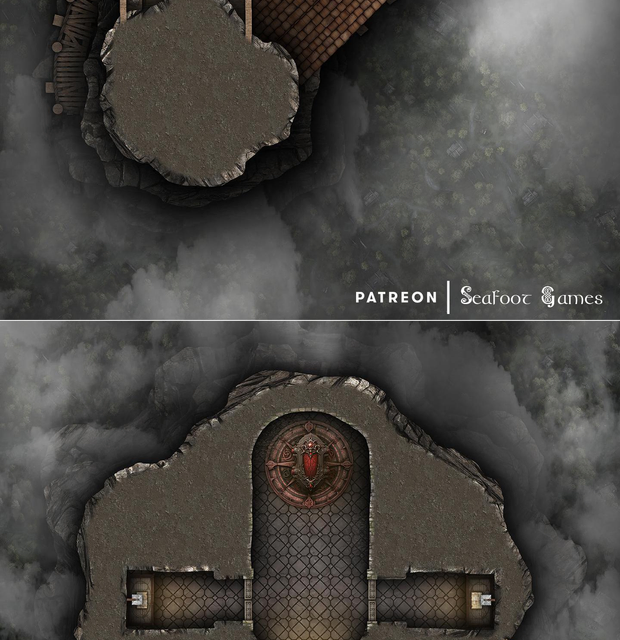
Level 1 of our Pillar of the Seventh Dragon Free 40×30 Multi-Level DnD Battlemap & Adventure, featuring dragon orbs & a powerful wish of good for evil. VTT ready!Level 2 of our Pillar of the Seventh Dragon Free 40×30 Multi-Level DnD Battlemap & Adventure, featuring dragon orbs & a powerful wish of good for evil. VTT ready!
Pillar of the Seventh Dragon Free 40×30 Multi-Level DnD Battlemap & Adventure
The Dragon Orbs
While traveling you hear a rustle coming from a roadside bush, before a man in his thirties appears. He’s minorly injured and is out of breath. If you choose to come to his aid, he thanks you, before explaining that there is little time but perhaps—with your help—together you can avert a great disaster.
He introduces himself as Kai and explains that he was one amongst a group who have spent the better part of a decade traveling the world in search of magical artifacts known as dragon orbs, which are soon to be used upon the nearby pillar of the Great Dragon. He’s happy to explain more on the way, but time is of the essence.
If you agree to aid Kai, he thanks you profusely before asking you to follow him. On the way he explains that in total there are seven dragon orbs, and it is said that when you have collected all of them you may ask a wish of the great dragon.
He and his compatriots originally set about to collect the orbs after his village was massacred by a tribal people. This happened while they were away serving the kingdom’s military as conscripts. His group’s intent on finding all of these dragon orbs was to wish for the resurrection of their people, but over the decades many of the others become bitter; believing that, even should they succeed in their goal of bringing their loved ones out, the tribal people and their descendants who took so much from them would still be out there doing the same to others.
They eventually collected all the orbs and had just arrived at the pillar of the great dragon, where they were to make their wish, when a faction within the group led by a man named Jin betrayed Kai and the others. He demanded that they wish for the destruction of the tribal peoples, instead of resurrecting those they lost. It eventually led to a fight, and to Kai’s sorrow the blood of his fellow brothers was spilled.
Kai explains that he managed to escape to look for help and thankfully found you, for if the others get their way and use their wish for a destructive purpose, he would forever feel partially responsible.
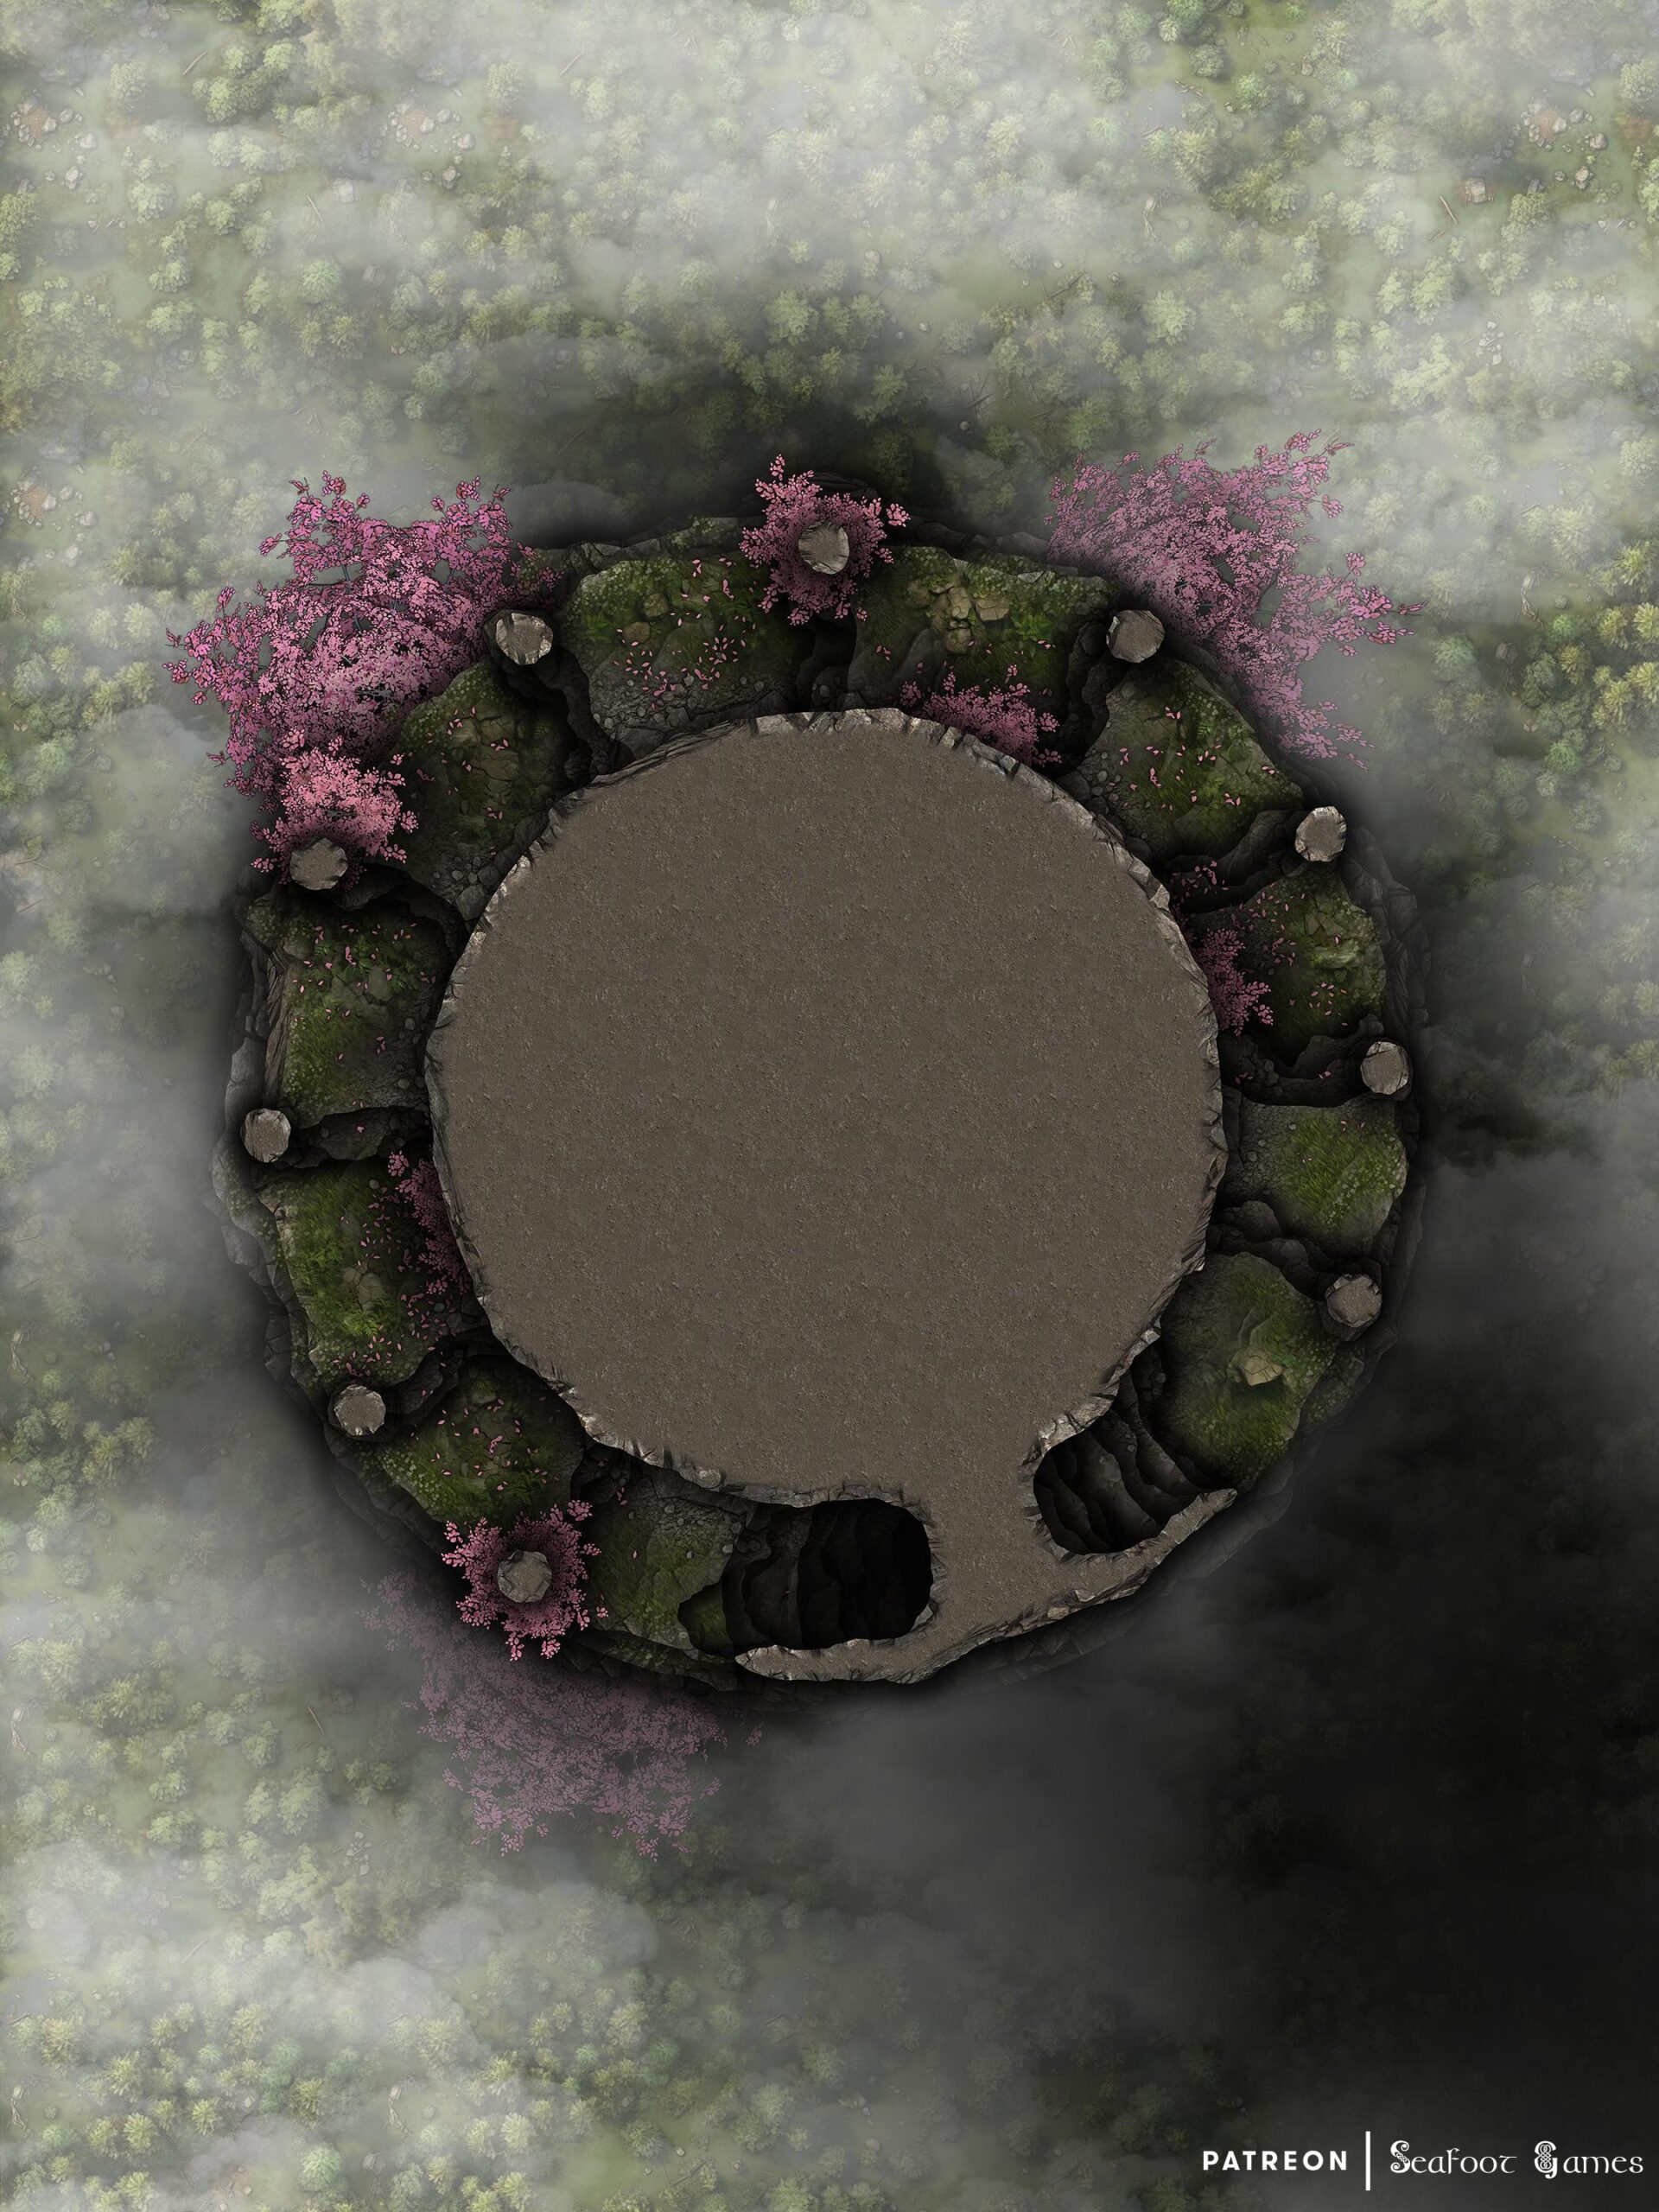
When you make it to the pillar of the great dragon, you find the bodies of half a dozen men roughly the same age of Kai. He does what looks to be a religious motion with his hand upon seeing the bodies and hangs his head in mourning, before saying that he will return here to bury them once the others have been dealt with. The dragon pillar is hundreds of feet high and almost a hundred feet wide. Stone steps have been carved into its sides and cherry blossoms are blooming on its rocky stairway.
It takes some time to reach the top, but when you arrive you find half a dozen men cheering and shouting while the Jin gives a speech about the vengeance that shall soon be upon the tribal peoples responsible for the death of their friends and families.
Strapped around Jin’s chest you can see the seven dragon orbs. Golden spheres, the dragon orbs and numbered from one to seven by red glowing stars which shift magically over their exterior.
When the men see you and Kai, they’re shocked and turn to face you, readying their weapons. Jin tells Kai not to make any more stupid decisions, explaining that he took no joy in taking the lives of their brothers but they will be with their loved ones now. Jin continues that he doesn’t wish to take Kai’s life and your life, either, so you should just leave and let him complete his wish.
Kai of course refuses and instead tells Jin that indeed no more of their brothers will have to die, but it should be them to put down their weapons and hand over the dragon orbs.
The men look at each other but don’t seem particularly scared of Kai or you. Jin says that is not going to happen, before explaining that he will not allow those of the tribal people to continue on with their slaughter. That, even if they can’t wish back their loved ones, he will know peace because those who did this to them will be no more and cause no further suffering to others.
Jin continues he is ready to die to see his wish fulfilled, before grabbing the orbs from his chest and activating them, causing them to spin up into the air above Jin.
Kai looks to you and says that you and him have to stop Jin and his followers, even if it means spilling more blood. Because, if they get their wish, hundreds or thousands more would be wiped out.
Jin’s men fight you with conviction, refusing to surrender.
After a few rounds, a great dragon appears above your heads and, with a booming voice, it asks what Jin’s wish is. If you haven’t managed to defeat Jin’s men by this time, Jin manages to make his wish and the great dragon once again disappears in a cloud of mist. Jin is pleased and explains that he is ready to die now.
With Jin’s wish completed thousands of men, women and children are wiped from existence, many of them innocent of the atrocities of their people. However, because of Jin’s wish the region also will see a time of increased peace and many villagers that would have otherwise been raided by the tribal peoples will instead be left in peace.
If you, however, manage to defeat Jin’s men before this time and stop Jin, you can instead allow Kai to make his wish to resurrect the dead of his village. Kai is incredibly thankful for your assistance and offers you a pendant his wife gave him that offers magical protection. It was the last thing he had to remember her, but now that his wish has come true, he can return home and see her once more and thus no longer needs the pendant. Thanks to you, he has regained that which was most precious to him, and great evil has been averted.
If you’d enjoy more DnD resources like this Pillar of the Seventh Dragon Free 40×30 Multi-Level DnD Battlemap & Adventure, Luke and I have released our newest Hardcore GM’s bundle of 520 large, 40×30″ DnD battlemaps (double the size of those in the Quarantine Bundle) with 255 fantasy adventures for $39. It’s your chance to have a great deal on some of our most beautiful maps! We guarantee that is something here for every GM—no matter what setting you prefer, from large cities to underwater seascapes.
Paying just $39 rather than full price saves you over 98%! Take a look at all the extra maps you can download with one click in the Hardcore GM’s DnD Battlemap Bundle here.
The Twisting Fel Free 40×30 DnD Battlemap & Adventure
An Old Man’s Hourglass
While staying at an inn during a stormy evening’s meal, the front doors swing wide open revealing a large haggard old half-devil man carrying a wooden chest in his arms. His cloak is besodden from the downpouring of rain and he appears to be bleeding from a sword wound on his arm.
The other patrons of the tavern look on in shock as the man collapses on the ground, barring the front door with his slumped back while pushing the wooden chest in front of himself. If you come to his aid he explains that the ones hunting him cannot get what lies within the chest and he begs for your aid.
Soon after the door behind him begins to thump as whoever was chasing him attempts to open it. From beneath his cloak, the old man produces a finely carved ebony hourglass, which he inverts, allowing its black sand to trickle into the other chamber, covering an image that closely resembles the very inn in which you presently find yourself.
A voice bellows over the storm outside. “In the name of lord Hadron, let us in. You harbor a thief and traitor to the crown”. The half-devil vehemently denies the accusation and implores your assistance in holding the door for just a few minutes longer after which he promises to explain everything.
If you assist him, the men outside in the storm become increasingly agitated but as the last grain of black sand falls, a hushed stillness descends. No rain, or gale can be heard and the thumping on the door is but a distant memory. As you peer into the hourglass, the building within its lower half is obscured by the black sand below, revealing an entirely new upside down structure bathed in a curious translucent green glow in its upper half.
Looking out the surrounding windows you can see you are now in an entirely different realm. The inn stands amidst an alien landscape, one of black stone and eerie fel magics. The inn’s other patrons, in states of distress, demand answers and an immediate return home.
Turning to the half-devil man, you finally notice the uncanny green hue of his eyes. He calmly explains that the hourglass has transported all within the inn to the Twisting Fel, a realm that exists between realms within the hells, a place once called home by his ancestors. He assures you that everyone will eventually return home, but first, he must flee this area before resetting the hourglass to return to the material plane.
The old man elaborates on the peculiar nature of the Twisting Fel which mirrors the material plane in many ways but not in others and that because of this it can be used for traversal, allowing access to places that otherwise might not be accessible when on the material plane. In this case the tavern you now stand is but a mirror of the one on the material plane, one of many locations which show up within the Twisting Fel which also appear on the material plane.
If you ask what is so precious within his wooden chest, the old man slowly opens the chest, revealing a small baby half-devil boy lying asleep on its cushioned interior. He explains that his daughter and a nobleman’s son fell in love and in secret had this child. When the nobleman’s family discovered the affair and the existence of the half-devil grandchild however, they sent men to have his grandson and his daughter killed. He barely escaped with his life and that of his grandson while his daughter perished.
The elderly man beseeches your assistance in accompanying him through the Twisting Fel for a few hours, as he seeks to reach another mirrored building—an old, abandoned stable situated along the King’s highway, far from the tavern’s location. Should you agree, he breathes a sigh of relief, pledging to the other patrons that they, too, will return home within a few hours.
If you ask what would happen if you invert the hourglass without being in a known mirrored location The old man cautions that this action could result in unfortunate outcomes, such as emerging within walls or underground. Hence, it is best to employ the hourglass solely in known places.
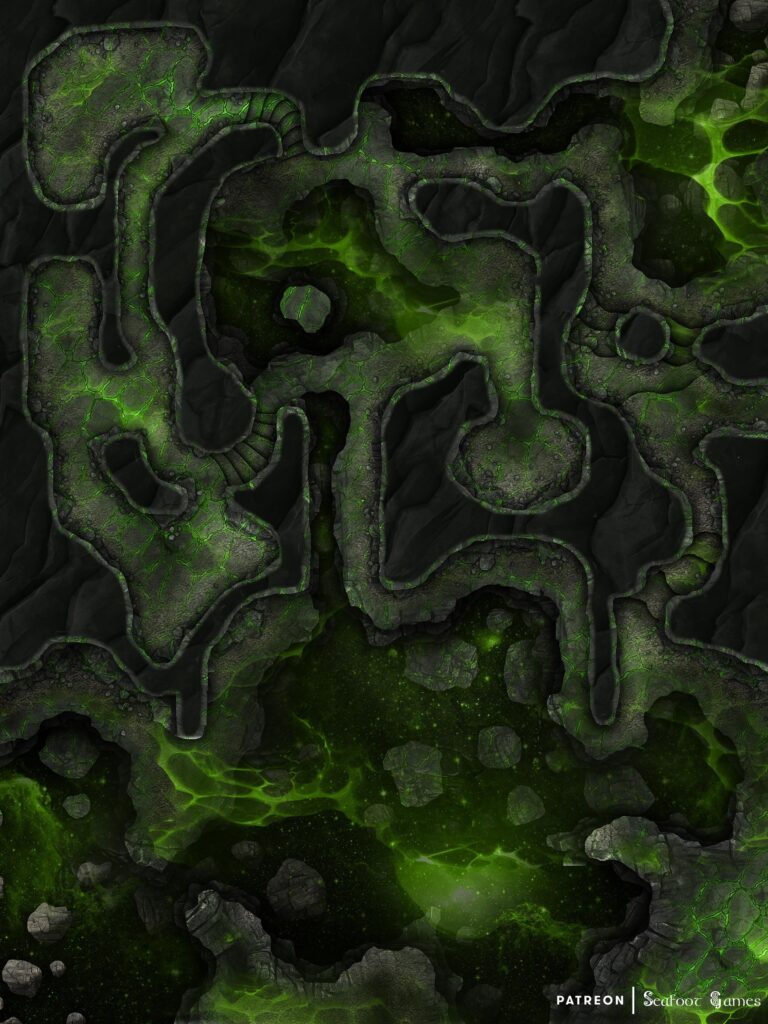
As you navigate the landscape of the Twisting Fel, you encounter endless caverns, carved stone staircases, and eerie devilish structures that mar the desolate expanse. During the journey, the old man shares stories, explaining that it has been a considerable time since he last ventured to this realm, for it teems with dangers. He expresses gratitude for your assistance and reveals that his ancestors once dwelled in a grand city at the heart of the Twisting Fel. Yet, it has crumbled over time, much like his ancestors, leaving the remnants of the Twisting Fel’s people to eke out a meager existence.
He explains long ago there were many of his kind who dwelled in a great city at the center of the Twisting Fel, but it, like many of his ancestors perished, and the city is now but a ruin where the remains of the Twisting Fel’s people huddle amongst what little they have left. It is here he continues that all the hour-glasses were made. One of many, it is what his devilish ancestors used to traverse to the material plane and evidently led to the interbreeding with mortals. The old man’s hour-glass in particular was handed down through the generations and he has used it sparingly as it was told to him as a child the dangers of the Twisting Fel.
After almost two hours of travel, you approach your destination—the abandoned stables, visible on the other side of a chasm, but before you can make your way across the chasm the ground starts to rumble and geysers of fel energy burst forth followed by dog sized wurms of glowing fel energy which set towards you.
After dealing with half the wurms the ground shakes again and a massive wurm bursts forth close to where the oldman was taking cover, crumbling much of the floor around him, which falls down into the endless void below, before the wurm knocks him aside into a stone wall and charges at you.
After all the wurms have been dealt with, you find the old man slumped on the stone wall he was knocked against. He is breathing but very weak. In his hands he holds the hourglass, shattered.
With a feeble voice, he expresses his regret, explaining that he can no longer return you to your home. Instead, he implores you to seek the ruined Fel city in pursuit of another hourglass, your sole hope of returning. Following the healing of his wounds, the old man informs you that he will guide you on a journey of several weeks, fraught with peril, through a realm of dangerous beasts and potent magics, as was foretold during his childhood.
GM’s Notes: Should the players choose not to return to the tavern to rescue the other patrons after the hourglass is broken, those left behind will likely run out of supplies and starve within a month or meet unfortunate ends at the hands of the Twisting Fel’s denizens.
The half-devil baby boy has a necklace of sustenance which will sustain him over the long trip to the ruined fel city, not needing to eat or drink.
You may instead choose to end the adventure by having the hour-glass survive the wurm encounter and have the old man use it to take you back to your plane at the mirrored abandoned stables.
If you’d enjoy more TTRPG resources like this The Twisting Fel Free 40×30 Battlemap & Adventure, Luke and I have released our newest Hardcore GM’s bundle of 520 large, 40×30″ DnD battlemaps (double the size of those in the Quarantine Bundle) with 255 fantasy adventures for $39. It’s your chance to have a great deal on some of our most beautiful maps! We guarantee that is something here for every GM—no matter what setting you prefer, from large cities to underwater seascapes.
Paying just $39 rather than full price saves you over 98%! Take a look at all the extra maps you can download with one click in the Hardcore GM’s DnD Battlemap Bundle here.
Spires of the Vampire Lord 60×20 Multi-Level DnD Battlemap & Adventure
Blood for the Bloodlord
While staying in a small town tavern, you are approached by a young woman dressed in the attire of an alchemist. She introduces herself as Alma and explains that she plans to enter a competition held every ten years by the lord of this region. The winners of this competition earn the lord’s favor, which can significantly change their lives.
If you ask why she chose you, Alma explains that you’re not from the town, and she can’t trust anyone else who might also be trying to enter the competition. If you’re interested, she says she can provide more details at her store later and leaves you to think about it.
When you arrive at Alma’s store, you find it tucked away in a small alley off the main street. The house itself is cramped, but Alma greets you excitedly, thanking you for coming before explaining the competition in more detail.
The lord of the region is a vampire who has ruled for hundreds of years. It may sound terrifying, but it’s more complicated than that, you see he was once the beloved mayor of the town. When he grew old, the people didn’t want to lose him, so, despite his initial protests, he agreed to become a vampire to care for the people forever.
Now, every ten years, he organizes a competition in which villagers bring him the most exotic blood for him to taste. No one has ever been killed in this competition, but usually, a small amount of blood is drawn, which is then offered to him. In previous decades, winners have given him blood spiced with rum from the southern islands, blood garnished with herbs from the elven kingdoms, and blood infused with desert spices.
However, Alma claims to have something he’s never tasted before. She presents a bowl containing a slurry of green and brown liquid, a mixture of the deadliest mushrooms and herbs known to mankind.
This is where you come in. Alma needs you to drink the liquid and then make your way to the lord’s manor with her, which is located in the Forest Spires, a group of stone pillars 600-800 feet high. A small hamlet has been built at the top to see to the lord’s needs who also resides within the spires.
The poison won’t affect the lord, but the taste of your blood will be incredibly unique. Alma assures you that she will provide the antidote before you leave so you can take it after the lord has sampled your blood.
If you ask why you can’t drink it here and take out some of your blood now, Alma explains that the mixture should take around 6 hours to infuse your blood with its flavor. To keep it fresh and potent, it’s best to wait until you and she are in the lord’s chamber before drawing the blood.
If you question Alma’s ability to provide an antidote, she stomps her foot and asserts her proficiency as an alchemist. To prove it, she offers you a potion of levitation, which you find to work as described.
Now, she mentions the one downside of the poison. It will make you feel progressively sicker over time, but it shouldn’t be lethal until after around 10 hours. This gives you and Alma a solid 4-hour window to get the blood to the lord.
If you ask what you get out of this, Alma explains that if she wins the lord’s favor, she will request a larger alchemy store and more supplies, enabling her to produce dozens of more potions per month. She’s willing to either supply you with some each month or have them shipped to a destination of your choosing for your convenience.
If you agree, she hands you the bowl of liquid and suggests leaving in around 5 hours since the spires are only a half-hour walk from here, providing ample time for your blood to both season and for you to still get there in time.
When you arrive at the spires, you’ve been feeling the effects of the poison for some time, and it feels like it’s close to peaking. You need to climb over a thousand steps to reach the top of the spires and as you approach the top, you start hearing screams.
Upon arriving at the small hamlet Alma mentioned, you find it overrun with men carrying torches and axes who are threatening the townsfolk. One townsman tries to stand up to them, but one of the attacking men kicks him, sending him falling off one of the wooden bridges connecting the spires. After this the other attacking me begin heading for the lord’s chamber.
At this point, the poison coursing through your veins is almost debilitating, but if you ask for the antidote, Alma says she’ll never win the lord’s favor if you take it! but in the end leaves the choice up to you.
Navigating through the hamlet, you’re assaulted by the men with axes if you refuse to stand down and return to your home. Finally, when you arrive at the lord’s chamber, you find the lord, a portly balding man, seated on a lavish throne, surrounded by five men with axes.
The men insist that the vampire lord must die, as is the fate of all vampires, while the lord stutters and pleads that he’s never harmed anyone during his long existence and begs for your help.
Once the attacking men are dealt with, the lord sighs visibly, thanking you profusely and inquiring if anyone else was harmed.
Once everything has calmed down, if you didn’t take the antidote, Alma asks you to remain still while she takes a sample of your blood and presents it to the lord. The lord acknowledges that it is indeed the most exotic flavor he has ever experienced, and that Alma has won the competition. He chuckles to himself, stating that he would have also granted her his favor for your assistance with the men with axes so instead in addition, he offers a weapon from his treasury as a token of gratitude for your bravery.
If you’d enjoy more TTRPG resources like this Spires of the Vampire Lord 60×20 Multi-Level DnD Battlemap & Adventure, Luke and I have released our newest Hardcore GM’s bundle of 520 large, 40×30″ DnD battlemaps (double the size of those in the Quarantine Bundle) with 255 fantasy adventures for $39. It’s your chance to have a great deal on some of our most beautiful maps! We guarantee that is something here for every GM—no matter what setting you prefer, from large cities to underwater seascapes.
Paying just $39 rather than full price saves you over 98%! Take a look at all the extra maps you can download with one click in the Hardcore GM’s DnD Battlemap Bundle here.
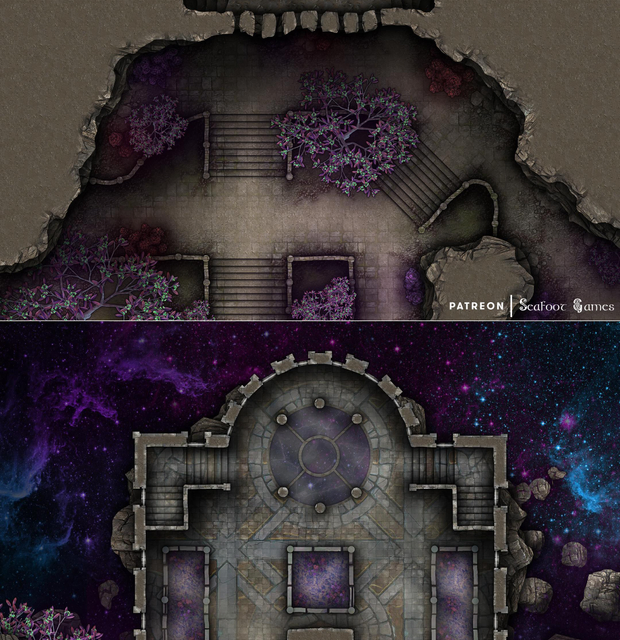
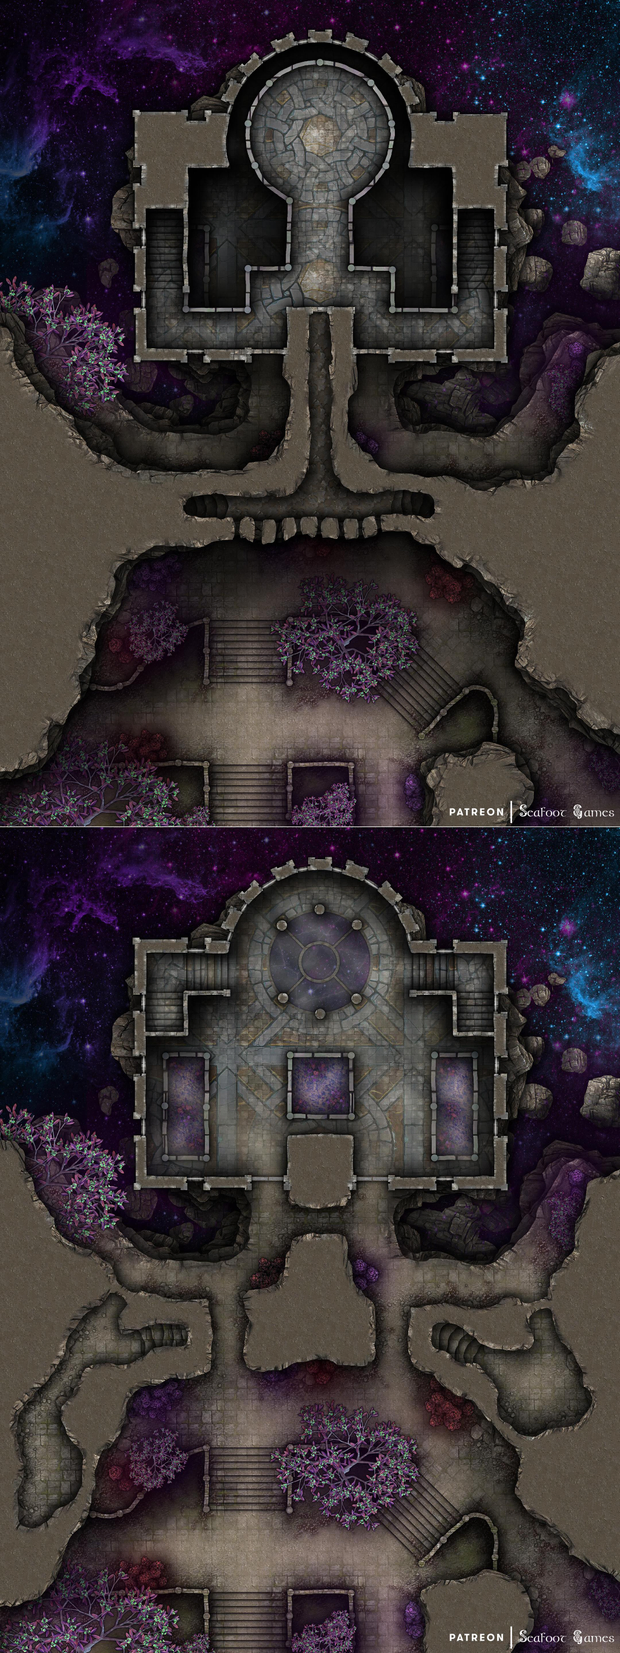
Temple of Stars Free 40×30 Multi-Level DnD Battlemap & Adventure
The Star Seers
During a resupply visit at a large city, you’re contacted by a dour servant who treats you condescendingly, handing you a letter sealed with the emblem of a formidable old nobleman with a reputation for being an incredibly wealthy recluse. The servant waits expectantly for you to read it, insisting that he must bring your response back to his lord.
The letter contains a seemingly misplaced ramble, addressing you as an old friend—which you’re not—and sharing banal details about how the man’s boring life is going. Should you ask the servant whether or not the letter was actually intended for you, the man raises an arch eyebrow and asks that you are in fact you by name. Should you answer that you are, the man suggests that you take a closer look, perhaps by a candle to assist your… failing vision.
When you look at the letter by firelight, invisible ink shows up. The true message is an invitation to the lord’s manor, explaining that he has heard of your work through various informants. He writes that there is an insidious order of religious charlatans calling themselves the Star Seers, who survive like a bloated insect on the donations of the naive. He invites you to visit him, so that together you may see this order disbanded once and for all. There is good gold in it for you, should you be willing to stamp out the charlatans.
After reading the letter, the servant asks whether or not you’d like to stop in and visit your “old friend”. If you are, he’ll lead you directly to the manor, or give you instructions on how to get there later on your on, giving you a passphrase to tell the guards (they’ll ask “when the raven calls at night”, to which the response is “the stars reveal the light”).
Once inside, the servant guides you up to a sumptuous drawing room to meet with the old nobleman, named Andreas. The room is filled with rare, unusual collectors items and lots of expensive-looking scrolls behind locked glass display cabinets. The scrolls have the emblem of a star on the timber ends.
Andreas has intelligent eyes and sharp features, and is in remarkably good physical health for his age. He explains in a raspy voice that he is glad to see you’ve taken him up on his offer, saying there’s a small planetoid with a village on it located at the foot of the charlatan’s temple. The Star Seers claim to be prophets, and the whole village believes in their deceit.
The peasants there are not a wealthy people to begin with, and the charlatan’s strip them of what excess possessions and wealth they have, leaving them with little more than the clothes on their backs and barely-full bellies. The locals don’t have the gall to stand up and do something about it because they believe their filth, so Andreas will. He’s a tired man, and has seen too much hardship and injustice in his day. Now that he’s old and has money to do something about it, he won’t stand by and watch that kind of injustice any longer.
If you ask what makes the Star Seers charlatans, he explains their prophecies are all lies, worded so vaguely as to be applicable to almost anything!
Should you agree on the amount of gold as your reward, he gives you instructions for how to get to the temple. Before you go, he remarks nonchalantly—as if remembering something last minute—that there is a scroll he needs you to acquire from the temple, and bring to him. It contains information on the so-called Star Seer’s future plans or corrupt connections, which he’ll need to fully root out the remains of their influence. It should be kept by the temple leader.
After an uneventful sail to the planetoid through the dark sea, you arrive at the village and find the buildings and inhabitants are quite poor like Andreas described. The town sits in a small valley, and at the top overlooking it, built into a cliff, is a stone temple with its walls inlaid with silver circles and patterns depicting the stars.
Should you talk to any of the villagers, they are humble and relatively happy. They seem to believe what the Star Seers do is essential and holy work, albeit beyond their comprehension, and as such they are glad to donate what little they have to their cause.
When you go inside the temple, you are immediately beset upon by priests and priestesses wearing black togas with silver trim, intricately embroidered with silver threads marking the constellations, as well as circles symbolic of the orbits of planets. The women wear headbands of silver, elaborate earrings, and small diamonds pinned in their hair symbolizing stars, while the men wear silver bands on their wrists and forearms that have been etched with planets and suns. Silver chain belts tie their togas; the lavish ornaments a stark contrast to the poor village below.
The Star Seers refuse to negotiate, pulling out small daggers or using martial arts to attack you on sight. When you fight them, you get the uncanny impression they know what you’re going to do before you do it. They dodge seemingly effortlessly away from any attack, even ranged ones—until suddenly, one by one, they don’t; dying via clean kills, almost as if it were their intent.
Once you’ve fought your way to the upper level of the temple, you find the High Priestess standing with her back to you, her hands hidden in front of her, looking out at the stars. There are two silver star-wheel pistols at her belt.
Somehow, on the other side of the temple where she looks, the planetoid simply falls away; as if it was sundered in two long ago. Through the windows you can see chunks of asteroids drifting aimlessly in the starry sea beyond.
Still observing the stars, but seemingly aware of your presence, the head priestess recites “In the heart of a deceiver, kind and bright, Our ancient order meets twilight. His gentle ways belie his might, As he eclipses our starry light. The old must fade, so proclaims the tide, To avert a fate we cannot hide. In the wake of change, where fears reside, Necessary is our star-crossed slide.”
Then the woman speaks normally, saying that her people have always watched the stars and motions of the planets, believing that should they perfectly calculate their next movements they can divine the future. Whether or not they write it down accurately, however, has always eaten away at her with doubt.
Turning to face you, she holds two loaded and ready silver star-wheel pistols in her hands, aimed at you. “Kill me, before I kill you,” she says, her voice trembling. “I have not the faith of my followers. I doubt in my heart whether our interpretation was correct.”
Should you seek to talk further, she closes her eyes and fires the first shot; hitting her target in a dangerous, but not lethal place, showing that she is a legitimate threat. Should you not attack right away, she fires the second, before going for the others at her hips. If you fight her, she intentionally misses and somehow steps directly into an uncannily clean death, whispering relieved as she dies that the prophecy was correct.
On her person are two scrolls of prophecy, both marked with the same star sigil as the others in Andreas’s manor. With the two scrolls is a letter addressed to you. It tells you that the first scroll, bound in red ribbon, is the one Andreas wants, but should not have lest he send the worlds into a dark future. It will, however, endow you with great riches and power in his wake. The second scroll, bound in silver, is one that, if given to him, will ensure that the future is bright, though you will be unrewarded for such kindness. Should you read either of the scrolls, you will inadvertently affect the future in disastrous ways. The letter advises that Andreas is only expecting one scroll with a prophecy, but does not know what it will contain, thereby the choice is yours. Choose wisely, the letter ends, and may dawn’s light serve as your guide.
Once you have the scrolls, the temple begins to shake, as if the very cliff on which it resides has become unstable and is about to break off into the shining sea beyond. Should you escape in time, if you look behind you as you leave the temple you see it fall off the cliff and disappear in the shadow of the planetoid below.
When you go back to Andreas (providing the passcode so the guards admit you), should you confront him about his lie in sending you to the Star Seers, who were in fact real prophets, he scoffs and explains that he told you what you wanted to hear—would you have accepted the job otherwise? Adventurer’s like you all want to play the hero, and now you have. What you did was necessary. That order gave their prophesies to just anyone asking after them, and if it had continued a terrible future would unfold.
He continues that a future that has been predicted among these very scrolls, gesturing to his collection. Thanks to you, that future will no longer come to pass, and disaster has been averted. As their protector, he will see to it that the wrong hands do not get access to such dangerous instruments of prediction. Now, have you brought him the last scroll?
If you claim not to and are lying, he’ll see right through it and have his snide servant—who is a surprisingly adept fighter—search you for it. Andreas might also fight, as he is a powerful caster, though prefers others remain unaware of that fact.
Should you hand him either of the scrolls, he’ll immediately unravel it and read it eagerly, with an expression on his face like a man who was dying of thirst drinking water. Then he’ll recurl it, and say decisively “I see,” before paying you and dismissing you to go on your way.
GM’s Notes:
For the encounter in the temple, to simulate the priests and priestess’s foreknowledge of the players attacks increase their AC score so they’re hard to hit then after one or more rounds reduce it to something much lower and easy to hit on a few select individuals so your players can pick a couple off each round. As they die, describe it as if they suddenly stop uncannily knowing what the player will do in advance as if they’re deliberately letting themselves be hit. This is because the NPCs know what their fate is, and when their time has come; following their destiny fervently.
The loot that the players pick off from the bodies of the priests and priestesses is not as luxurious as it first seemed. In reality, they are only silver plated, and the supposed hair diamonds are really just cut quartz. It seems the order recently spent the last of their savings to affect an air of wealth, in preparation for your players arrival.
Should the players hand Andreas the scroll that gives them great wealth but damns the future, Andreas will commit suicide and they will be contacted by a deceased estate manager giving the last of his wealth to them in thanks, saying it was their delivering the scroll that gave him the strength and knowledge to know what to do. Then hook into a greater campaign where disaster is unfurling. We recommend you might start with a town or NPCs your players love dying, perhaps from a new invasion of dark forces, or lovecraftian cultists rising up amongst them. If the players hand Andreas the other scroll, nothing happens to them.
If you’d enjoy more DnD resources like this Temple of Stars Free 40×30 Multi-Level DnD Battlemap & Adventure, Luke and I have released our newest Hardcore GM’s bundle of 520 large, 40×30″ DnD battlemaps (double the size of those in the Quarantine Bundle) with 255 fantasy adventures for $39. It’s your chance to have a great deal on some of our most beautiful maps! We guarantee that is something here for every GM—no matter what setting you prefer, from large cities to underwater seascapes.
Paying just $39 rather than full price saves you over 98%! Take a look at all the extra maps you can download with one click in the Hardcore GM’s DnD Battlemap Bundle here.
While visiting a small village, you are approached by a middle-aged man wearing fine leather armor, with an assortment of weapons at his disposal. His face is scarred and his expression is cold and hard.
“Pardon me,” he says politely in spite of his harsh demeanor. “I’m looking for strong people for hire, to aid me in a most noble quest. Are you available?” If you tell him you are, he continues. “My name is Jeddik Erskine. I live locally, though I spend much of my time on the road, protecting merchant caravans and hunting bandits.
“This isn’t the career I had in mind when I was young. When I was a small boy, my family grew grapes and produced some of the finest wines in the region. The vineyard where I grew up isn’t far from here, but I haven’t been back in years for you see, my family was killed in horrifying circumstances.
“The details are sketchy, for I was young and frightened, but nobody travels to the old vineyard anymore, for good reason. Malevolent spirits dwelled below in a series of chambers that were hidden when first we moved there. Strange occurrences began to manifest; minor things at first, but then my family were killed off, one by one.
Erskine steadies himself as he deals with powerful emotions. “I have lived in fear of that place ever since, but I will tolerate it no longer. I mean to go there and vanquish those specters so that my soul can be at peace, and I can reclaim my family’s land. I can pay you well for this task; will you join me?”
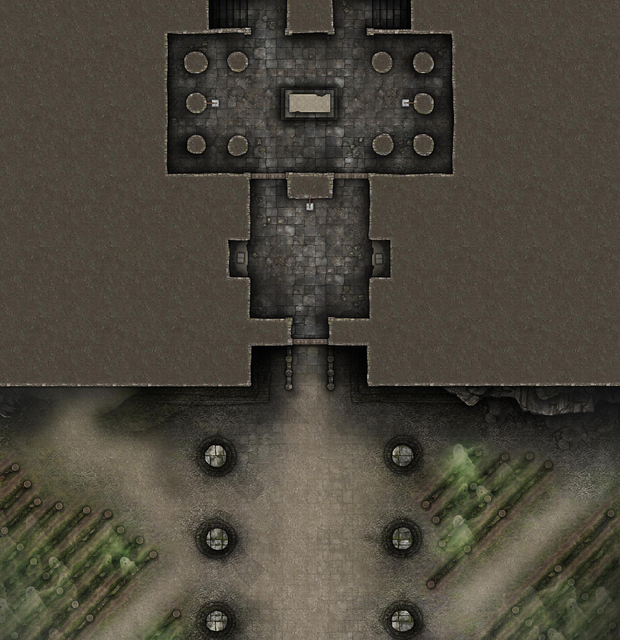
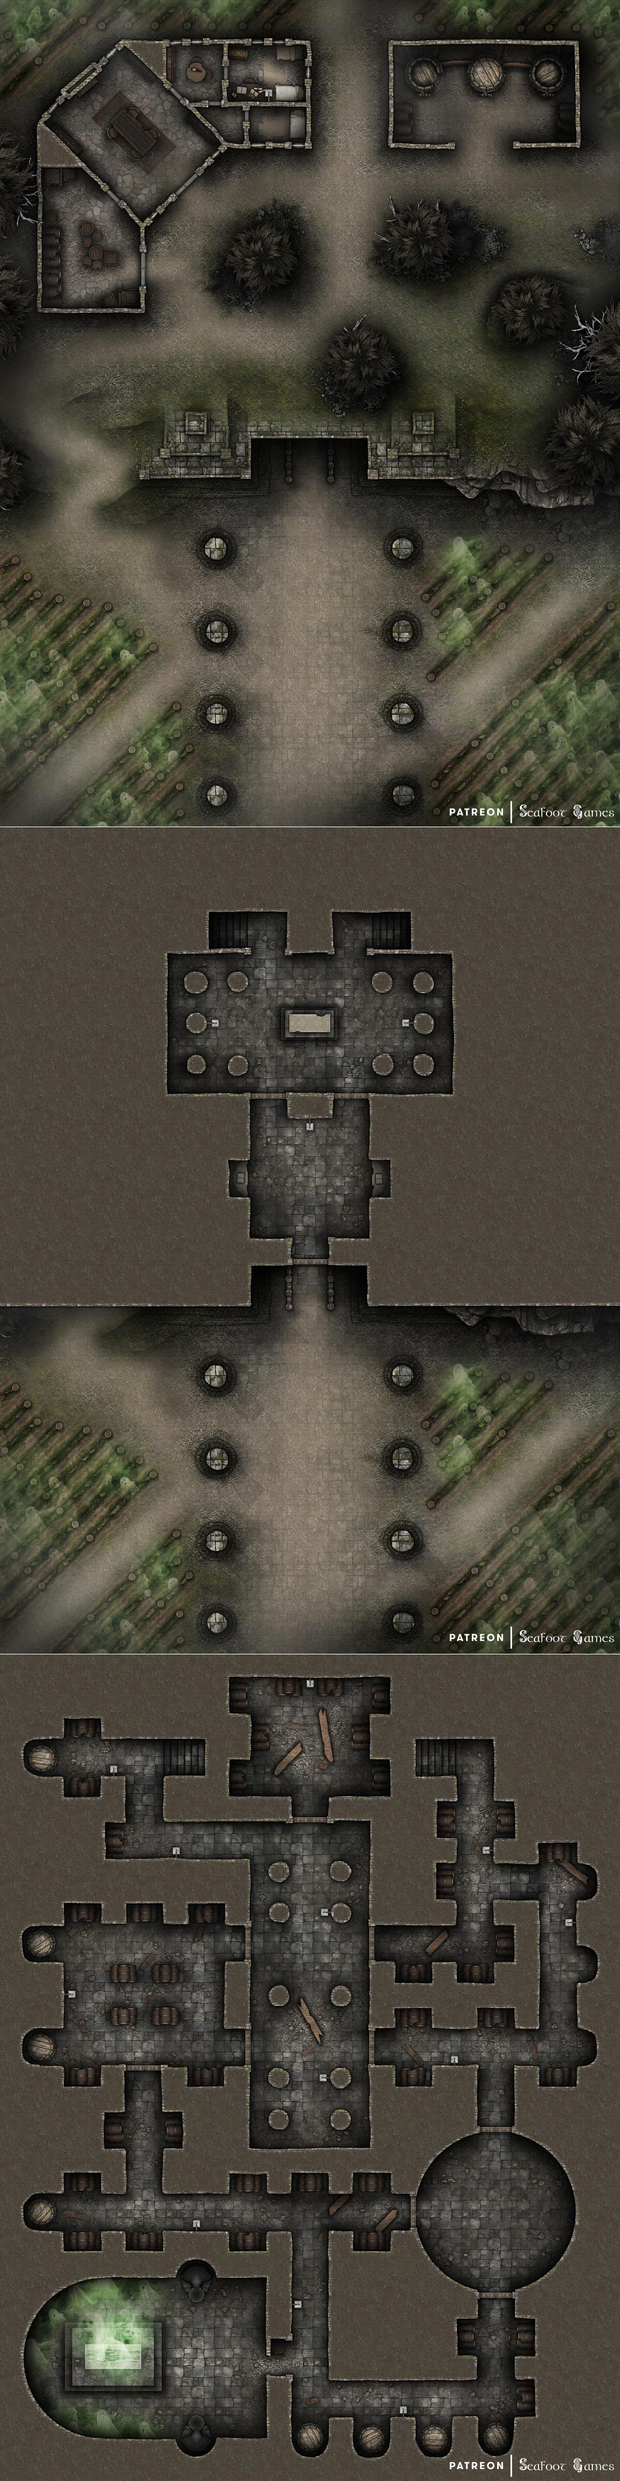
If you agree to help Erskine defeat the literal ghosts of his past, he bids you follow him to the vineyard just down the road, outside the village. If you follow, you soon arrive at a place frozen in time. Fields covered in weeds sprawl beneath towering pines, keeping the place cloaked in perpetual shade.
Erskine carefully approaches the cottage with a sword in hand, looking for signs of trouble. He can’t bring himself to enter the cottage, but instead looks out over the fields. In the dim light, you can see faintly glowing apparitions of people working among the weeds, as if they were still alive!
“Don’t let their appearance fool you,” Erskine warns. “These are the monsters that massacred my family! Let us clear this area first.” If you join him, you advance on the specters, which immediately turn toward you and transform into visions of fang-toothed, clawed monstrosities, hungering for your flesh!
They howl and evaporate when destroyed, and should you defeat the specters in the field, Erskine turns and notices the entrance to the underground crypt.
“I remember this place,” he mutters, then visibly flinches. “The sound of people screaming from within, yes, I was here. It was terrifying.” He grips his sword tighter and marches with purpose towards the doors which he kicks in revealing an empty chamber except for a staircase. With a torch in one hand, he goes forward, and if you follow, you descend a staircase to a lower level.
“This is the wine cellar,” he confides as you proceed cautiously. “It used to be a crypt, but it was repurposed.” Bones and wooden debris crunch underfoot as you head further in, spotting intact barrels nestled into the alcoves along the way. The silence is deafening, but something compels Erskine to continue on. Only when you reach a shattered door at the southern end does he stop.
Through the door a single specter hovers over a casket, with more of the cursed spirits faintly glowing by the walls around the raised area. To your surprise, the larger specter moves forward and speaks in a ghostly voice.
“Why do you return to this place?” he asks Erskine. “Why do you continue our torment? Have we not suffered enough?”
“For killing my family, it’s the least you deserve,” Erskine snarls, ready to continue the fight. If you’re insightful, you might sense there is more going on here than you realize. If you ask the spirit what they’re talking about, you receive an answer.
“We are the spirits of those who died when the Erskine family plundered and stole our land,” he howls. “They cut us down in the fields, and those of us who made it into the wine cellar to take refuge were locked inside to starve. Our souls are disquiet, unable to free ourselves from the shackles of this torment until the last of the Erskine family dies. Only then will we know peace. Help us!”
“It’s a lie!” Erskine shouts, unwilling to listen further. “And even if it were true, I wouldn’t have even been born yet when that occurred. To want a man dead for the sins of his father is as monstrous as I would expect from those who butchered my family, including women and children. As the only survivor of the Erskine family, I cannot abide this! I will vanquish these demon spirits or die trying!”
If you side with Erskine, you must fight the undead spirits of the fallen until they are all gone. If you survive, Erskine thanks you profusely for aiding him in avenging his family’s death, and provides you with a handsome sum of gold.
If you side with the spirits, Erskine is livid that you would turn on him and fights you and the spirits like a crazed man. If you defeat him, the spirits breathe a collective sigh and slowly vanish into the ether, leaving Erskine’s valuable sword and armor – not to mention a pouch of gold.
If you’d enjoy more DnD resources like this Haunted Vineyard Free 40×30 Multi-Level DnD Battlemap & Adventure, Luke and I have released our newest Hardcore GM’s bundle of 520 large, 40×30″ DnD battlemaps (double the size of those in the Quarantine Bundle) with 255 fantasy adventures for $39. It’s your chance to have a great deal on some of our most beautiful maps! We guarantee that is something here for every GM—no matter what setting you prefer, from large cities to underwater seascapes.
Paying just $39 rather than full price saves you over 98%! Take a look at all the extra maps you can download with one click in the Hardcore GM’s DnD Battlemap Bundle here.
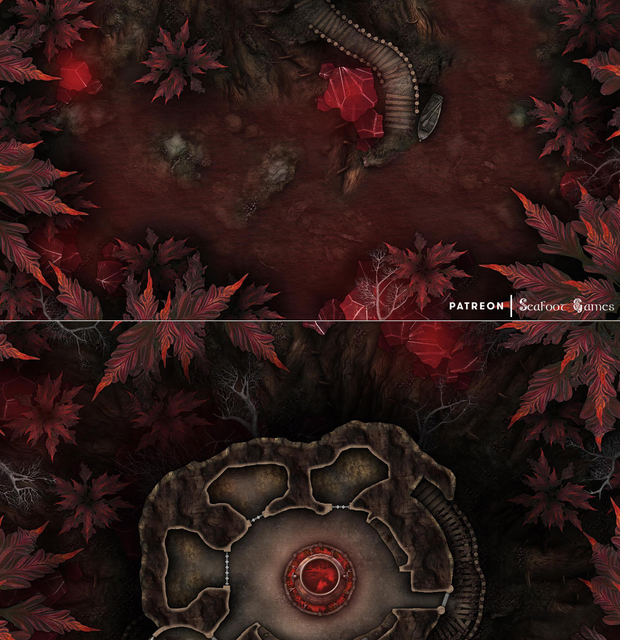
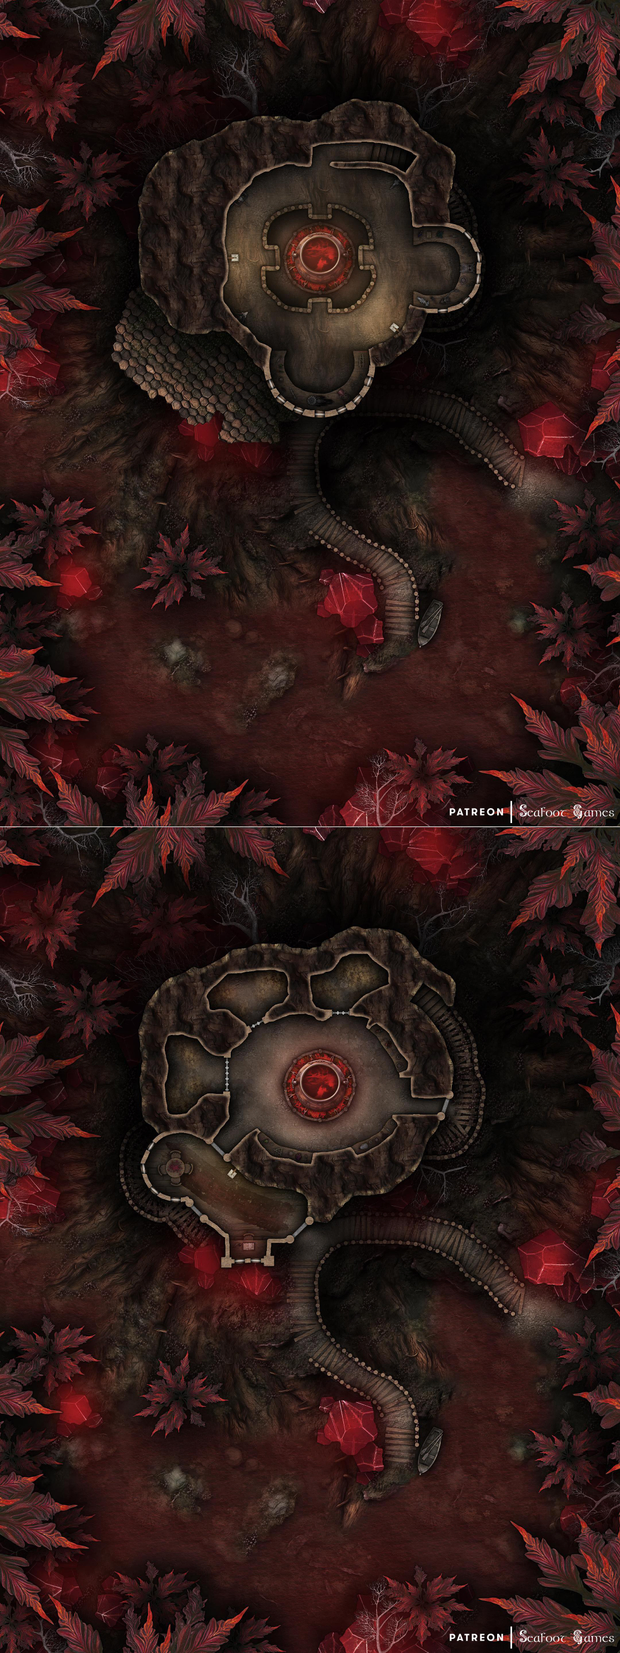
Nightmare Abode of the Unseelie Court Free 40×30 Multi-Level DnD Battlemap & Adventure
Sweet Dreams
When you lie down to rest after a long day, you feel like you’re about to fall asleep when your rest is disturbed by a faint buzzing sound. You try to ignore it, but the noise persists. When you look around to find the source of the disturbance, you notice that you’re not in the same place you laid down just minutes ago.
You are in an old forest, with trees so tall the canopy blocks out the sun. The leaves are red, the colors of Fall. Some of them detach from their trees and drift to the ground in a perpetual rain of desiccated vegetation. The air smells dry, laden with strange, tangy spices and the unmistakable aroma of death.
The buzzing noise returns and you notice something flitting between the trees. Something small and winged, which hovers for the briefest moment before darting into cover once more.
While you try to figure out what’s happened, the small creature flits out of cover and hovers a few feet from your face. She is a faerie no larger than your hand, with tiny pointed ears, diaphanous wings and an expression of unvarnished glee on her face.
“Oh yes, you’ll do just fine here,” she giggles, flitting about randomly to look at you from different angles. “I’m Elisha, and we’re going to have so much fun together!” Should you inquire where you are and how you got here, the faerie laughs.
“You’ll find out where you are soon enough,” she assures you with a sly wink. “As for how you arrived, it’s magic! Perhaps part of you wanted to be here, and the Court has a way of making people’s dreams come true. Oops, I’ve gone and tipped my hand! Come, let me show you.”
Elisha flits away, glowing slightly to guide you through the gloomy conditions. Should you follow, she leads you through the trees towards a clearing that lies beyond. Here, you see a huge stump of a once-great tree, which has been converted into an abode for people of your size.
Screams can be heard coming from within the structure, the distinct sounds of suffering and madness. Around the giant tree stump more faeries gather, laughing with sadistic glee at the suffering of people here.
“This is the Unseelie Court, newcomer,” Elisha brags, gesturing expansively at the ominous glade. The other faeries greet you with a mixture of applause, derision and laughter, though their attention is diverted from their evil play for only a few seconds.
“You may have been thinking about faeries being all sugar and spice, and all things nice,” Elisha continues. “But we’re nothing like that. Honestly, how could anyone be so boring? No, we’re much more interesting than our stupid cousins and I’ll be happy to show you exactly what I mean!”
“Hey uh,” one of the other faeries remarks when he looks at you, “are they supposed to have brought all their equipment with them?” Elisha looks at you with a blank expression before a look of consternation crosses her tiny face.
“I thought YOU were supposed to make sure they were unarmed before coming here!” she squeals as she flits away at top speed! The other faeries see you as a threat and close in to protect the Court! They’re small but deadly, wielding tiny spears with razor-sharp tips and many of them have fey magic to use against you.
Should you defeat the first wave of the faeries, the abode before you beckons. If you take the stairs and head inside, you see other people tied to the walls, clearly the subject of brutal torture from the evil fey.
“You have to destroy Elisha,” one woman whispers weakly. “Only then will this nightmare end. Go!” Should you heed her advice, you can take the stars to the top of the structure where you will find Elisha and a few of her close consorts.
“You’ve ruined everything!” she blurts, arms crossed in child-like anger. “We will have to make short work of you, but don’t kill them my sisters! We want to make them pay for this insult!”
You face off against Elisha and should you defeat her, she lies on the floor breathing her last breath. As she passes, you suddenly feel sleepy. You cannot keep your eyes open, and all turns to darkness.
You gasp awake, looking around you fearful of what you may find, only to discover you have awakened in the place you originally fell asleep! You are uninjured, and left wondering if it all a nightmare, or did it really happen?
If you’d enjoy more DnD resources like this Nightmare Abode of the Unseelie Court Free 40×30 Multi-Level DnD Battlemap & Adventure, Luke and I have released our newest Hardcore GM’s bundle of 520 large, 40×30″ DnD battlemaps (double the size of those in the Quarantine Bundle) with 255 fantasy adventures for $39. It’s your chance to have a great deal on some of our most beautiful maps! We guarantee that is something here for every GM—no matter what setting you prefer, from large cities to underwater seascapes.
Paying just $39 rather than full price saves you over 98%! Take a look at all the extra maps you can download with one click in the Hardcore GM’s DnD Battlemap Bundle here.
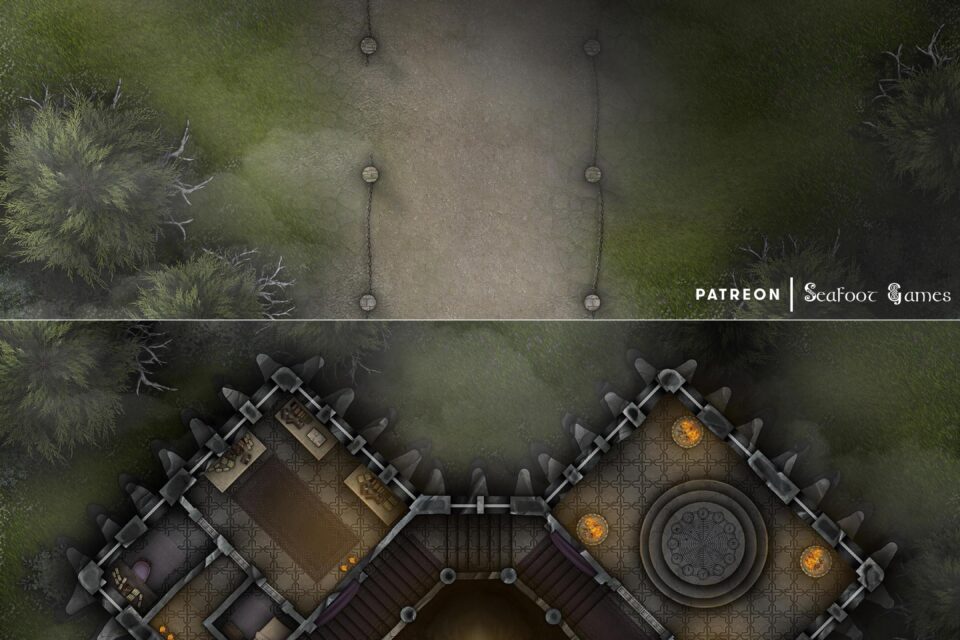
The Black Tower Free 40×30 Multi-Level DnD Battlemap & Adventure
Beta Test
While visiting a local inn for a rest, you are startled when a woman in elaborate robes made of black sable cloth appears in a puff of magical smoke in the middle of the common room! She coughs a little and sweeps the smoke aside with a few waves of her hands, then looks around the room and spots you at a table.
“Ah, you’ll do!” she remarks after a cursory examination. “I am Genevieve, a witch of no small renown in this region. You may have heard of me perhaps? Maybe? Anyway, you appear to be just the sort of person I’m looking for. May I join you for a moment?” If you agree to hear her out, she takes a seat at your table and collects her thoughts.
“It may not look like it, but I recently retired from an adventurous life and bought a nice little tower for myself. I have a great deal of magical treasure from my years of travel, and I’m simply paranoid about my new home being burgled. Aside from the loss of money and magic, the blow to my prestige would be insurmountable! The other wizards would never let me hear the end of it, you know.
“To that end, I have given great thought to security measures in the tower, and I think I’ve come up with a number of devious traps and fearsome creatures to dissuade the most accomplished thieves. But I need to know for sure!
“I propose to hire you to break into my tower, if you can! You know, test the doors, avoid the traps, dispatch the guardians of certain doom, that sort of thing. Just understand, I won’t be pulling any punches, so don’t hold back. To make it worth your while, I will part with a magical item of great pow— I mean, reasonable power. What do you say?”
If you agree to this unnecessarily dangerous mission, Genevieve beams at you, then raises a hand and you are enveloped in a cloud of smoke! You cough and sputter for a moment, but the smoke clears rapidly and you find yourself standing outside a small tower of black stone, somewhere in a forest.
“Up here!” calls Genevieve, drawing your attention to the roof of the tower upon which she stands. “Off you go then, do your worst!” The front door of the tower beckons!
If you’ve the skill, you could attempt to pick the lock, but you might also notice there is a trap above it that will drop heavy rocks on your head if you tamper with it! If you’ve no skill to deal with either of these things, you might be able to bash your way in and take the damage from the rocks.
Beyond the door lies a large chamber with stairs rising on either side, and a few smaller rooms. There are stone statues here that immediately begin to move as soon as you enter, stomping across the floor to intercept you! If you defeat the stone golems, you hear Genevieve’s voice from above.
“Perhaps stone golems weren’t the best choice for the atrium,” she says, thinking out loud. “I might replace them with iron golems covered in spikes! Yes, that sounds deadlier. Anyway, proceed!”
As you take the stairs, you might notice there is a tripwire along one of the steps. If so, you could disarm it, but if not, you are pelted with an assortment of dead fish! Aside from the smell, they are launched with enough force to do significant damage!
Once you make it to the first floor, you notice a swirling pattern of air above the atrium. It coalesces into a number of air elementals, which move to attack! If you defeat them, Genevieve mutters some choice words from her position above.
“I was really conflicted about using those. There’s lots of space for them, but they just don’t hit hard enough. I shall have to reconsider them in the next iteration. Never mind my prattling, onwards and upwards!”
If you make it to the second floor, you find an opulent yet practical area that Genevieve lives and works in. The carpet beneath your feet is plain yet soft, and it is as you’re wandering around the area that the carpet starts to move! It rises from the ground and a fang-filled mouth opens wide as it tries to eat you!
The carpet is huge and tear-resistance, and seems almost impervious to magic, but if you defeat it, Genevieve appears in a puff of smoke and applauds.
“Well done, you defeated the Carpet of Certain Death, my final security measure. I bet you didn’t see that one coming! Still, you did defeat it and now I have a pile of torn carpet scraps to deal with. Maybe I should replace it with a chest of gold that has teeth? I don’t know, it sounds a bit cliché to me.
“Anyway, I took copious notes and I’ll have to put some thought into improvements. Here, take your pick of my low-end magic items before I send you back to the inn. Thanks again!”
If you’d enjoy more DnD resources like The Black Towerfree multi-level 40×30 DnD battlemap & adventure, Luke and I have released our newest bundle of 520 large, 40×30″ DnD battlemaps (double the size of those in the Quarantine Bundle) with 255 fantasy adventures for $39. It’s your chance to have a great deal on some of our most beautiful maps! We guarantee that is something here for every GM—no matter what setting you prefer, from large cities to underwater seascapes.
Paying just $39 rather than full price saves you over 98%! Take a look at all the extra maps you can download with one click in the Hardcore GM’s DnD Battlemap Bundle here.