Category: Free Tomb DnD Battlemaps

Download these free tomb DnD battlemaps & be ready to play in minutes! Many come with system-agnostic adventures written just for them. Perfect for VTTs.

  • Shadowrealm Archive Free 60×20 Multi-Level DnD Battlemap & Adventure

    Shadowrealm Archive Free 60×20 Multi-Level DnD Battlemap & Adventure

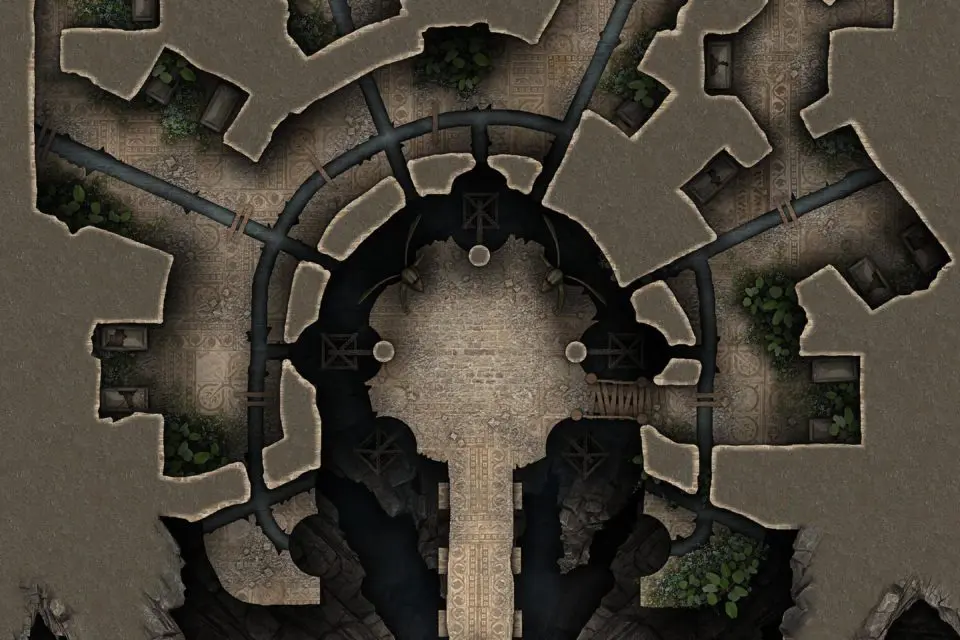
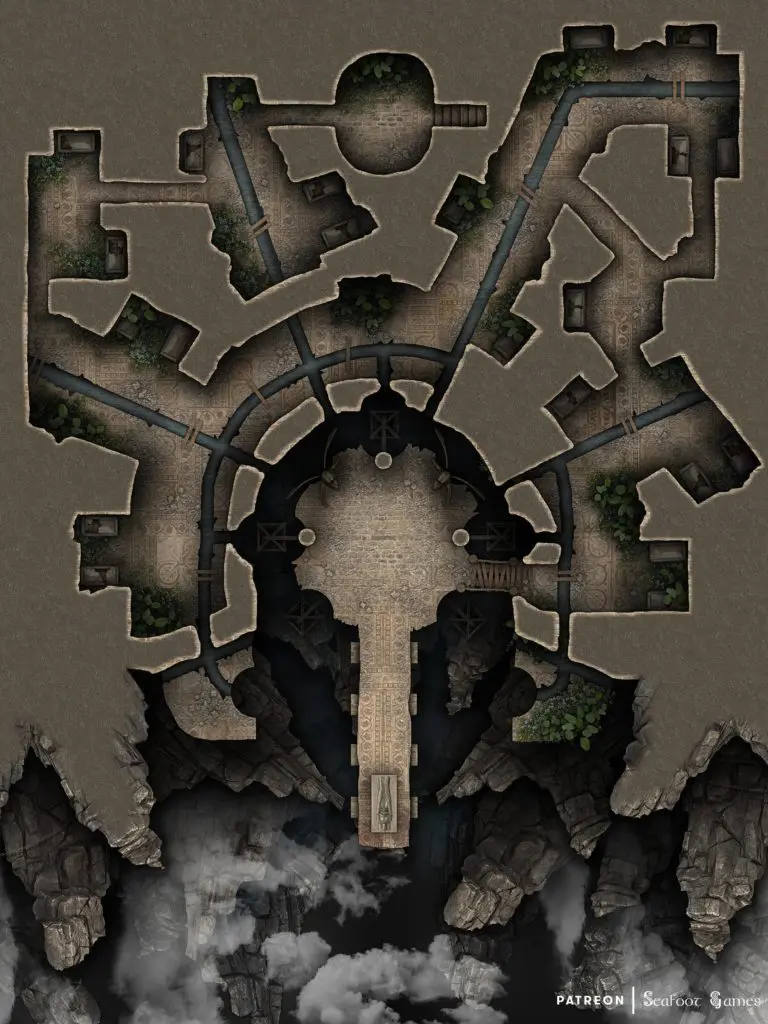
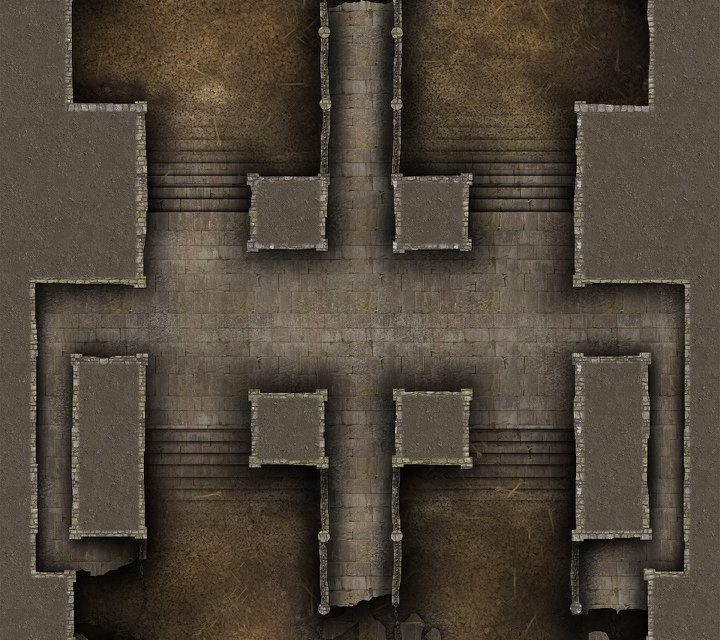
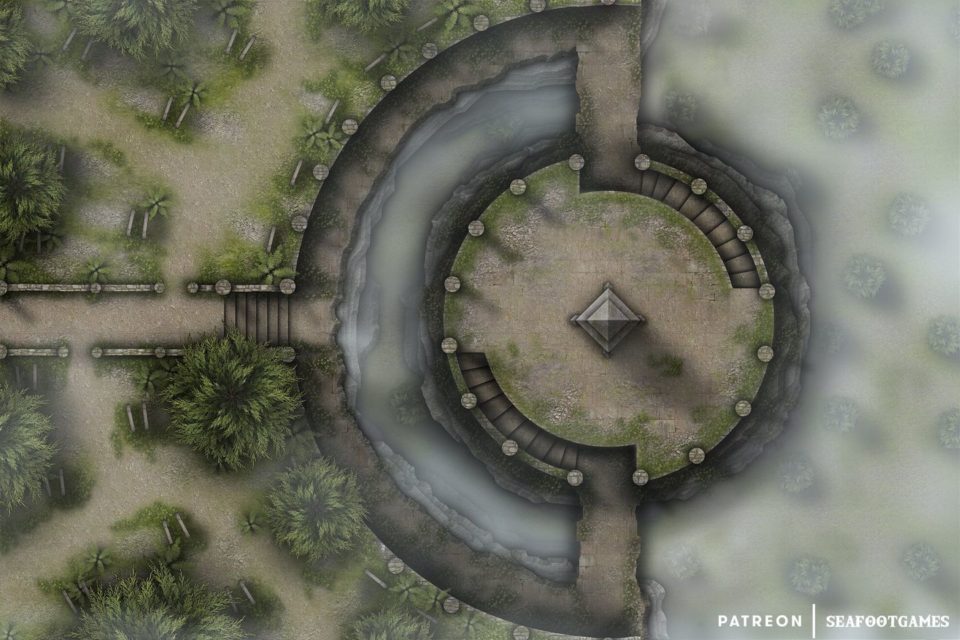
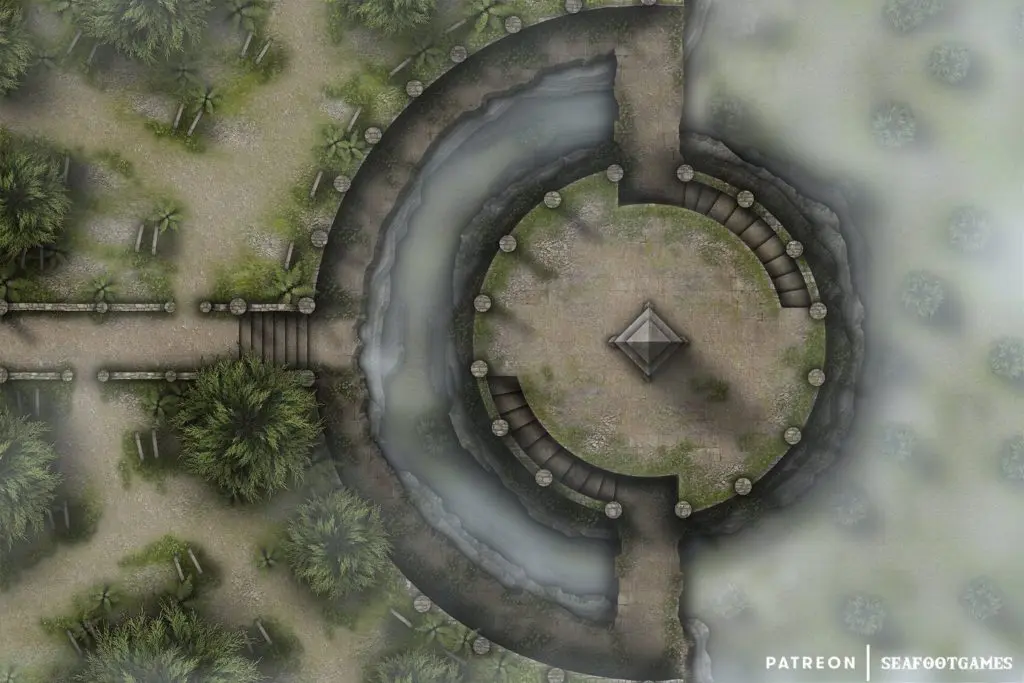
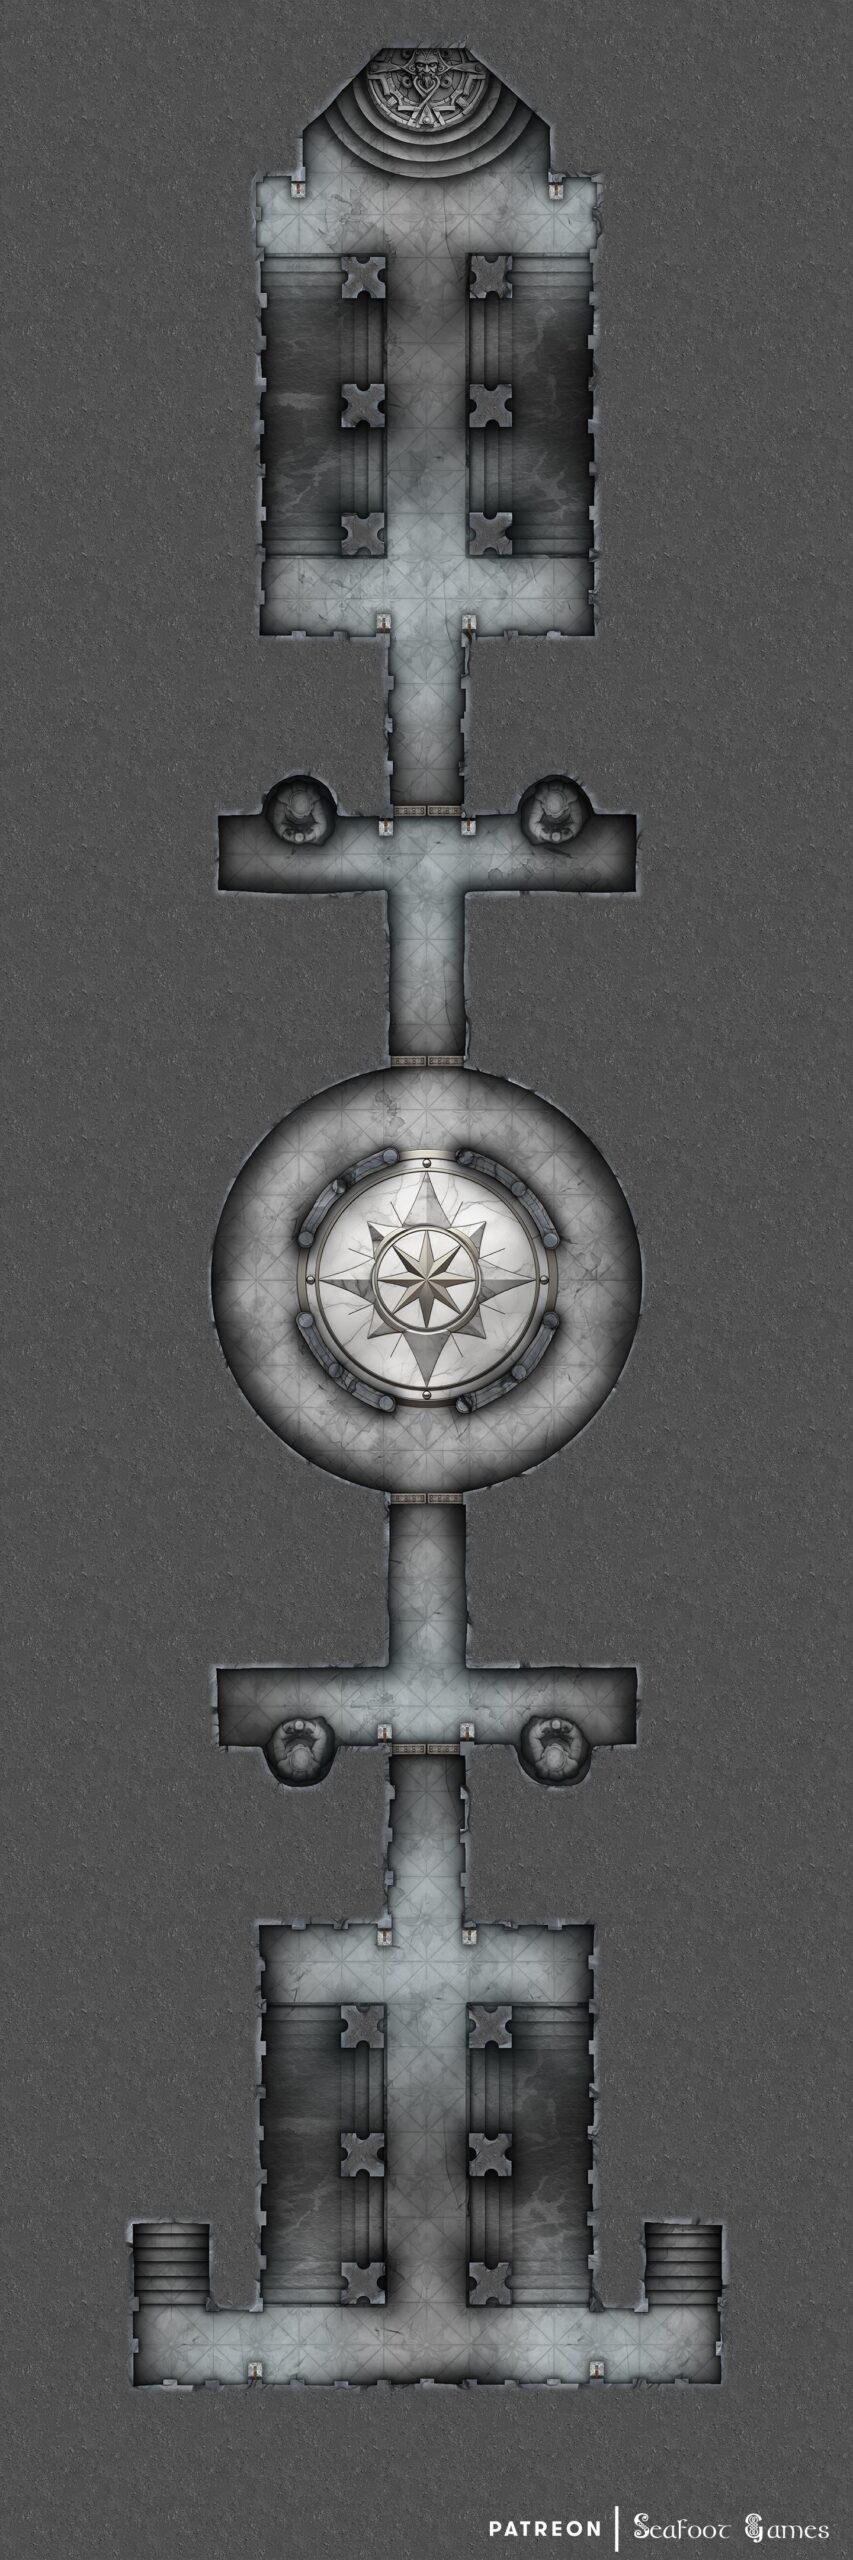
    Level 1 of our Shadowrealm Archive Free 60x20 Multi-Level DnD Battlemap & Adventure, featuring a journey to the shadowrealm to save knowledge. VTT ready!
    Level 1 of our Shadowrealm Archive Free 60×20 Multi-Level DnD Battlemap & Adventure, featuring a journey to the shadowrealm to save knowledge. VTT ready!
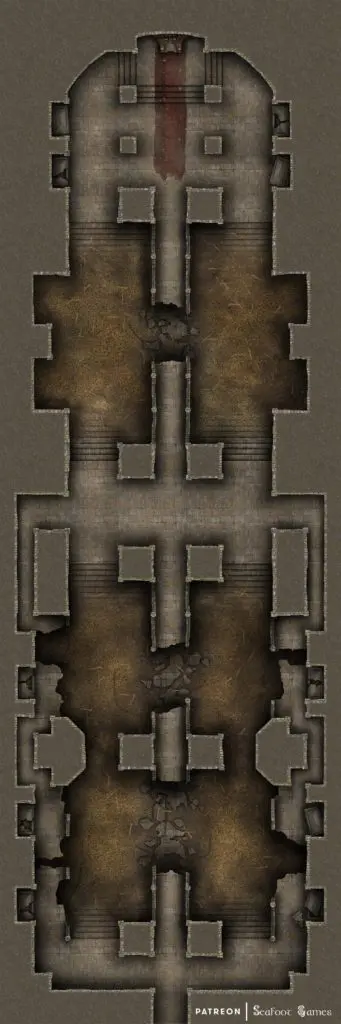
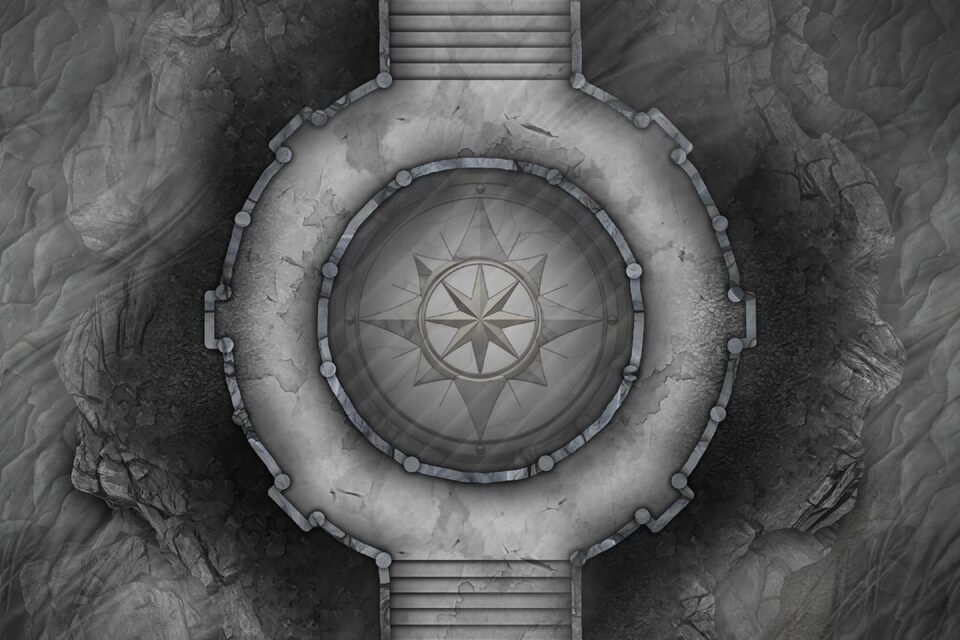
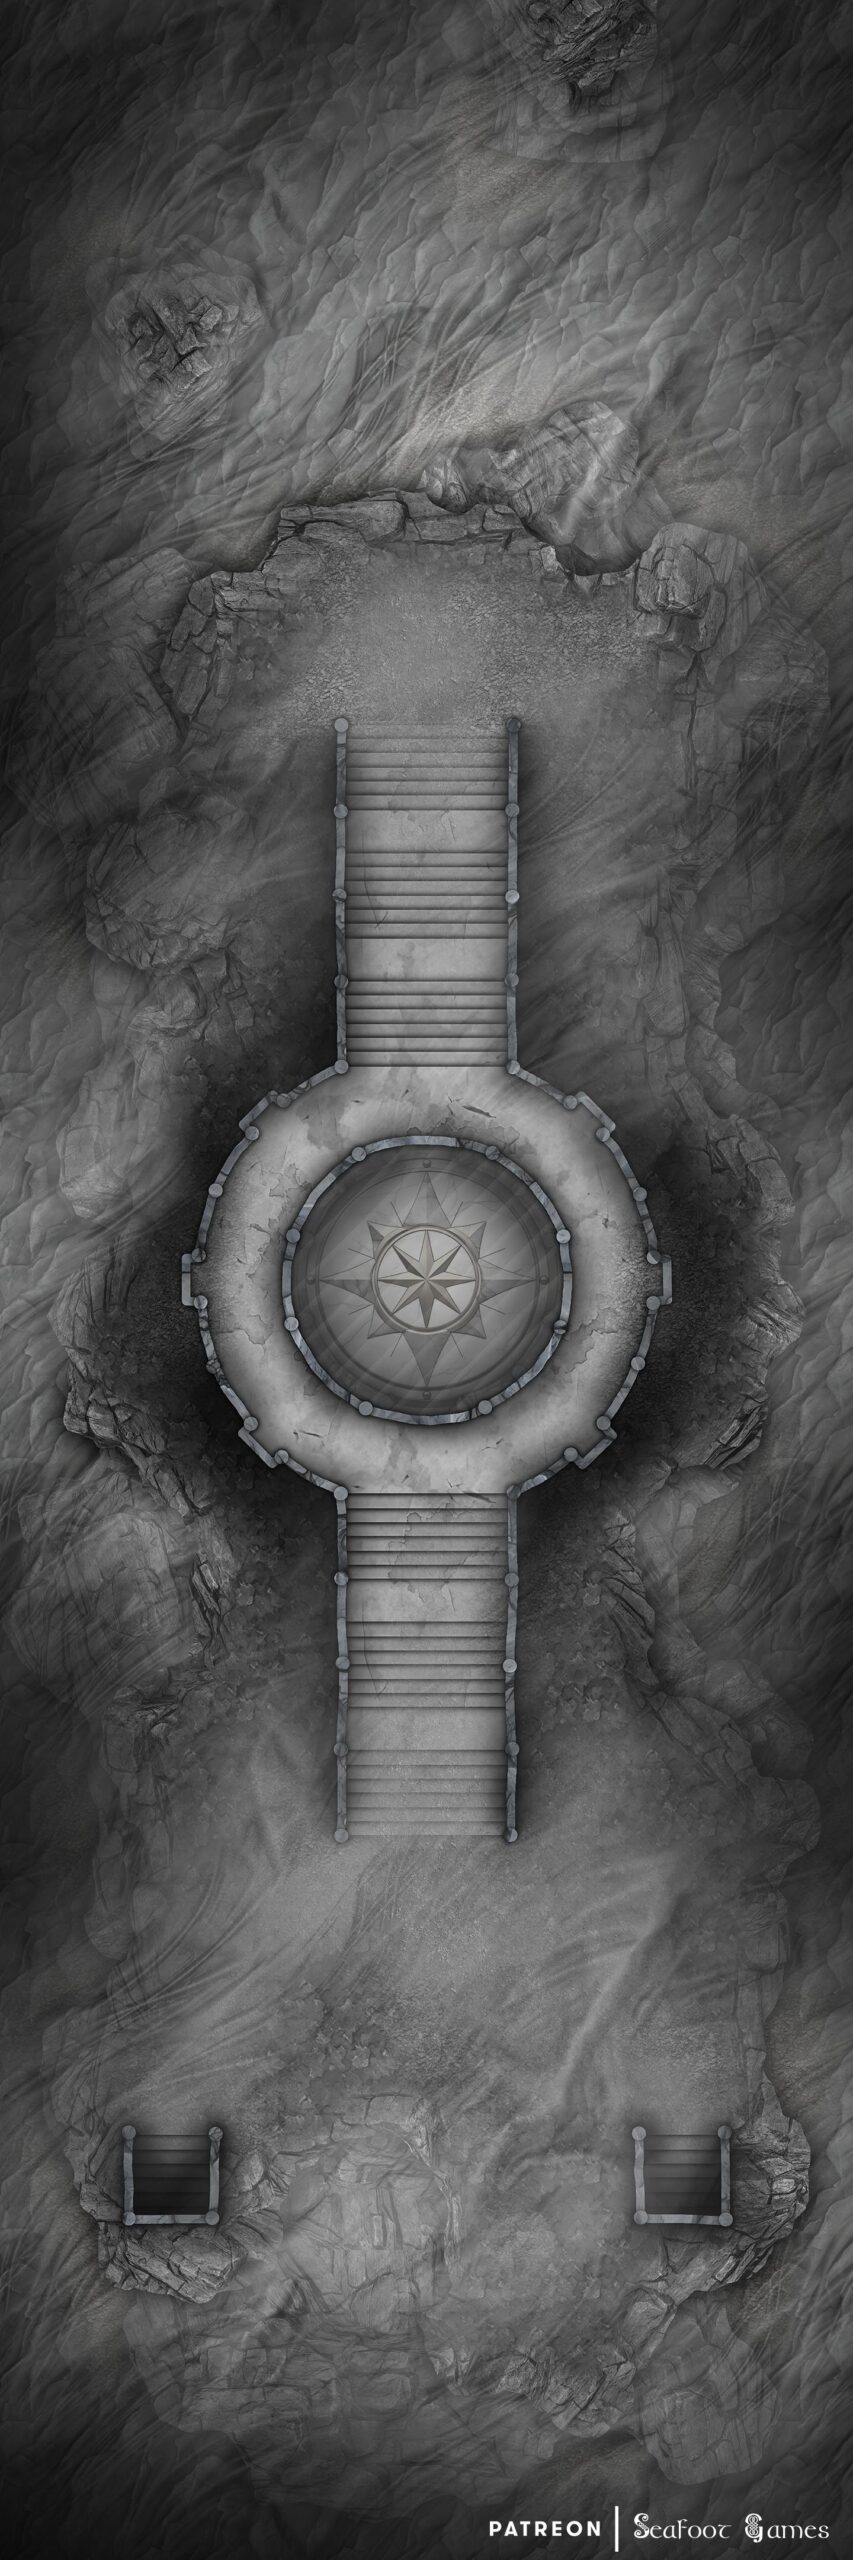
    Level 2 of our Shadowrealm Archive Free 60x20 Multi-Level DnD Battlemap & Adventure, featuring a journey to the shadowrealm to save knowledge. VTT ready!
    Level 2 of our Shadowrealm Archive Free 60×20 Multi-Level DnD Battlemap & Adventure, featuring a journey to the shadowrealm to save knowledge. VTT ready!

    Shadowrealm Archive Free 60×20 Multi-Level DnD Battlemap & Adventure

    The Color of Magic

    While traveling, you arrive at a coastal town full of strange architecture and colorful buildings. It’s a sunny day, but it looks as if a darkened sky is brewing over the horizon, suggesting an impending storm. The townsfolk are mostly friendly, but they express concern about the black skies over the ocean.

    They explain that it showed up around two weeks ago and was initially thought to be just a storm. However, it hasn’t moved since, and when some of the town’s men inspected it by boat, they discovered that the ‘storm’ was more like a wall of dark, airy ink. To make matters worse, it surrounds the town’s most precious location – a small island containing an ancient magical library holding countless centuries of knowledge from around the world.

    The bravest men attempted to navigate the ink wall in a boat but were found dead the next day, washed up on the shore near town. Their bodies and the remains of the ship were pale white or gray, devoid of all color. Since then, no one has dared to approach the island.

    The townsfolk explain that if you want to know more, your best bet would be to speak to the town wizard, Agriel, as he’s very smart and has been working on a solution to the ink wall since the incident with the men washed up on the shore.

    Seeking out Agriel, you find his residence in a stone tower overlooking the rest of the town. Knocking on his door, it opens swiftly, and you’re greeted by a barn owl that motions for you to follow her up the stone steps to the second floor of the tower.

    Entering a circular stone room, you find Agriel surrounded by bookshelves reaching up to the ceiling. He is mumbling to himself, studying two large tomes while sifting through the other tomes on the shelves around him with a magical blue, ghostly hand.

    When he notices you, he starts for a moment before reclaiming his balance. When you explain your interest in the ink wall, his eyes perk up. He explains that he has managed to ascertain that the ink wall is magical in nature and seems to function similarly to a cyclone or hurricane, with a destructive outer area and a stable, safe inner area.

    Agriel continues that the stable, safer inner area appears to be directly above the temple, suggesting something nefarious happening within. He has come up with a way past the ink wall to investigate but was unable to get any assistance from the townsfolk, as even the bravest among them don’t want to end up like the pale, dead men on the beach.

    If you ask what Agriel’s plan is, he explains that he intends to open a small portal between his tower and the temple grounds within the stable area. Most of the time, these small portals are unstable, but at such a short distance, it’ll be a minor jaunt.

    Agriel claims he has to stay at the tower to hold the portal open should anything go wrong, which is where the townsfolk were supposed to come in to investigate. Still, if you would be willing to help in their stead, he would be forever in your debt. Agriel explains that the temple is not something the world can bear to lose; losing all that knowledge forever would be a travesty. So, if something is happening over there, it must be stopped.

    If you agree to help, Agriel happily grins, explaining that he can open the portal when you’re ready. When the spell is completed, you find yourself at the top of the temple, standing on a glass dias in a desolate landscape. Everything is black and white, greyscale, and a heavy wind is blowing what appears to be dust. There is no water to be seen, and no sun above you, although an eerie gray light pervades everything.

    The stairs of the temple lead down to the dust-covered ground, and in the distance, you can see two stairwells leading into the rest of the subterranean areas of the temple. Tiled passages take you past colorless water and statues before you reach an end chamber where a being of shimmering, ethereal books and floating parchment awaits.

    As you approach, however, you notice many of the ethereal books that make up the Archivist’s body are torn or distorted. The Archivist greets you in broken common before attempting to explain that the magical balance in the library has been disrupted.

    It continues, repeating words occasionally that a malevolent force known as the Inkshade has infiltrated the library and has begun draining the arcane energies from the library’s vast collection of magical tomes, which the Archivist holds in his possession. These energies share a connection with certain colors within the material plane, and so the Inkshade has begun to consume the colors as well.

    The Archivist implores you to help restore the balance and save the library by providing you with a magical amulet, the Prism of Hues, which can reveal previously invisible Inkshade fragments that are feeding within the library. When defeated, they will release their stolen arcane energy and thus color.

    The Archivist explains that by collecting and restoring the stolen colors, you can weaken the Inkshade’s influence and eventually confront and defeat its true form.

    As you progress, defeating all the Inkshade fragments throughout the lower library, it begins to transform. Colors return to the world, and the once desolate landscape starts to flourish. The Archivist appears before you just as you reach the top of the stairs to return to the surface, expressing gratitude for your efforts. The temple is more stable now.

    The Inkshade, enraged by your interference, finally appears. A rumbling overhead is heard as the Inkshade takes on a nightmarish form – a swirling mass of darkness with piercing eyes. The Archivist advises that now that the Prism of Hues has recovered much of the arcane energies and color of the library, you can use it to aid you in your fight against the Inkshade. As the Inkshade becomes more vulnerable, it launches desperate attacks, distorting reality with shadow illusions and summoning more Inkshade minions.

    Upon defeating the Inkshade, it disperses into mist, almost like it was but a bad nightmare, and the library temple begins to return to its former glory, with lush greenery and aqua ocean shores. The Archivist expresses its deepest gratitude, offering you access to the library’s most profound secrets and granting you a boon of magical knowledge.

    As you leave the magical library temple, you find yourself back in the familiar world, the teleportation spell completing its course. The experience leaves you forever changed, armed with newfound magical insights and the memories of a journey through the shadows to save a realm of knowledge.

    If you’d enjoy more DnD resources like this Shadowrealm Archive Free 60×20 Multi-Level DnD Battlemap & Adventure, Luke and I have released our newest Hardcore GM’s bundle of 520 large, 40×30″ DnD battlemaps (double the size of those in the Quarantine Bundle) with 255 fantasy adventurefor $39. It’s your chance to have a great deal on some of our most beautiful maps! We guarantee that is something here for every GM—no matter what setting you prefer, from large cities to underwater seascapes.

    Paying just $39 rather than full price saves you over 98%! Take a look at all the extra maps you can download with one click in the Hardcore GM’s DnD Battlemap Bundle here

  • Bosaan’s Forbidden Crypt Free DnD Battlemap with Adventure

    Bosaan’s Forbidden Crypt Free DnD Battlemap with Adventure

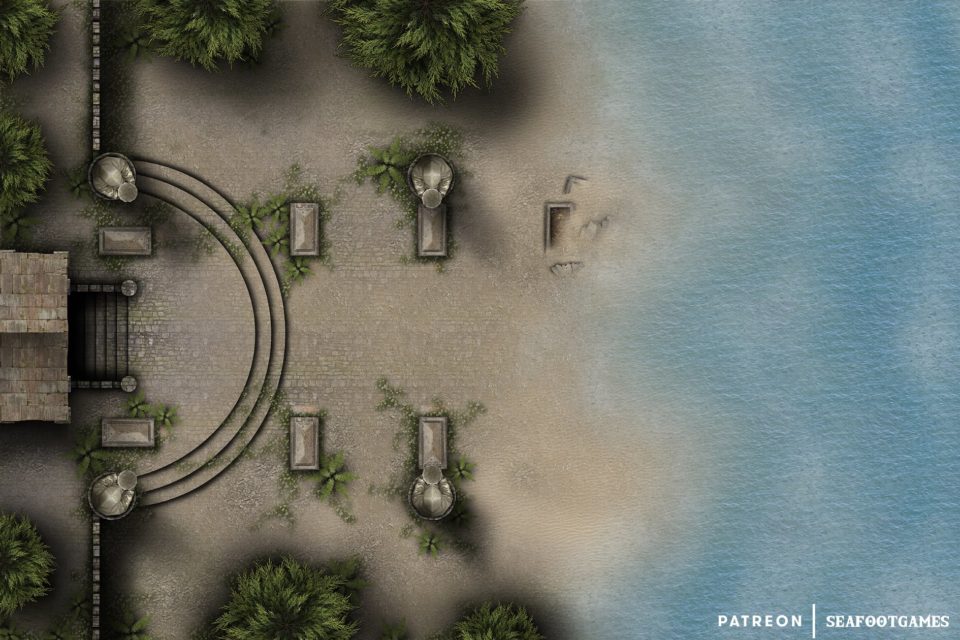
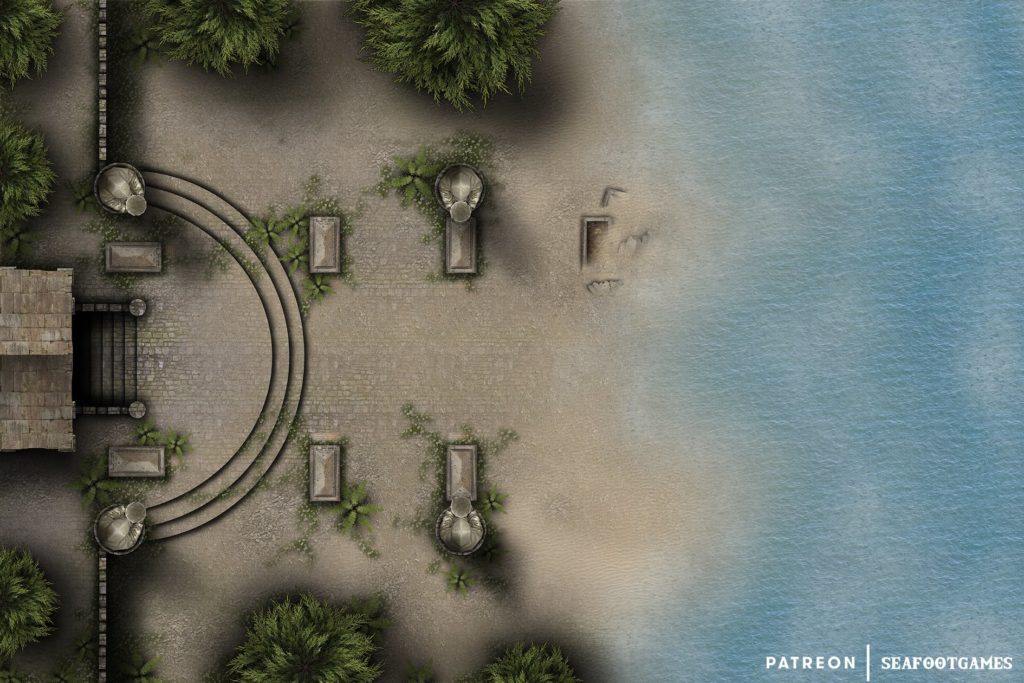
    Bosaan's Forbidden Crypt Free DnD Battlemap with Adventure. Discover the secrets of a forgotten civilization! VTT ready.
    Bosaan’s Forbidden Crypt Free DnD Battlemap with Adventure. Discover the secrets of a forgotten civilization! VTT ready.

    Bosaan’s Forbidden Crypt Free DnD Battlemap with Adventure

    The Answer to Everything

    While visiting the impoverished jungle town of Bosaan, which is made primarily of scrap built onto old ruins, you see that some of the locals are distressed. They are running about talking to each other in worried voices. Should you stop to ask any of them what’s going on, they explain that their children have gone missing, along with many other kids in the village.

    As you talk a thin man runs up, breathless, and explains to the others that he’s tracked the footprints of the children into the forbidden crypt. Because of your clothes, the group know you’re a mercenary, and the distressed parents turn to you; begging you to go down into that dangerous place and save their children from the shadowy creatures that live in there, before it’s too late. If you do, they’ll give you whatever they can as a reward.

    When you go down into the forbidden crypt, you find that the small, barricaded building (which appears to have been made at the same date as the rest of the ruins) leads to a huge underground network of interconnected burial chambers. There are strange carvings on the ancient walls, from the civilisation that collapsed long ago. They tell of the ways that they lived, and the knowledge they held dear.

    After descending the stairs, you find clear evidence that someone’s been living down here in the first room. A couple of furs have been laid on the ground in a kind of crude bed, and all forms of excavating equipment have been laid out around it, alongside a couple of books and a stack of filthy journals.

    If you look inside the journals, aside from the name Dr. Cederik Dooglestein inside the cover, what’s written in them doesn’t make sense. There is only one which does, and it details the journey of a researcher who came to this land to understand the mysteries of the civilization that came before, though that soon descends into nonesense as well.

    You can hear voices coming from further in, and kids excitedly giggling. Should you go look, you find a group of children sitting in front of a bedraggled, homeless looking old man with a blue pendant glowing softly on his chest.

    He appears to be mad, and what he’s telling the kids doesn’t make sense—but they seem entranced by his words nonetheless. If you interrupt and ask what’s going on, he turns to you and proclaims that ‘the children know, oh yes, understand they do. The SECRETS.’ Then he starts laughing. Should you ask what he’s doing with them, he’ll appear confused, proclaiming ‘they know, everything!’

    At that point the kids will take over and explain that Cederic (apparently the man) was lonely so he asked them to come down and offered to tell them stories. Should you explain that their parents are worried about them and try to take them back to the surface, they’ll grow visibly distressed and beg you not to make them leave now. They explain that the Cederik is close to ‘the answer’, saying wide-eyed that he’s told them all about it and they want to know The Great Mystery he’s about to uncover. The kids beg you to help him find out what it is, so they can learn it too!

    It’s inscribed, somewhere deeper within the crypts, but there’s monsters down there so Cederik—who’s an archeologist—can’t get to them to learn the final secrets. They beg you, saying ‘pretty please!’ and generally refuse to leave unless you help them. Some even have tantrums if you try to force them to go.

    Cederik tries to intervene, explaining that the answer is in here. The Great Answer. The answer to everything!

    If you agree, the kids cheer excitedly, and Cederik sighs in relief. He leads you deeper into the crypt, the eager children insisting on trailing behind you both at a safe distance. You encounter skeletons who have risen at the disturbances he’s caused. Once they are defeated, the children praise you loudly. When you make your way to a central chamber it opens up to some kind of underground cavern filled with mist. At the center is a sarcophagus, waiting at the end of a large platform.

    Cederik runs up to the tomb eagerly, but as he gets close the lid of the sarcophagi is pushed off and a tall undead knight emerges, brandishing the great sword he was buried with. If you save the archaeologist, he thanks you profusely (albeit in a very weird, roundabout way). Then he finds a scroll in the inside of the sarcophagi, with something written on it in an ancient language.

    He proclaims excitedly for everyone to hear that ‘the answer is 42!’. The kids think that’s amazing, and are way too excited than what seems to make sense. The batty old archaeologist then takes his amulet from around his neck, and offers it towards you insistently. Once you take it, the archaeologist’s eyes blur for a moment, and he blinks a few times in consternation. Then he sighs, and explains in perfectly understandable language that he’s gifting you his most valuable artifact. He found it in the tombs here, and it allowed him to understand their secrets, among… almost anything he put his mind to. As thanks for rescuing him and helping him complete his life’s work, he believes you should have it.

    If you wear it, you suddenly do understand what the importance of 42 is—but removing it takes that understanding away, and the answer is so profound that you can’t explain it to anyone not wearing the amulet.

    When you leave, the archaeologist insists on remaining behind, explaining that he’s not quite ready to leave the tombs just yet. But he will be moving on soon.

    Once the kids return to the surface, they run about excitedly exclaiming ’42!’ to each other and anyone else who will listen. Their confused parents thank you for rescuing their children, and if you explain to them what happened (without the amulet on) they’re horrified to learn about the archaeologist living down there and his potential influence on their children.

    They explain that the madman was a general nuisance about the village, and they banished him because of it. He must have snuck into the tomb to live and continue his research, and what they thought were creatures leaving the tomb must have been him sneaking out for food.

    If, however, you wear the amulet while trying to explain what happened after the job, they’ll give you a horrified look and say that ‘it’s happened again, the tombs have driven another mad!’. They’ll attempt to heal you with prayers and other nonsense, but if you grow frustrated that they cannot understand, they will be frightened and attempt to drive you from the village, too. This is because you now speak the same, raving nonsense that the archaeologist did while wearing the amulet.

    GM’s Notes:

    The amulet Cederik gives your players is the Amulet of Madness. It’s an amulet made of bright blue glass and blown in the shape of an eye. The iris glows with its own eerie, white light. Its wearer receives stunning insight and clarity on any topic, far beyond what mortal minds should be able to comprehend. As a result of the complexity of what they learn, they appear mad, as language is incapable of conveying what they mean and they use it creatively to try communicate.

    The children understand Cederik’s ravings because they’re young enough to remember, somewhere deep down, the wisdom their souls knew before they became mortals. They cannot articulate as well as adults and the knowledge of what 42 means will be lost to them in time, too.

    If you enjoyed Bosaan’s Forbidden Crypt Free DnD Battlemap with Adventure, Luke and I released the Hardcore GM’s bundle of 520+ large, 40×30″ DnD battlemaps (double the size of those in our famous Quarantine Bundle) with 255 adventures for $39. It’s a great deal on some of our most beautiful maps and adventures! I’m sure there’s content in it you’d have so much fun running for your friends, from large cities to underwater seascapes. Paying $39, rather than full price per map ($3 – $4.50 each), saves you over 98%! Take a look at all the extra content here.  

    Otherwise, I also recommend our latest bundle of system agnostic campaign sourcebooks, filled with battlemaps, locations, NPCs, loot, AND adventures! Luke and I love them so much, they have some of our favorite adventures in quite often grimdark or Lovecraftian horror settings. If you’re not sure about it, download our favorite campaign sourcebook for FREE—it’s about a super whacky location that will have your players roaring with laughter. That is, if their sense of humor is anything like ours 😉 

  • Free TTRPG Battlemap – Darrowmeer Burial Grounds

    Free TTRPG Battlemap – Darrowmeer Burial Grounds

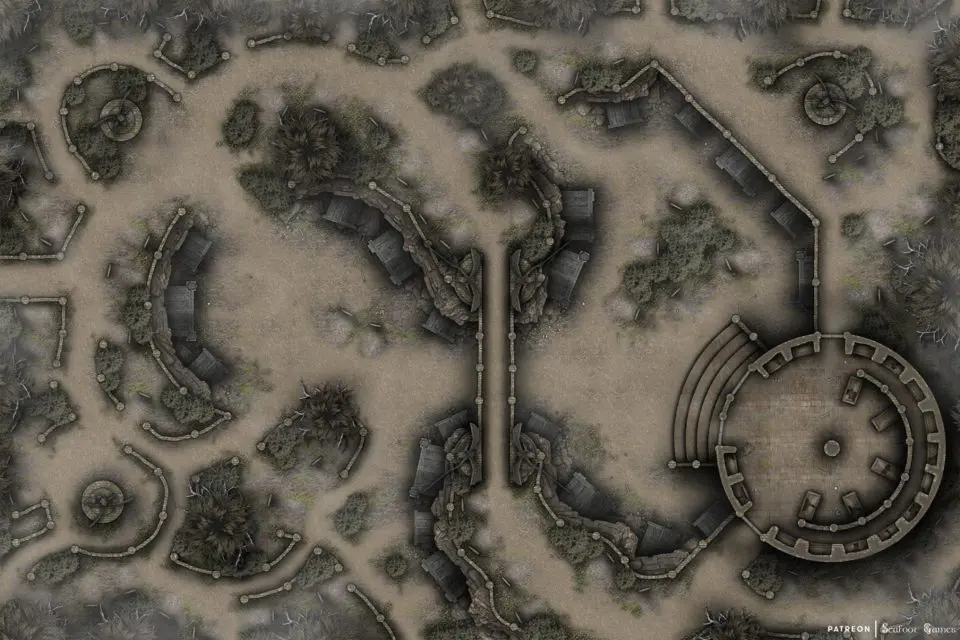
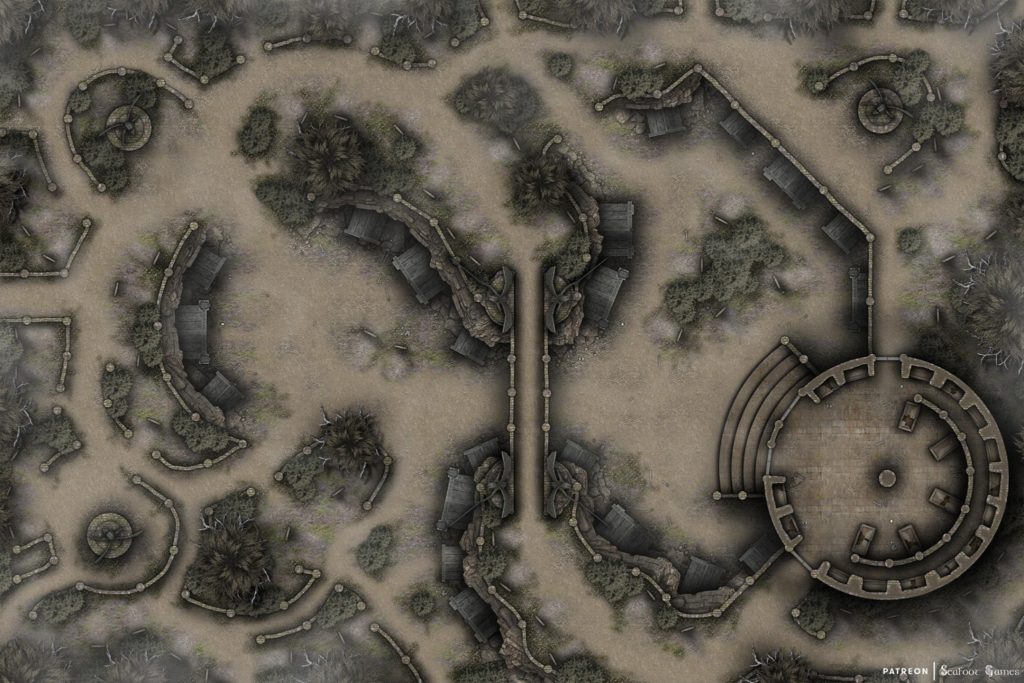
    Click image to download this free TTRPG battlemap of a Darrowmeer Burial, then keep scrolling for the detailed adventure prompt written for it.

    Free TTRPG battlemap of a Darrowmeer Burial

    An unnatural fog has descended on the township of Darrowmeer after their burial grounds were desecrated by grave robbers and while the robbers were dealt with the mist remained. You’ve been tasked with entering the burial grounds with a priest to reconsecrate the mausoleum, however the priest is concerned that this action could cause the dead to briefly rise from their graves in anguish and attempt to stop the ritual.

    When you enter the mausoleum, you’re greeted by five ghostly figures hovering over broken tombs, they introduce themselves as Lady Jane, a cleric and worshiper of the light, The Red Duke, a fighter and renown knight, Silvia Greenbarrow, a druid of the sacred grove, Elmeth Zigoth, a famous wizard and Jarnock, ranger of the great reachs.

    Each offers to assist you in your goal of reconsecrating the mausoleum but will not work with the others, during this time of talk they jest with each other and boast about their personal prowess and achievements during their life.

    Each ghost will offer you a unique boon while the consecration in progress which are listed below:

    Lady Jane will assist in the consecration which will cause holy damage to any undead that enter the mausoleum every turn, and change your weapons damage type to holy.

    The Red Duke will empower you, increasing your critical range and damage for each enemy struck down.

    Silvia Greenbarrow will grow large blossoming rose bushes covering up to 10 squares with sharp thorns that cannot be passed through, any who try take slashing damage.

    Elmeth Zigoth will grant you a random arcane symbol based off the result of a D4 each turn that grants different effects:

    1. Double your movement speed and gain flying.

    2. Triple your movement speed and jump height.

    3. Double your movement speed, you may move through walls and enemies as if you were a ghost.

    4. You may teleport up to double your movement speed, teleporting does not provoke opportunity attacks.

    Jarnock will summon animal spirits to assist you in your battle, healing your wounds and increasing your resilience to damage as well as environmental effects.

    When the consecration begins just as the priest feared, the undead begin to rise, dozens, perhaps even hundreds clamber from their moist graves and shamble towards the mausoleum. You’ll need to hold them off and protect the priest for five rounds.

    After this time the consecration is complete and a large pillar of light will project high into the sky from the peak of the mausoleum breaking away the mists and allow the sun to shine once more, at this very moment all remaining undead fall to the ground defeated.

    If you’d enjoy more maps like this free TTRPG battlemap of a Darrowmeer Burial Grounds, Luke and I are currently offering 520+ battlemaps for $39. It’s your chance to have a great deal on some of our most popular battlemaps! With over 520 total maps, we guarantee that is something here for every GM—no matter what genre or setting you prefer, from grimy dungeons to beautiful overgrown ruins.

    Paying just $39 rather than full price saves you over 96%! Take a look at all the extra maps you can download with one click here

  • Free TTRPG Battlemap – Battle Over the Black Tomb

    Free TTRPG Battlemap – Battle Over the Black Tomb

    Click image to download this free TTRPG battlemap of Battle Over the Black Tomb, then keep scrolling for the detailed adventure prompt written for it.

    Free TTRPG battlemap of a Battle Over the Black Tomb

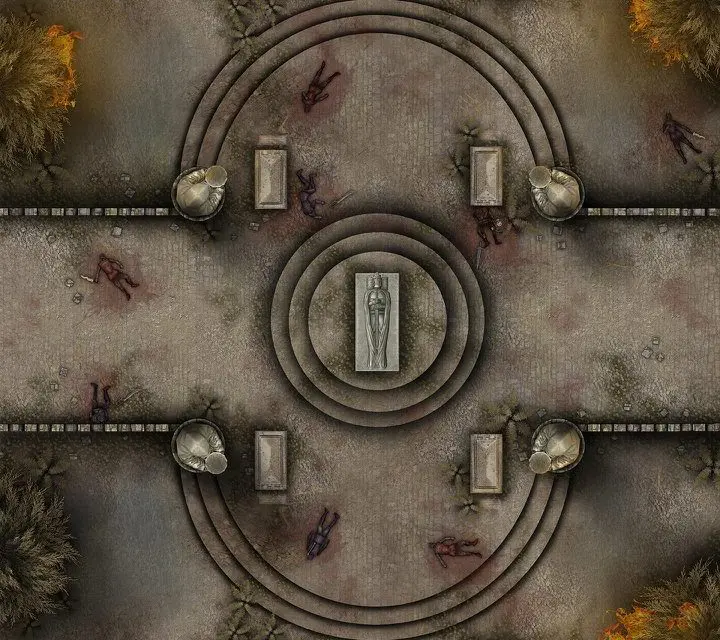
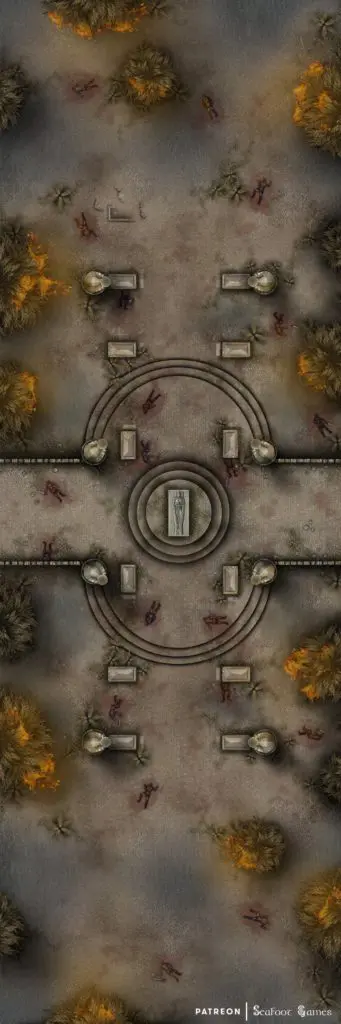
    After the dam broke, the lower forest and plains become flooded, slowly turning into swampy marshes. Many fled, abandoning homes and ancient places of worship. This grave was one such place.

    Eight statues stand upon large stone pedestals watching over the grave, as well as the remaining coffins of heroes that used to line the ancient walkway.

    Bronze plaques in front of the coffins tell the tales of heroes long dead. Now overgrown by small white flowers, this place has been long abandoned until recently when a battle was fought here, bodies of soldiers are scattered among the damp soil, their blood seeping into the ground and flames lick the brush.

    If you’d enjoy more maps like this free TTRPG battlemap of Battle Over the Black Tomb, Luke and I are currently offering 520+ battlemaps for $39. It’s your chance to have a great deal on some of our most popular battlemaps! With over 520 total maps, we guarantee that is something here for every GM—no matter what genre or setting you prefer, from grimy dungeons to beautiful overgrown ruins.

    Paying just $39 rather than full price saves you over 96%! Take a look at all the extra maps you can download with one click here

  • Free TTRPG Battlemap – Ravenwood’s Crypt

    Free TTRPG Battlemap – Ravenwood’s Crypt

    Click image to download this free TTRPG battlemap of a Ravenwood’s Crypt, then keep scrolling for the detailed adventure prompt written for it ?

    Free TTRPG battlemap of a Ravenwood’s Crypt

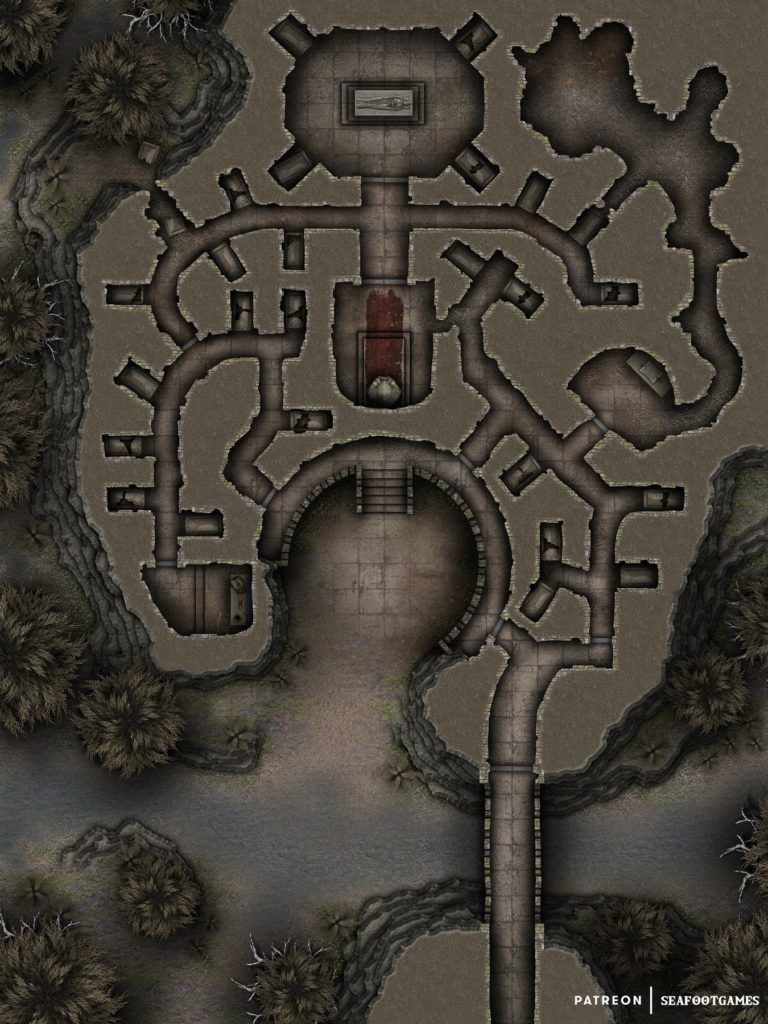
    Ravenswood was once a lush and beautiful forest, full of woodland animals and prized within the realm, however after an ancient seal was breached, that all changed. A rot set in, corrupting the woods and the creatures that lived within, shaping their bodies into horrific caricatures of their previous forms, while the trees wept black sap and their leaves crumpled and died.

    You’ve been hired by a one Lord Ralbruct to enter this woodland and find an old tomb belonging to the great sir Robert and the order of the rose. Inside you’ll find his equipment along with his last will and testament as well as some other documents. The lord who has hired you to find this tomb is fine with you keeping the equipment and whatever else you find within the tomb but desperately wants the will and other documents.  

    What’s happening? When sir Robert and the rest of the order of the rose were killed, the king had this special tomb built to house their bodies as well as their other belongings, including a deed to a large castle that the order of the rose held.  

    This castle was given to another lord over Lord Ralbruct however and when the belongings of the order where moved to the tomb the deed was misplaced. Without the deed the other lords hold over the castle is shaky and thus Lord Ralbruct hopes to obtain the deed and thus challenge this other lord to to ownership of the castle.

    If you’d enjoy more maps like this free TTRPG battlemap of a Ravenwood’s Crypt, Luke and I are currently offering 520+ battlemaps for $39. It’s your chance to have a great deal on some of our most popular battlemaps! With over 520 total maps, we guarantee that is something here for every GM—no matter what genre or setting you prefer, from grimy dungeons to beautiful overgrown ruins.

    Paying just $39 rather than full price saves you over 96%! Take a look at all the extra maps you can download with one click here

  • Free TTRPG Battlemap – Crypt of the Bone Tyrant

    Free TTRPG Battlemap – Crypt of the Bone Tyrant

    Click image to download this free TTRPG battlemap of a Crypt of the Bone Tyrant, then keep scrolling for the detailed adventure prompt written for it ?

    Free TTRPG battlemap of a Crypt of the Bone Tyrant
  • Free TTRPG Battlemap – Olek’s Vault

    Free TTRPG Battlemap – Olek’s Vault

    Click image to download this free TTRPG battlemap of a Olek’s Vault, then keep scrolling for the detailed adventure prompt written for it ?

    Free TTRPG battlemap of a Olek's Vault

     The tomb of a great warrior, sealed with an engraved magic puzzle rune. Its iron gates have stood for millennia, while the rest of the temple slowly eroded.

    When Olek, a monster slayer – his mind as sharp as his blade – fell during a goblin horde siege, his his followers built this mausoleum to house his remains, and elite arsenal of weapons.

    To enter his tomb, you must solve the puzzle sealing the doors. Seven orbs encircle a larger orb – each of the outer orbs glowing different colors, but one, which is only dull grey.

    Next to each of the orbs is an engraving of a warrior fighting a specific monster, which seems to correspond to each individual stone coffin’s plaque engravings.

    When the coffins are approached, a spirit will appear above them and ask a question about dragons, hydras, werewolves, risen skeletons, trolls or demons, depending on which engraving lies on the plaque. The seventh coffin representing goblins has been destroyed by the oceans waves, and thus it’s seal already broken; hence the gray orb.

    You can either solve all the questions (with each correct answer a corresponding orb goes dull gray on the door), or attack and destroy all the guardian spirits; accomplishing the same task, but defiling the sacred place.

    If you’d enjoy more maps like this free TTRPG battlemap of an Olek’s Vault, Luke and I are currently offering 520+ battlemaps for $39. It’s your chance to have a great deal on some of our most popular battlemaps! With over 520 total maps, we guarantee that is something here for every GM—no matter what genre or setting you prefer, from grimy dungeons to beautiful overgrown ruins.

    Paying just $39 rather than full price saves you over 96%! Take a look at all the extra maps you can download with one click here

  • Free TTRPG Battlemap – Monolith of Kal’doram

    Free TTRPG Battlemap – Monolith of Kal’doram

    Click image to download this free TTRPG battlemap of a Monolith of Kal’doram, then keep scrolling for the detailed adventure prompt written for it ?

    Free TTRPG battlemap of a Monolith of Kal’doram

    An old overgrown gravel path leads off from the main highway and after a days travel you arrive at this old burial site, it’s caretakers long dead it has been left abandoned and it’s original purpose forgotten. The lush forest has encircled the site, growing over the many tombstones and crumbling cliff side paths.

    Two stone bridge leads you over to a central platform, where crumbling stairs curve as they reach upward towards a large stone pillar. In the center, far above the lands below stands a large monolith, names of the long dead engraved deeply into the stone in an ancient tongue.

    If you’d enjoy more maps like this free TTRPG battlemap of a Monolith of Kal’doram, Luke and I are currently offering 520+ battlemaps for $39. It’s your chance to have a great deal on some of our most popular battlemaps! With over 520 total maps, we guarantee that is something here for every GM—no matter what genre or setting you prefer, from grimy dungeons to beautiful overgrown ruins.

    Paying just $39 rather than full price saves you over 96%! Take a look at all the extra maps you can download with one click here