Category: The Best Free DnD Battlemaps with System Agnostic Adventures

Download the best free DnD battlemaps with system agnostic one shot adventures! My realistic, grimdark fantasy battlemaps are high resolution and each one shot was written just for its map, should plug-in to any fantasy setting, and includes an easy-to-use hook to get your players started on the quest.

My best free DnD battlemaps with system agnostic adventures are ready to upload into VTTs like Roll20 (and are less than 5MB so should work on a free account), Foundry, or Fantasy Grounds and come as an ungridded 72ppi .JPEG file you can right click to download. The reason our VTT maps are ungridded is because the VTT software drops a grid over them when you play 🙂

If you’d love a printable version of any of my best free DnD battlemaps with adventures, my premium maps include files formatted for easy home printing in A4 .PDFs, as well as A1 or A0 poster files you can have professionally printed at stores like Staples or Office Depot. You can grab these in my great value battlemap bundles, as well as buy individual maps on DriveThruRPG. My premium maps also come formatted as 300ppi .JPEGs without watermarks for VTT use, and if they have a system-agnostic adventure written for them it’s included in an adventure .PDF document.

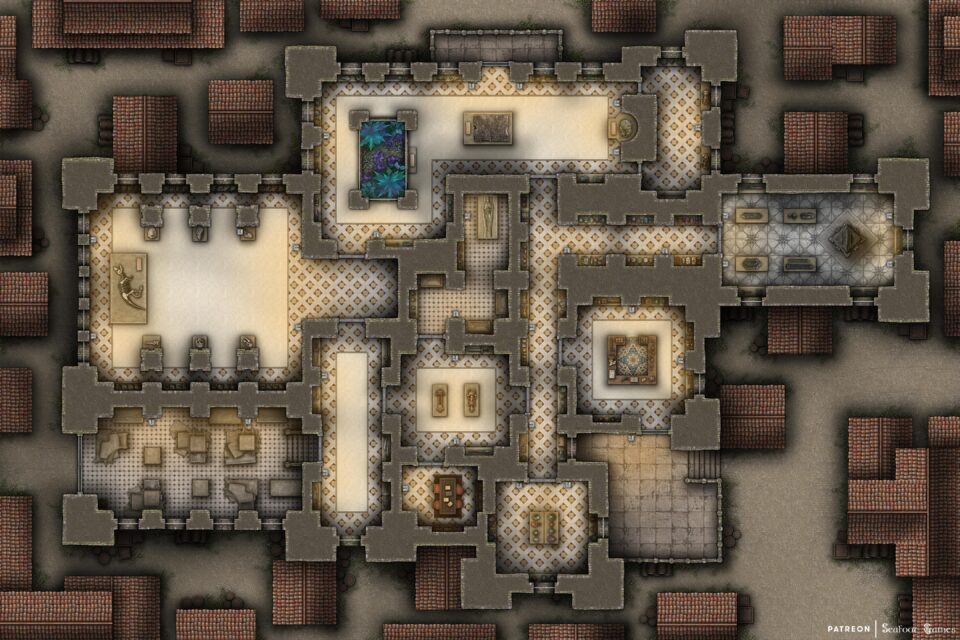
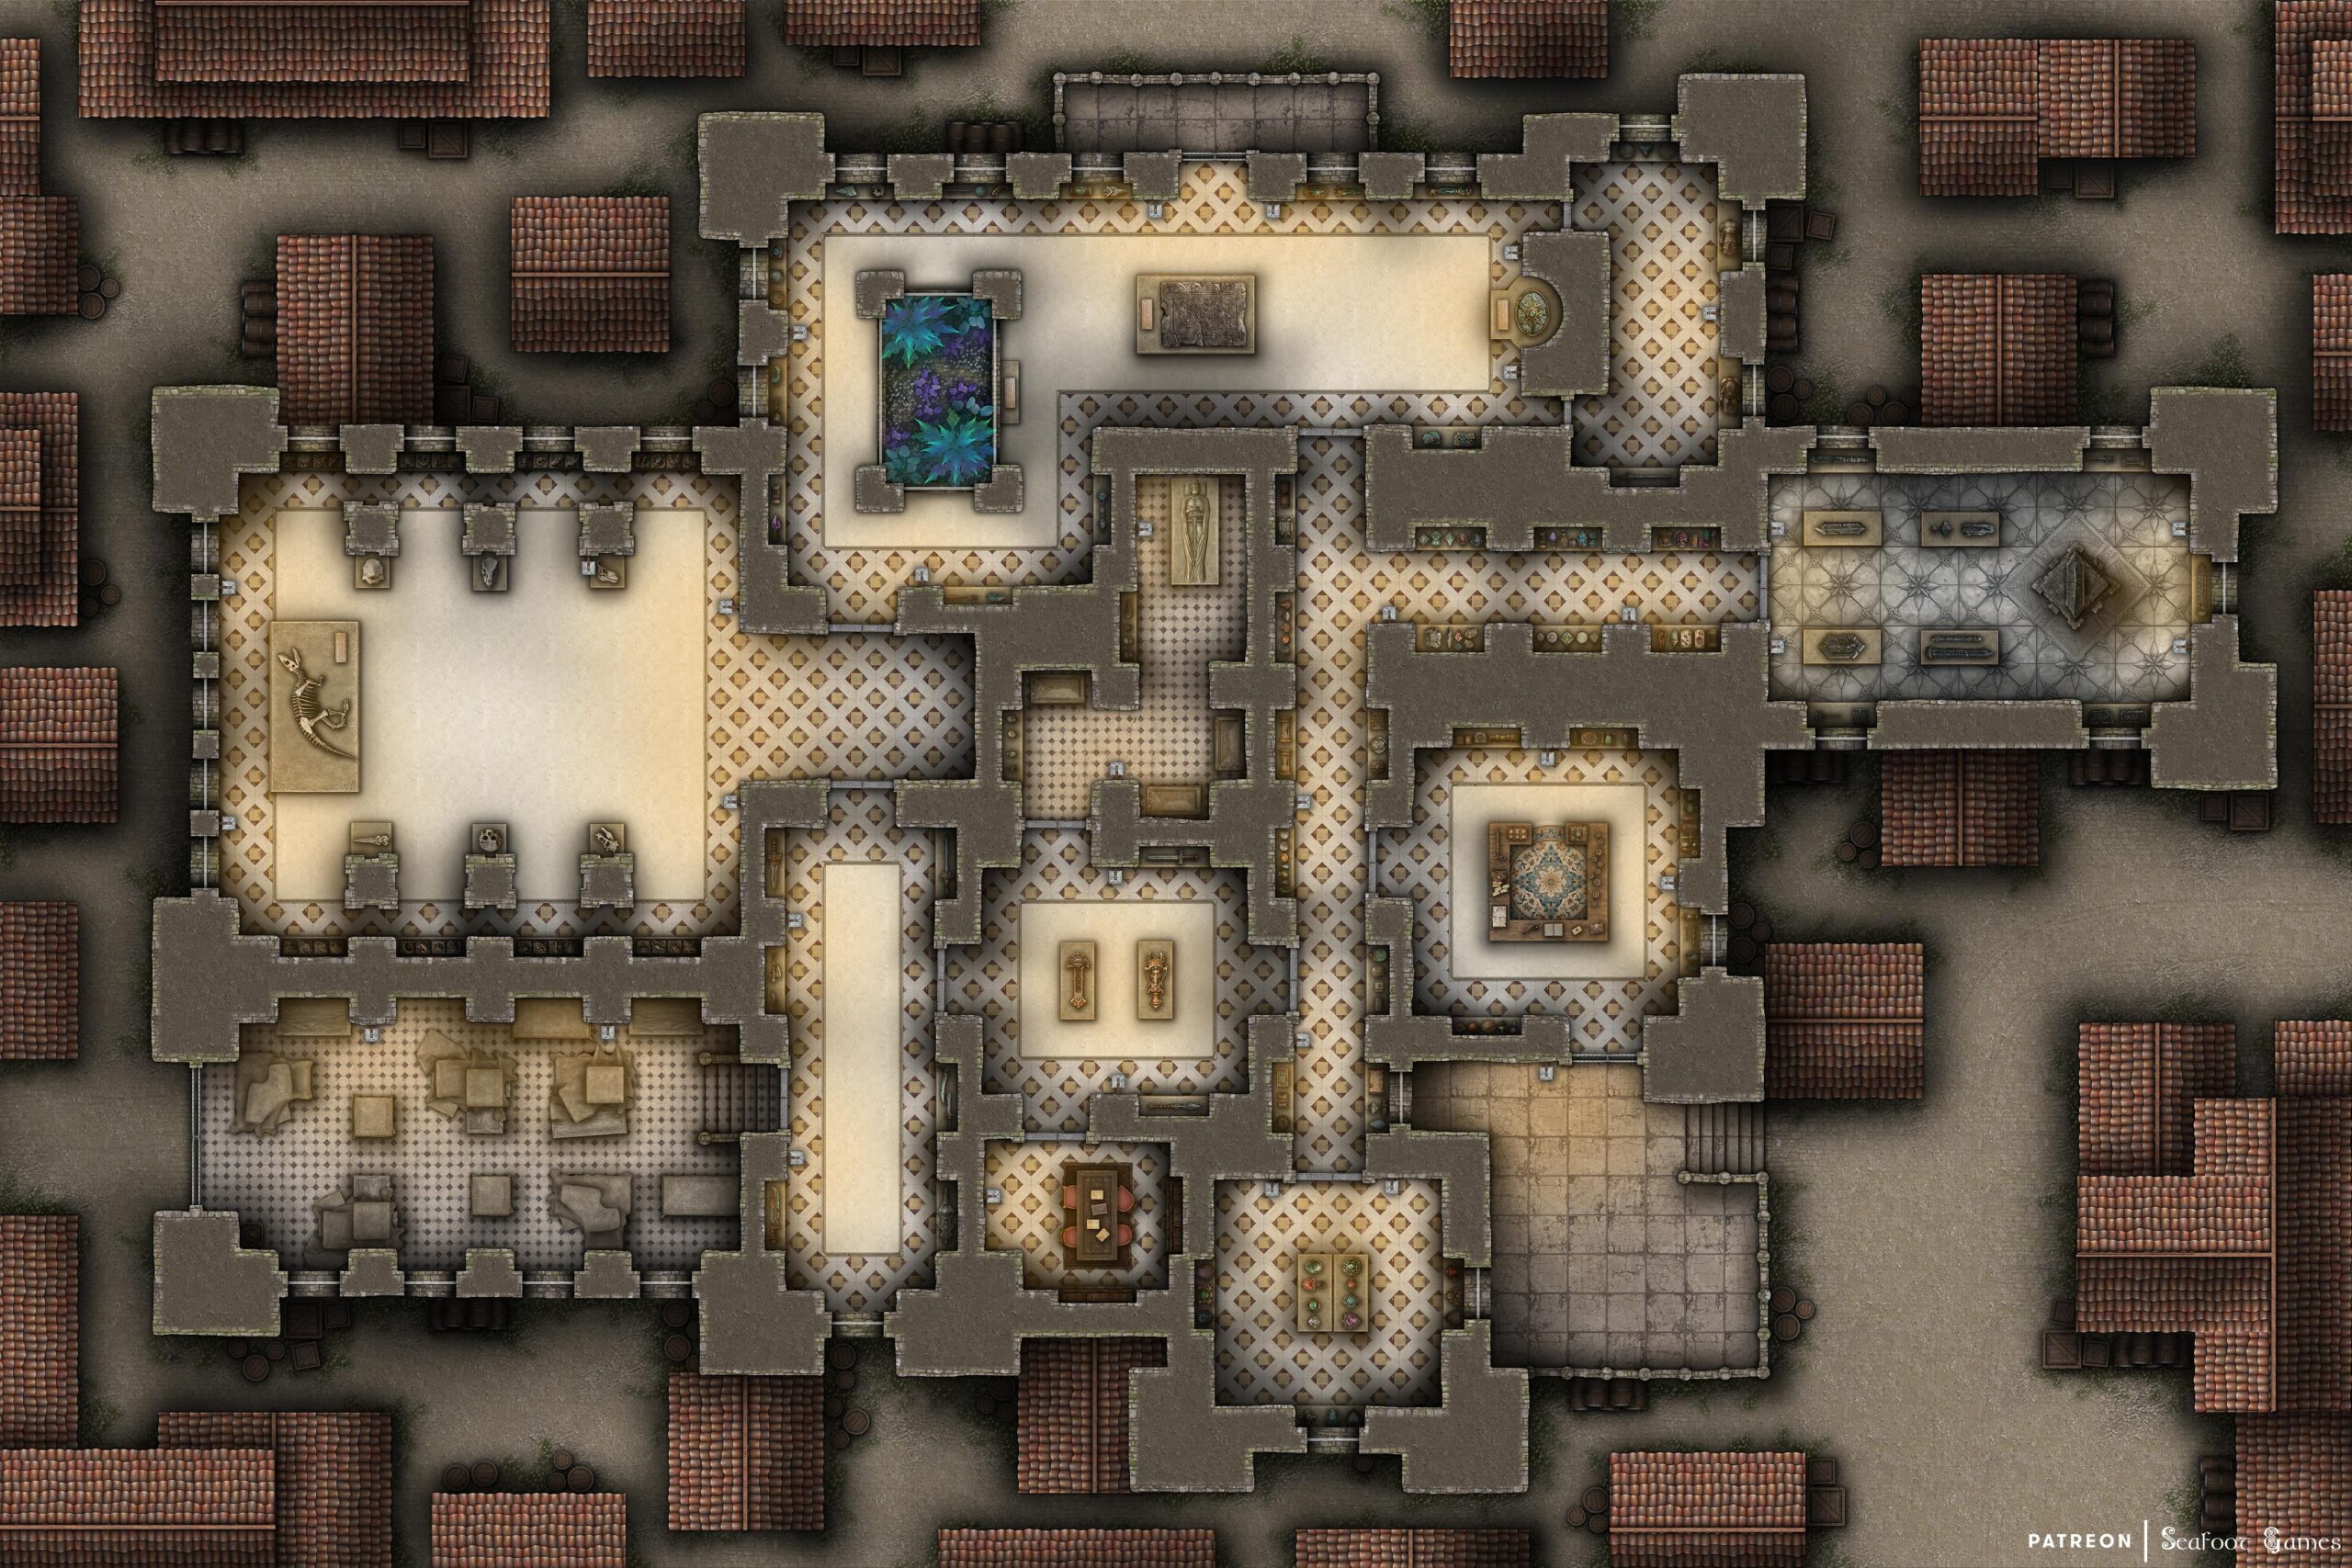
  • City Museum Free 60×40 DnD Battlemap & Adventure

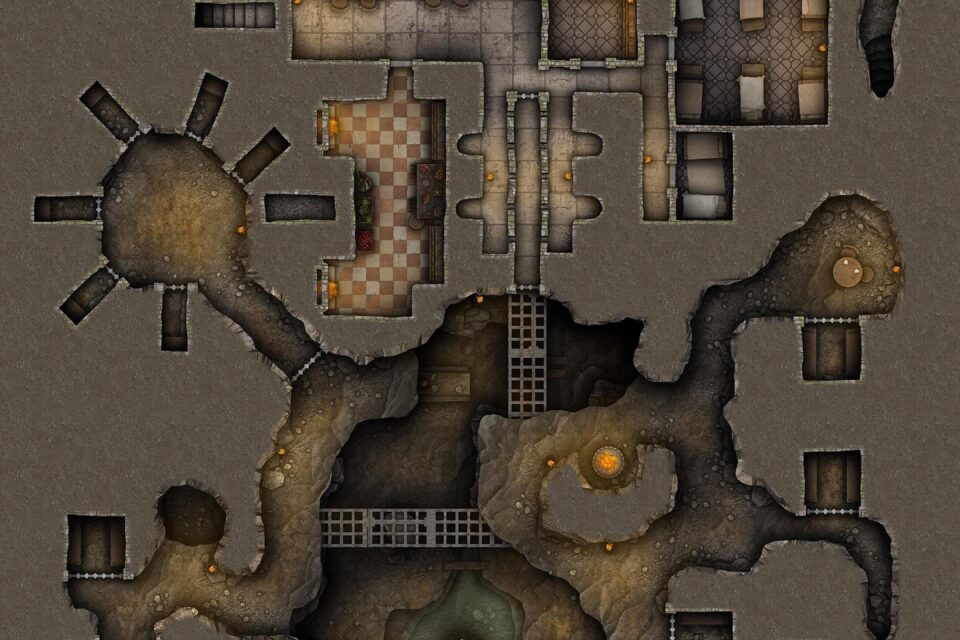
    City Museum Free 60×40 DnD Battlemap & Adventure

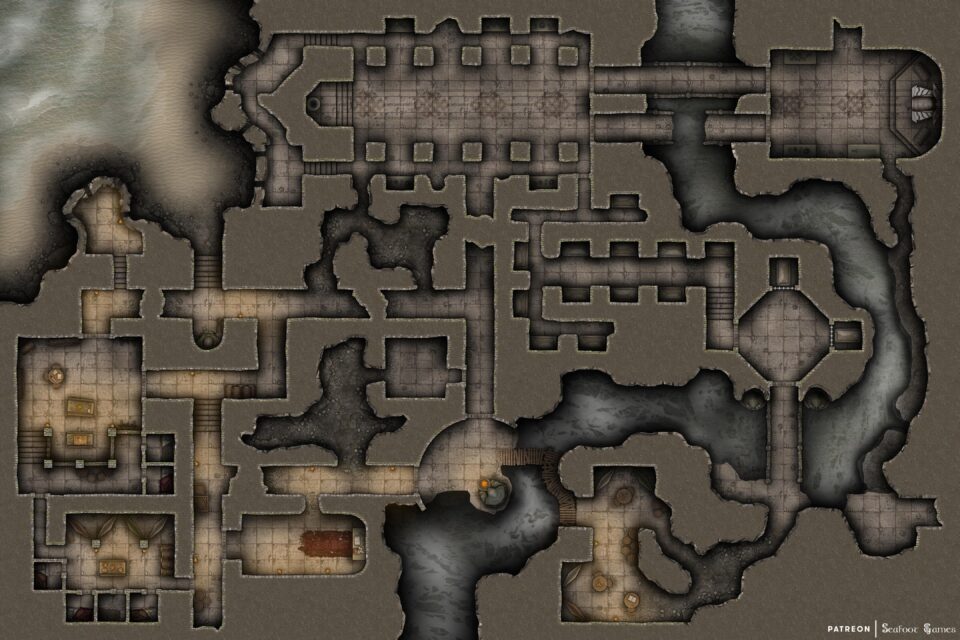
    City Museum Free 60x40 DnD Battlemap & Adventure featuring a horrific lovecraftian tale sure to disturb your players. VTT ready!
    City Museum Free 60×40 DnD Battlemap & Adventure featuring a horrific lovecraftian tale sure to disturb your players. VTT ready!

    City Museum Free 60×40 DnD Battlemap & Adventure

    Monolith of the Deep

    While staying at a tavern, your meal is interrupted by an out of breath man stumbling through the front door. His clothes are tattered and his right arm looks broken. In his left hand he is carrying a heavy iron hammer.  The man frantically screams for help, claiming that some type of abomination is trying to kill him. As he moves further into the tavern, he collapses to the ground and begins crawling. Looking back toward the door, the man screams again that it’s here and pleads for someone to help him. Rolling onto his back, he raises a hand in what appears to be an attempt to defend himself, but you can’t see what he might be reacting to.

    Before you can even blink the man’s left arm is raised and he smashes the hammer into his face. Gurgling blood, the man continues to scream for help as he smashes the hammer into his head again and again with his left hand, as his right hand attempts to fend off some imaginary beast from atop. Then the screaming suddenly stops and his body goes limp revealing his caved in head, his blood pooling on the wooden planks of the tavern’s floor.

    The other patrons turn pale and a silence falls over the tavern which is only interrupted by the tavern owner returning to the room with his hands full of the patron’s dinners, which are dropped as the tavern owner in bewilderment asks what the fuck happened.  The guard’s are called and everyone is told to stay where they are until they’re asked to move so that the guards can get everyone’s story of what happened. The guards in question are polite but disturbed by your story, they insist on organizing alternative accommodation for you and you’re told not to leave the city until everything is sorted as they may need more from you.  The next morning when you go downstairs from your newly appointed tavern you find a lithe modest woman with black hair and wearing a long flowing dress with silk gloves, covering all of her skin except her face, where she wears a pair of librarian spectacles. She approaches you, asking if you were part of the group who saw the death of a man named Gren last night? She describes the man, who to your recollection fits the bill.  If you ask why she wants to know, the woman sighs sadly, explaining that her name is Dr.Elara Briggs and that Gren was an employee of hers at the city’s museum working as a caretaker over the night. Elara continues that recently Gren became convinced that one of their newly released exhibitions which feature a series of ancient blackstone artifacts have something wrong with them.

    Elara says that she caught Gren in the museum last night when she was staying late to catalog some new arrivals, when she found him in the blackstone exhibition room standing in front of one particular large blackstone obelisk, with an iron hammer in his hand. He said he was going to destroy the artifact but when he raised his hammer to it he instead just screamed in terror before hitting his arm with the hammer instead and running off.

    Elara claims she attempted to follow him but he was simply too fast. That was the last Elara saw of him until receiving news this morning of his untimely death from a friend in the guard. Elara explains that her friend couldn’t divulge much information due to the ongoing investigation but they were able to point her toward you without breaking the rules. As such Elara asks you what happened last night in the tavern with Gren?  Disturbed by what you tell her, Elara questions if perhaps Gren might have been correct in his theory. Noting your garb, Elara asks if you’re available for hire for a few days while she closes the museum to investigate the black stone artifacts. With concern, Elara explains that even with Gren’s theory she can’t just destroy priceless artifacts without proof and that hopefully either you find something and you can dispose of the artifacts or you find nothing and life can continue as normal.

    If you agree, she tells you to meet her at the museum later that day. The Museum is large and Elara greets you at the door before telling you to just take your time and explore at the museum as you see fit and she’ll be in the back cataloging if you need anything.  Exploring the museum you find trinkets and weapons from all around the world. However, when entering the blackstone exhibit something feels off, almost ominous, the reflective black stone mirroring your face but almost distorted. Nothing else of note happens on the first day making it seem like a regular old museum, unless you approach the largest obelisk with malice or the thought of destroying it.  If that occurs you must make a will save or you feel the urge to get closer to it, once you’re right next to it it’s almost like a portal opens up and you see visions of abominations from the depths of the sea within the stone which reach out their arms to grab you, pulling your head into their underwater realm, making you drown.

    Anyone not influenced by the stone will see you instead smashing your head against the stone, in what looks like an attempt to kill yourself. On the second day, those of weak will might experience brief visions, reflections of the briny depths in mirrors or glass, incredible itching which when itched reveals scales under their skin, text within any tome changing into an unknown language, etc.  If you talk to Elara about any of this she grows concerned, explaining that she has heard enough and the artifacts must be destroyed before what happened to Gren happens to you. If you ask if she’s being a little hasty and how she knows it’s the black stone artifacts causing the visions and not anything else in the museum, she explains that the black stone’s were found under the sea off the coast by a trawling vessel and the visions you’ve experienced all seem to focus on the ocean.

    Elara collects some heavy tools that are used to open crates and asks for you to follow her. Upon arriving at the black stone exhibition, nothing seems out of the ordinary. Elara requests you assist her in destroying the artifacts but as she moves to strike the obelisk she pauses noticing briny water that has begun to pool under the obelisk, pouring from the very stone even though there appears to be no openings.

    Elara backs up in shock before a sudden wave of water flows through the black obelisk like a tidal wave, knocking over Elara and sweeping her back into the museum’s corridors. For those perceptive, they might notice a portal similar to the one in an early vision filled with abominations from the depths of the sea has truly opened up on the black obelisk causing the museum to begin filling with water at an astounding rate. In addition, you notice the horrible dark shadows of deformed fishfolk now appearing within the briny ocean waters within the museum who move to assail you.  Once the black obelisk is broken and the fishfolk defeated, the waters recede like magic, disappearing as if soaking into the stone floors. Elara returns, shocked, soaked and bewildered, thanking you for saving her and who knows what else before collapsing into your arms.

    GM’s Notes:

    Those attempting to strike the black obelisk directly, will, just like Gren be subject to the visions which caused himself to end his own life if they fail a will save, each round the player will attack themselves with whatever weapons they can find while believing they’re being attacked by horrible monstrosities. Each round however, they will get another chance for a will save to break this effect. Once broken they cannot be affected again for a time.

    The Black Obelisk is a remnant of an ancient city that worshiped the god of the deep. Crafted and imbued by master craftsmen from blackstone pulled from the greatest depths of the sea, with the entire construction taking over 100 years. The visions that stone gives were seen as blessings to the people who built it but its ultimate design was to function as a gateway to the depths, being used to flood the city and bring them closer to their god.

    If you’d enjoy more TTRPG resources like this City Museum Free 60×40 DnD Battlemap & Adventure, Luke and I have released our newest Hardcore GM’s bundle of 520 large, 40Ă—30″ battlemaps (double the size of those in the Quarantine Bundle) with 255 fantasy adventures for $39. It’s your chance to have a great deal on some of our most beautiful maps! We guarantee that is something here for every GM—no matter what setting you prefer, from large cities to underwater seascapes.

    Paying just $39 rather than full price saves you over 98%! Take a look at all the extra maps you can download with one click in the Hardcore GM’s Bundle here

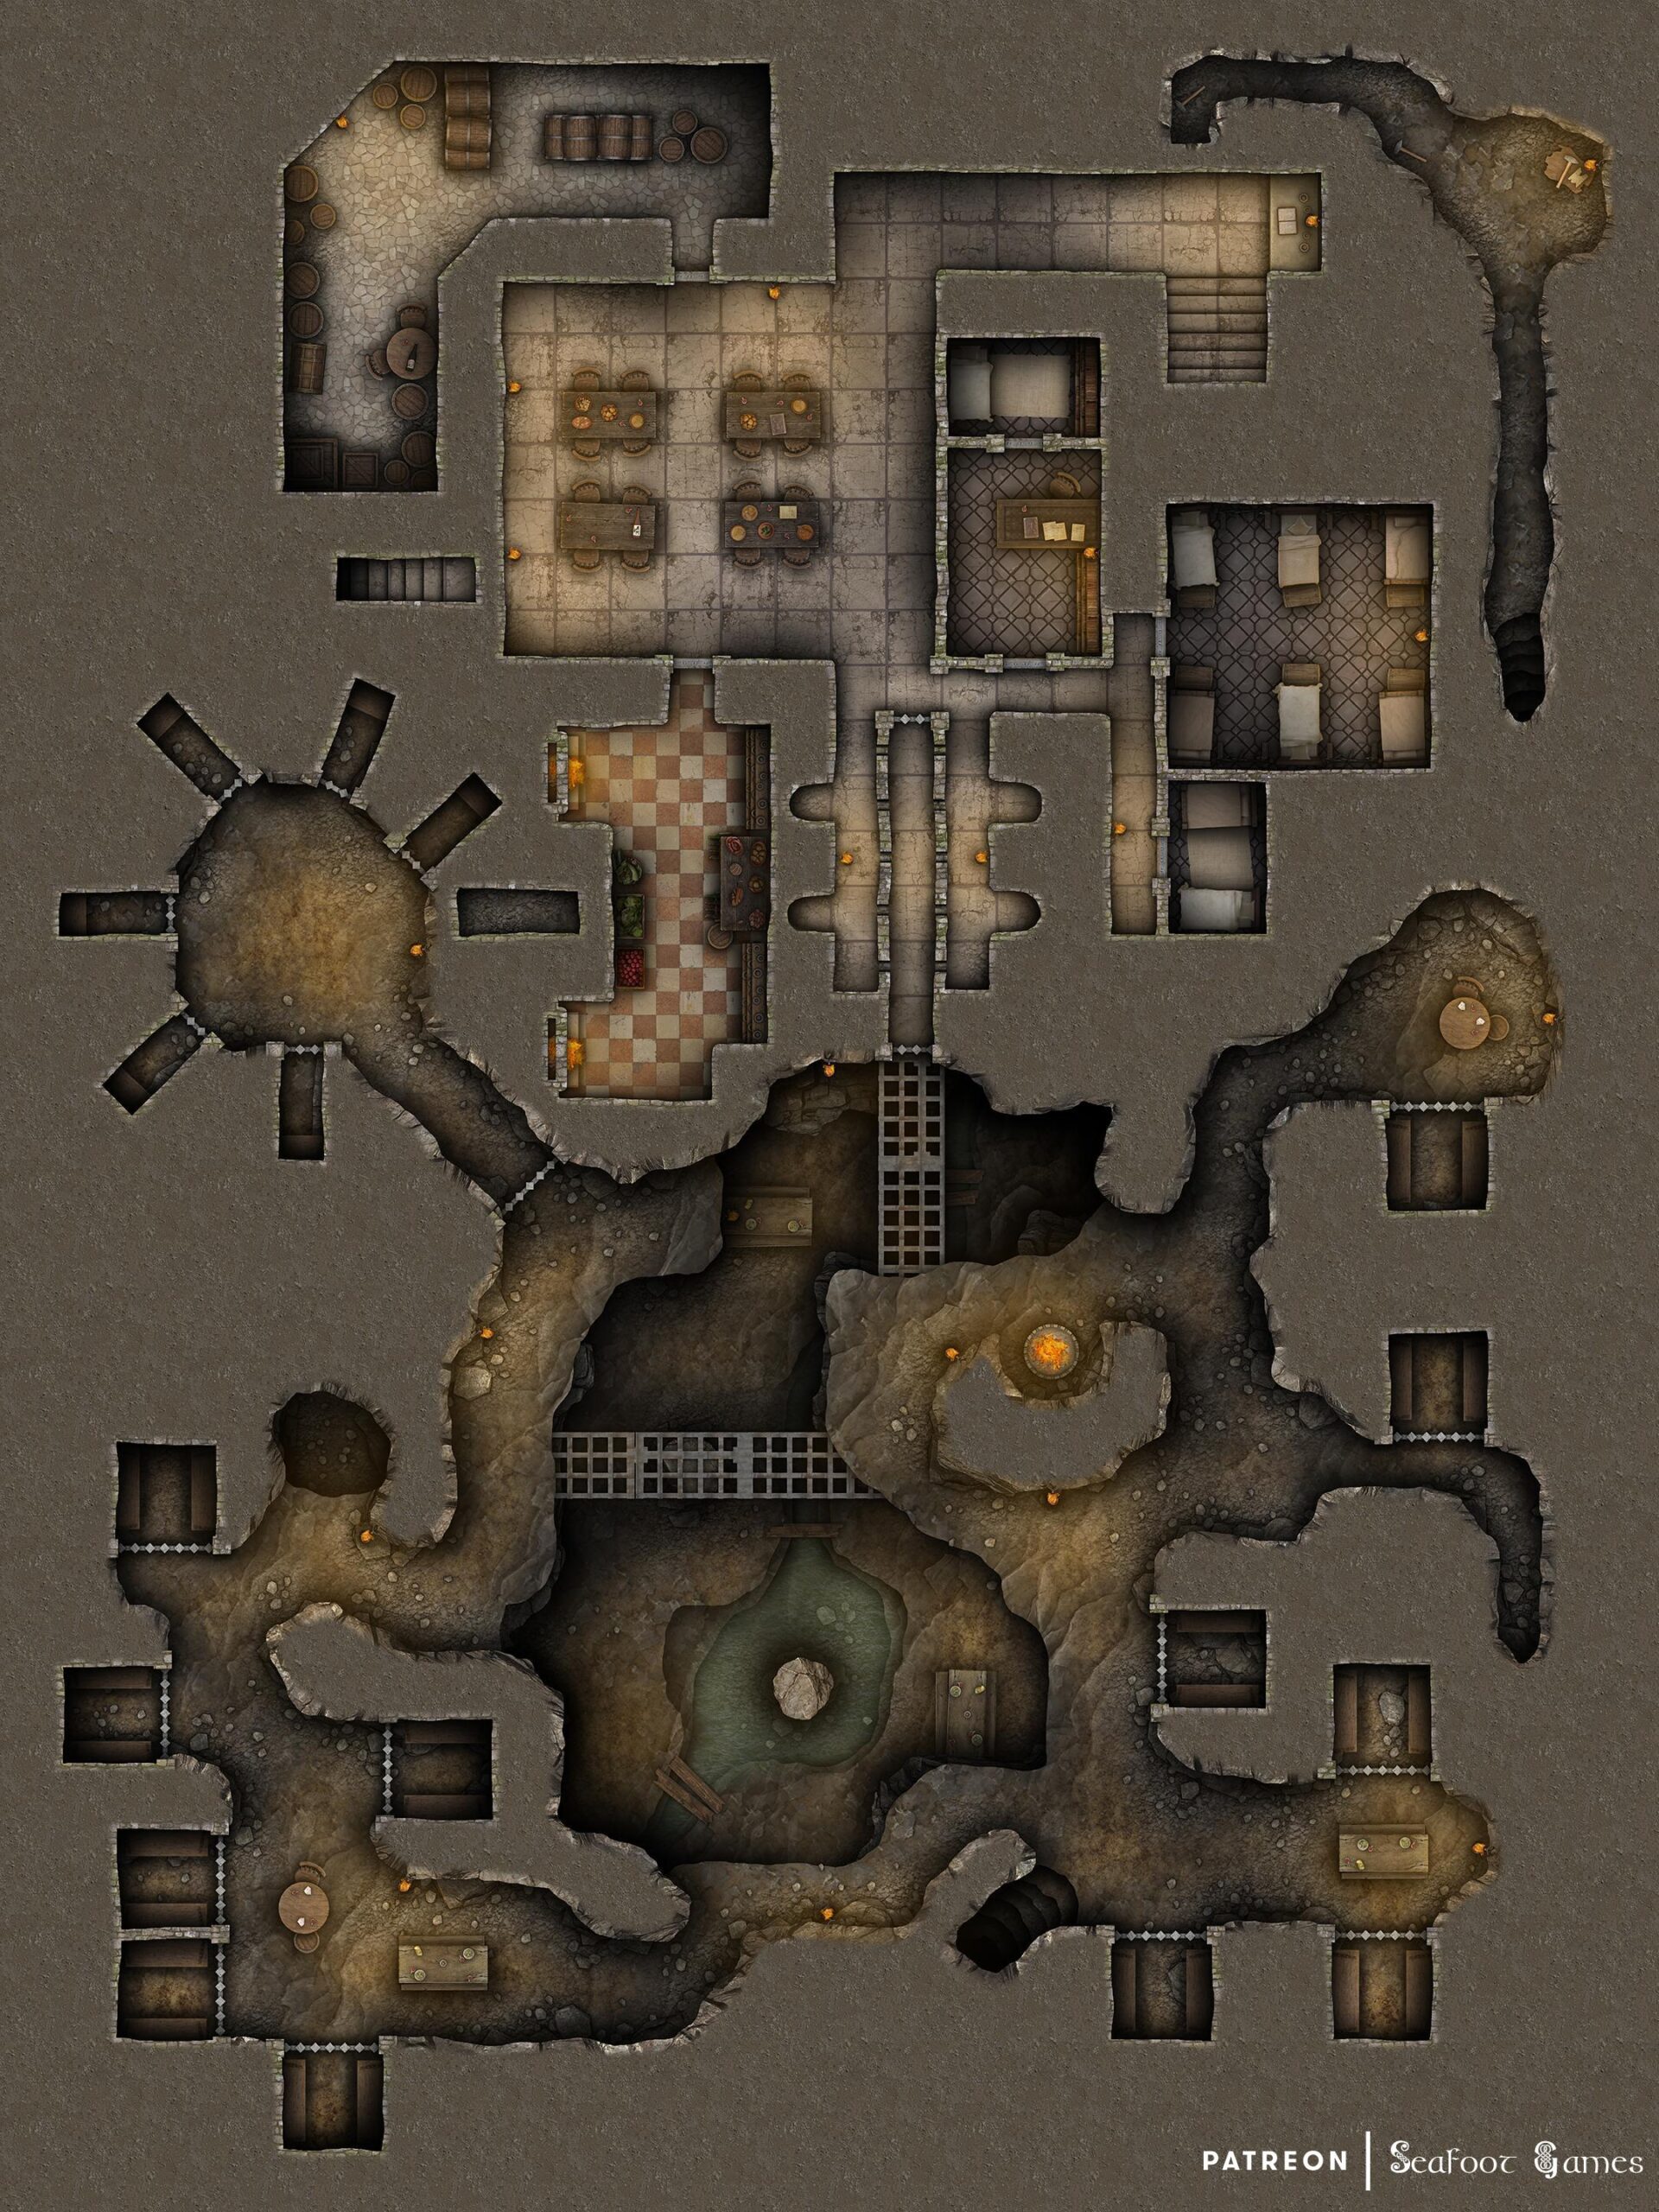
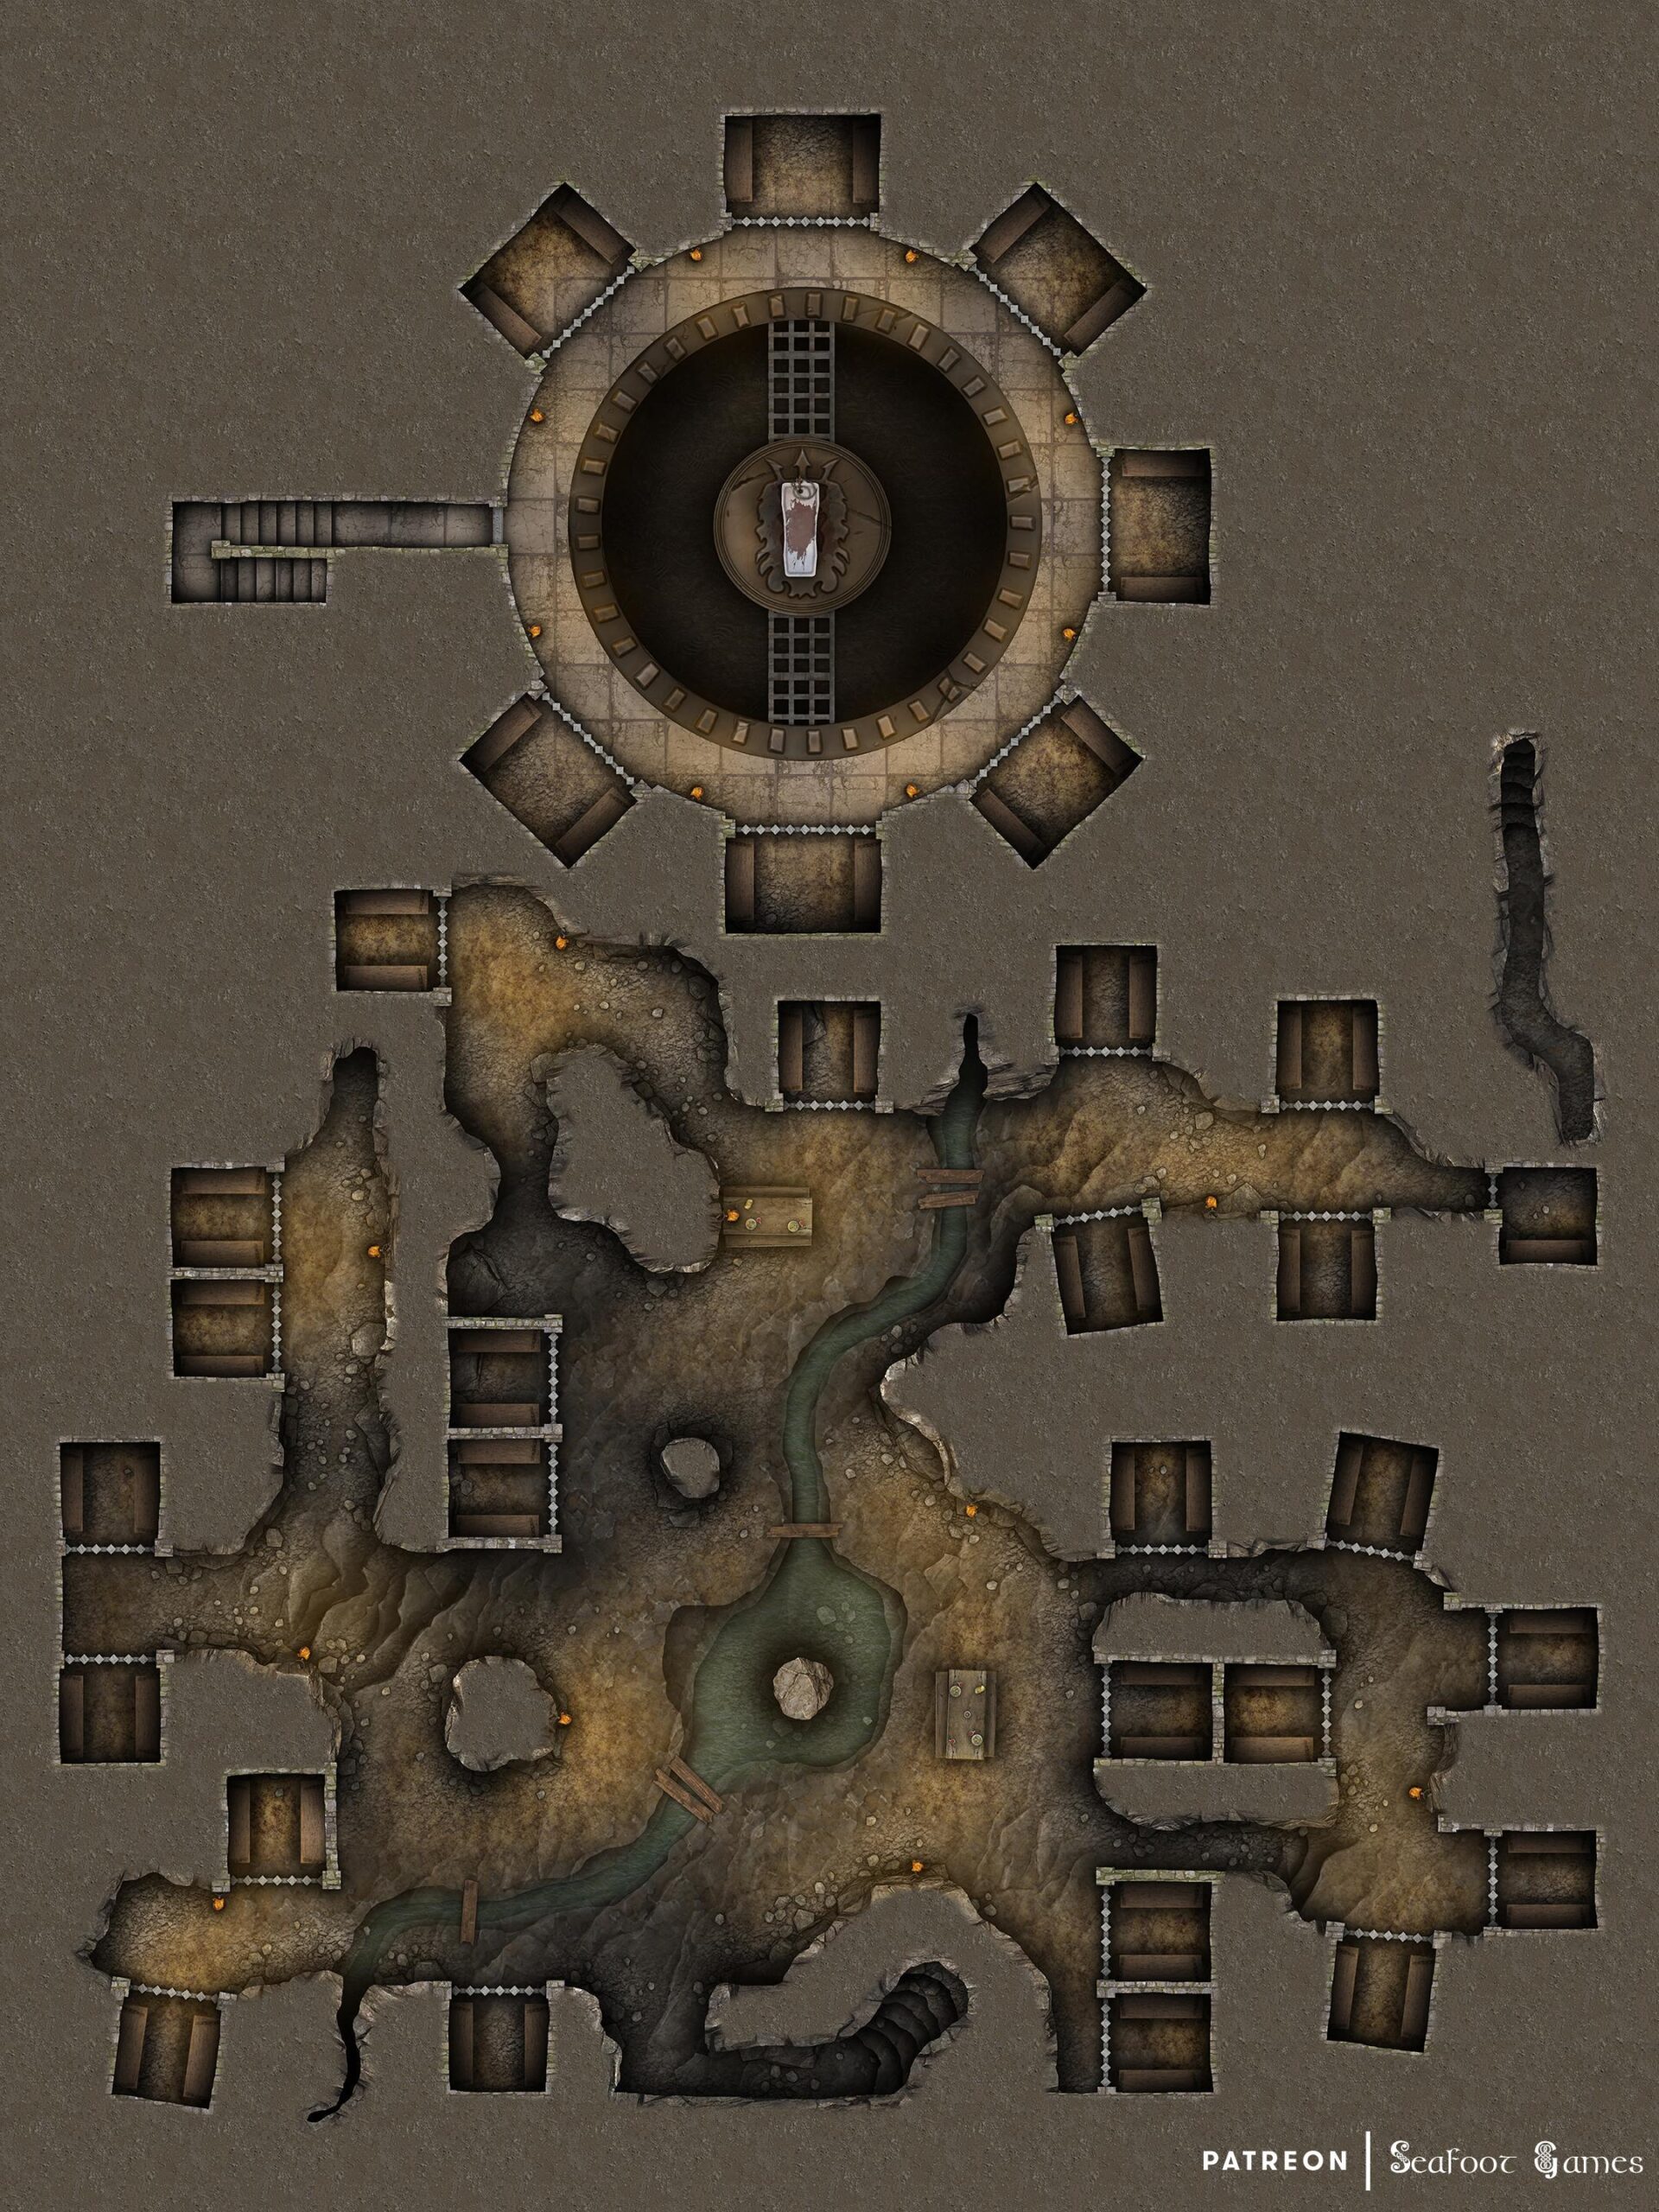
  • Underground Desert Prison Free 40×30 Multi-Level DnD Battlemap & Adventure

    Underground Desert Prison Free 40×30 Multi-Level DnD Battlemap & Adventure

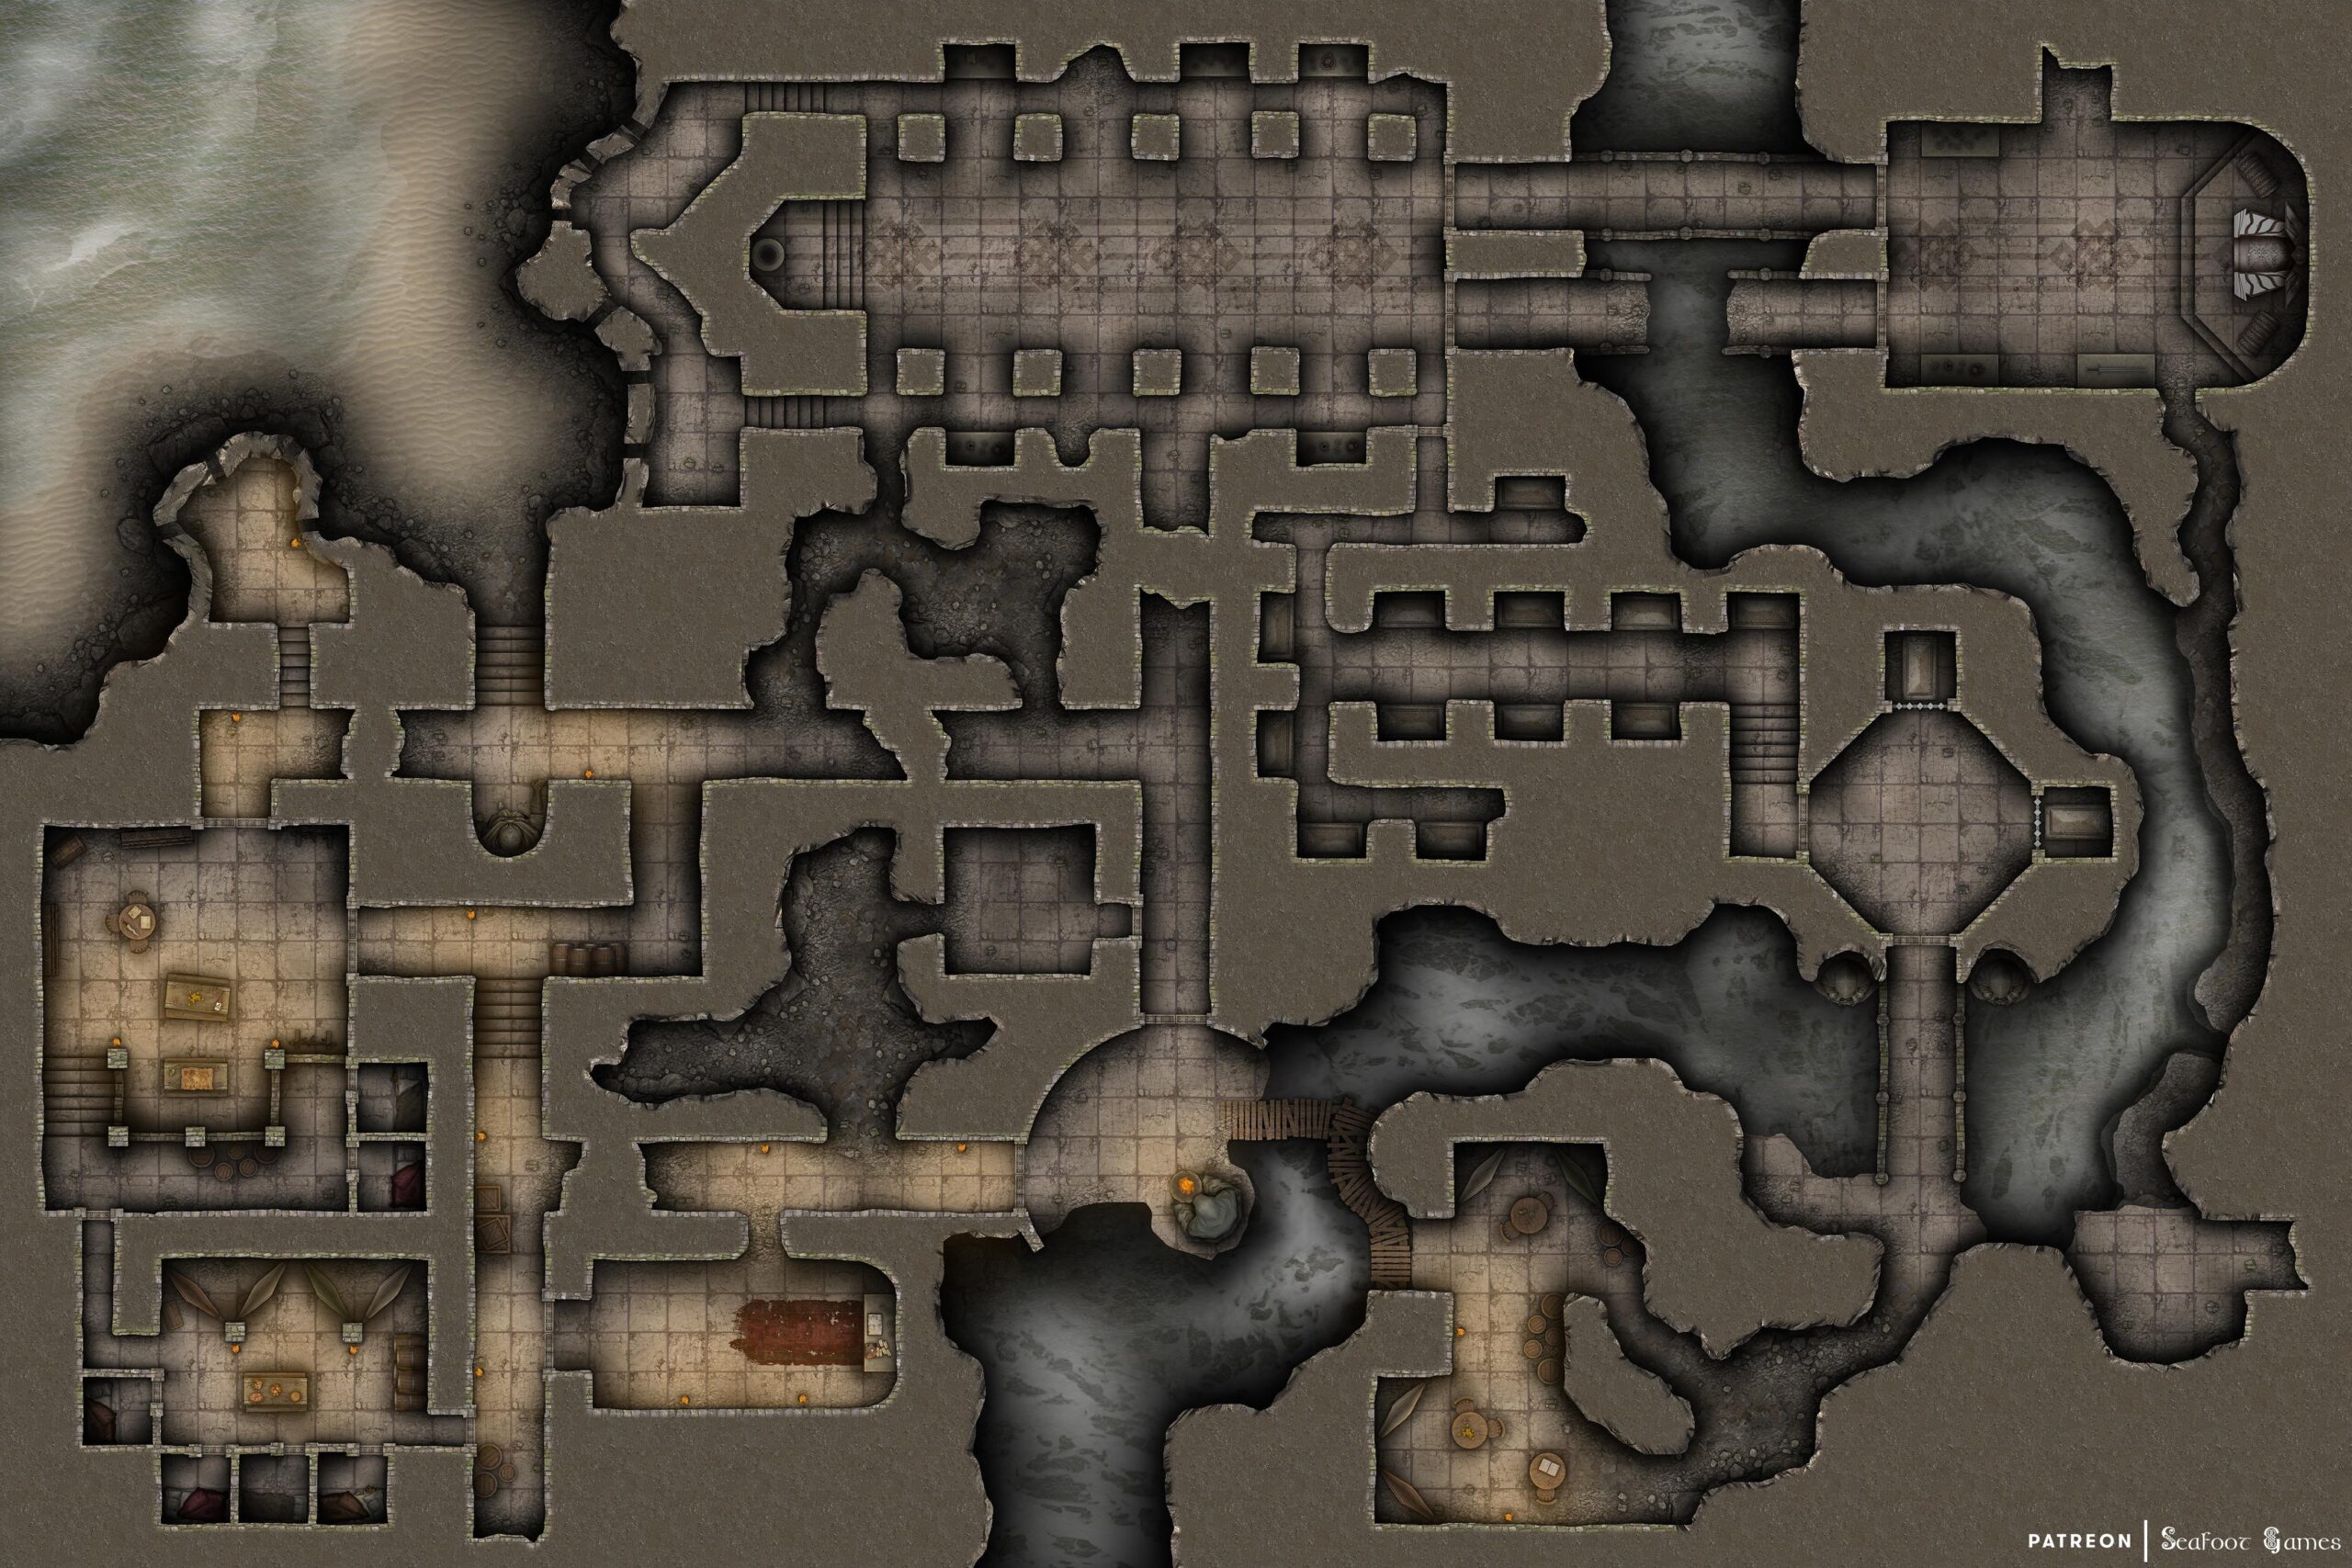
    Level 1 of our Underground Desert Prison Free 40x30 Multi-Level DnD Battlemap & Adventure. Break into an underground high-security prison! VTT ready.
    Level 1 of our Underground Desert Prison Free 40×30 Multi-Level DnD Battlemap & Adventure. Break into an underground high-security prison! VTT ready.
    Level 2 of our Underground Desert Prison Free 40x30 Multi-Level DnD Battlemap & Adventure. Break into an underground high-security prison! VTT ready.
    Basement of our Underground Desert Prison Free 40×30 Multi-Level DnD Battlemap & Adventure. Break into an underground high-security prison! VTT ready.
    Level 3 of our Underground Desert Prison Free 40x30 Multi-Level DnD Battlemap & Adventure. Break into an underground high-security prison! VTT ready.
    Subbasement of our Underground Desert Prison Free 40×30 Multi-Level DnD Battlemap & Adventure. Break into an underground high-security prison! VTT ready.

    Underground Desert Prison Free 40×30 Multi-Level DnD Battlemap & Adventure

    Key to the Desert

    After getting in trouble with the law and ending up in jail pending trial, whether guilty or not, you’re approached by a man wearing a suit and a bola hat while carrying a cane. If you’re perceptive you may be able to see a silver necklace around his neck with what looks like a broken key, missing its tip. He clearly holds some sway over the guardsmen, having them leave so you can speak in private. The man introduces himself as The Collector, before explaining that he understands that you’ve got yourself into a little spot of trouble and that he’s here to help, as a friend.  The Collector goes on to explain that he can get you out of jail with a fully clean record, but he’ll need a little favor from you first. You see, he’s in need of some vital information from a man who was part of a group of raiders who attacked his caravans, and stole important artifacts from him.   This man was captured and now resides within the hell-hole of a prison they call The Pit. The rest of his comrades however, are still on the loose, perhaps still with his artifacts. The prison guards tried to get the location of the raiding group’s hideout from the prisoner, but they had no luck and so The Collector has instead arranged a new plan.  Removing his hat, The Collector solemnly informs you that he has had your criminal records changed to have you convicted of murder. Just a formality, he assures you, but he needs you to be sent to The Pit and to retrieve this information for him. He cares not for your methods, as long as you get the inmate to speak, whether through gaining his trust or… otherwise.  Once you’ve gained this information, you’re simply to tell a guard you need to speak to The Collector and he says he will come to release you. He then gives you the general description of the man you must seek. If you ask about what happens if you don’t manage to get the information, The Collector laughs and says that but of course, then you’ll be staying in The Pit for a long time.

    The next day you’re taken in an armored carriage, chained and blindfolded through the harsh desert. When you arrive at the prison you feel the harsh sun on your skin for only a few moments before you’re taken underground. The guards refuse to talk to you if you question them and soon enough your blindfold and chains are taken off, before you’re thrown into a cavern-like area full of other inmates. Cells line the walls of the cavern and a small stream runs through it, providing water to drink and bath in.  Walking around the prison searching for the man you must seek, you’re soon confronted by a small group of men led by a bulky, dark skinned man who sees you as fresh meat. Unpersuaded by your talking, the men see only physical violence as a means to end disputes. No matter your choice, including killing the men, the guards do not intervene. They do, however, show up later to retrieve the bodies.  Eventually you find the man you’re searching for, hiding off in a cell in the corner of the prison. He is a tanned, slender man in his late sixties but is not what you’d expect from a raider. When approached, you see the man has been beaten and covered in bruises and cuts. He shudders and pleas with you to not beat him more, but when he notices you’re not who he expected he calms down.  If you ask him about who he was expecting, he introduces himself as Oran explaining that there’s a group of men in the prison led by a bulky dark-skinned man named Regar who have been hasling him since he arrived. If you killed Regar and his cronies (the group who attacked you earlier) and explain this to the man, he is incredibly thankful and much more willing to talk to you.  If asked about the other raiders and the location of the hideout, Oran looks confused, asking about what raiders. If you explain further, he seems to have no idea what you’re talking about.

    Oran explains that he is an elder from a tribe of nomadic people who were themselves attacked during a ceremonial festival of his people. He explains that every decade all four of the tribes of the sand, which includes his tribe, come together for a festival so the elders of each tribe may discuss important matters with each other. However, during the night they were attacked, and he was captured along with some others by the unknown assailants, only waking to find himself in this hell-hole.  If pressed further, he surmises in a hush voice that the attackers seemed to know them, calling to them by name before attacking. The man thinks that perhaps they were after the key to the desert that their tribes have protected for millennia, as it is the only thing of value his people keep.  If you ask about the key, Oran explains that it is a magical artifact with the power to control the dunes and the dust storms that pervade the desert. Long ago it was broken into four pieces and each given to one of the tribes, so that no tribe would have dominion over the desert. But, on that night, he saw as his attackers killed one of the elders right in front of him before taking the elder’s key piece.  Oran continues that, as keeper of the key for his tribe, his piece was also taken, but it seems like at least one of the other elders got away with their piece as he has been tortured by the guards to try and uncover the location of where his remaining people may have fled. He, of course, did not give this information up, a mostly toothless grin appearing on his face.  If you ask more about this location, Oran explains that his people have a sacred oasis that they may go to in time of need, and his people would most likely have fled there for safety but he refuses to give you directions. He does however say that whoever the attackers of their tribes were, they cannot be allowed to gain all the key pieces as holding such power over the desert has only led to bloodshed in the past.  GM’s Notes:   The Collector is behind the attacks on the tribes people of the desert and the torture of Oran. He wears three out of four pieces of the key to the desert around his neck, and wishes to collect the remaining key fragment so that he may rule the desert.

    The players may call The Collector to inform him of the information they gained from Oran regarding the sacred Oasis, and although it takes him a longer time his people will manage to find it and recover the final key fragment; giving him the ability to rule over the desert as he desired.

    Other ways to resolve this quest may be to talk to other inmates, some of whom have been planning an escape via a tunnel they’ve been digging and bribe or otherwise convince them to let you come along, perhaps even bringing Oran with you.  In addition, the players may be able to directly betray The Collector, calling him to the prison only to confront him instead, with the intent of getting the other three key fragments back. In this case, the guards will come to defend him as well as his two bodyguards.  If Oran is presented with the other three key fragments to return to his people, he thanks you profusely explaining that you’re always welcome among his people, as well as you given directions to the sacred oasis so that if you ever need, you may seek shelter there.

    If you’d enjoy more TTRPG resources like this Underground Desert Prison Free 40×30 Multi-Level DnD Battlemap & Adventure, Luke and I have released our newest Hardcore GM’s bundle of 520 large, 40Ă—30″ DnD battlemaps (double the size of those in the Quarantine Bundle) with 255 fantasy adventures for $39. It’s your chance to have a great deal on some of our most beautiful maps! We guarantee that is something here for every GM—no matter what setting you prefer, from large cities to underwater seascapes.

    Paying just $39 rather than full price saves you over 98%! Take a look at all the extra maps you can download with one click in the Hardcore GM’s Bundle here

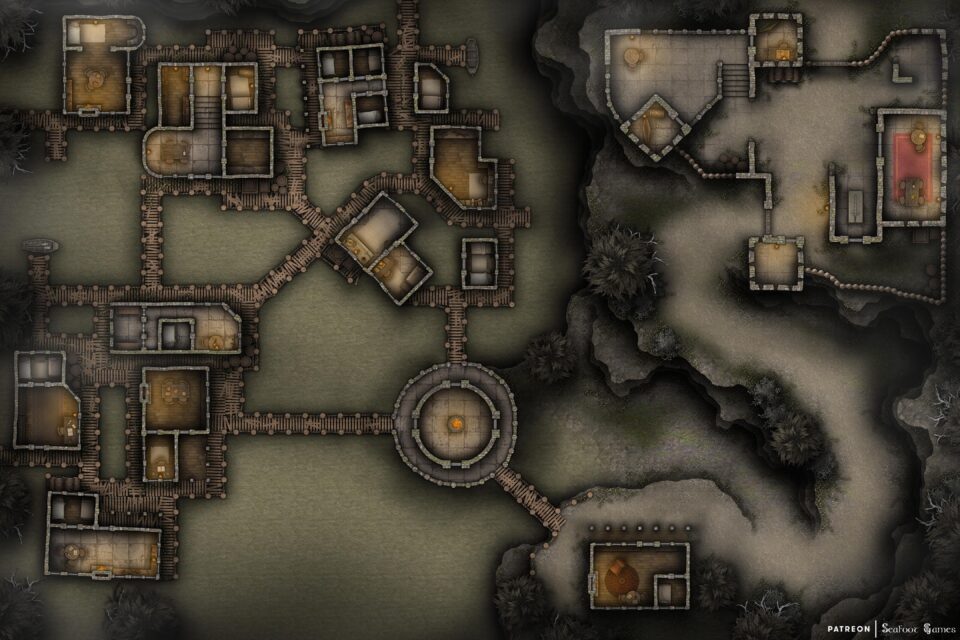
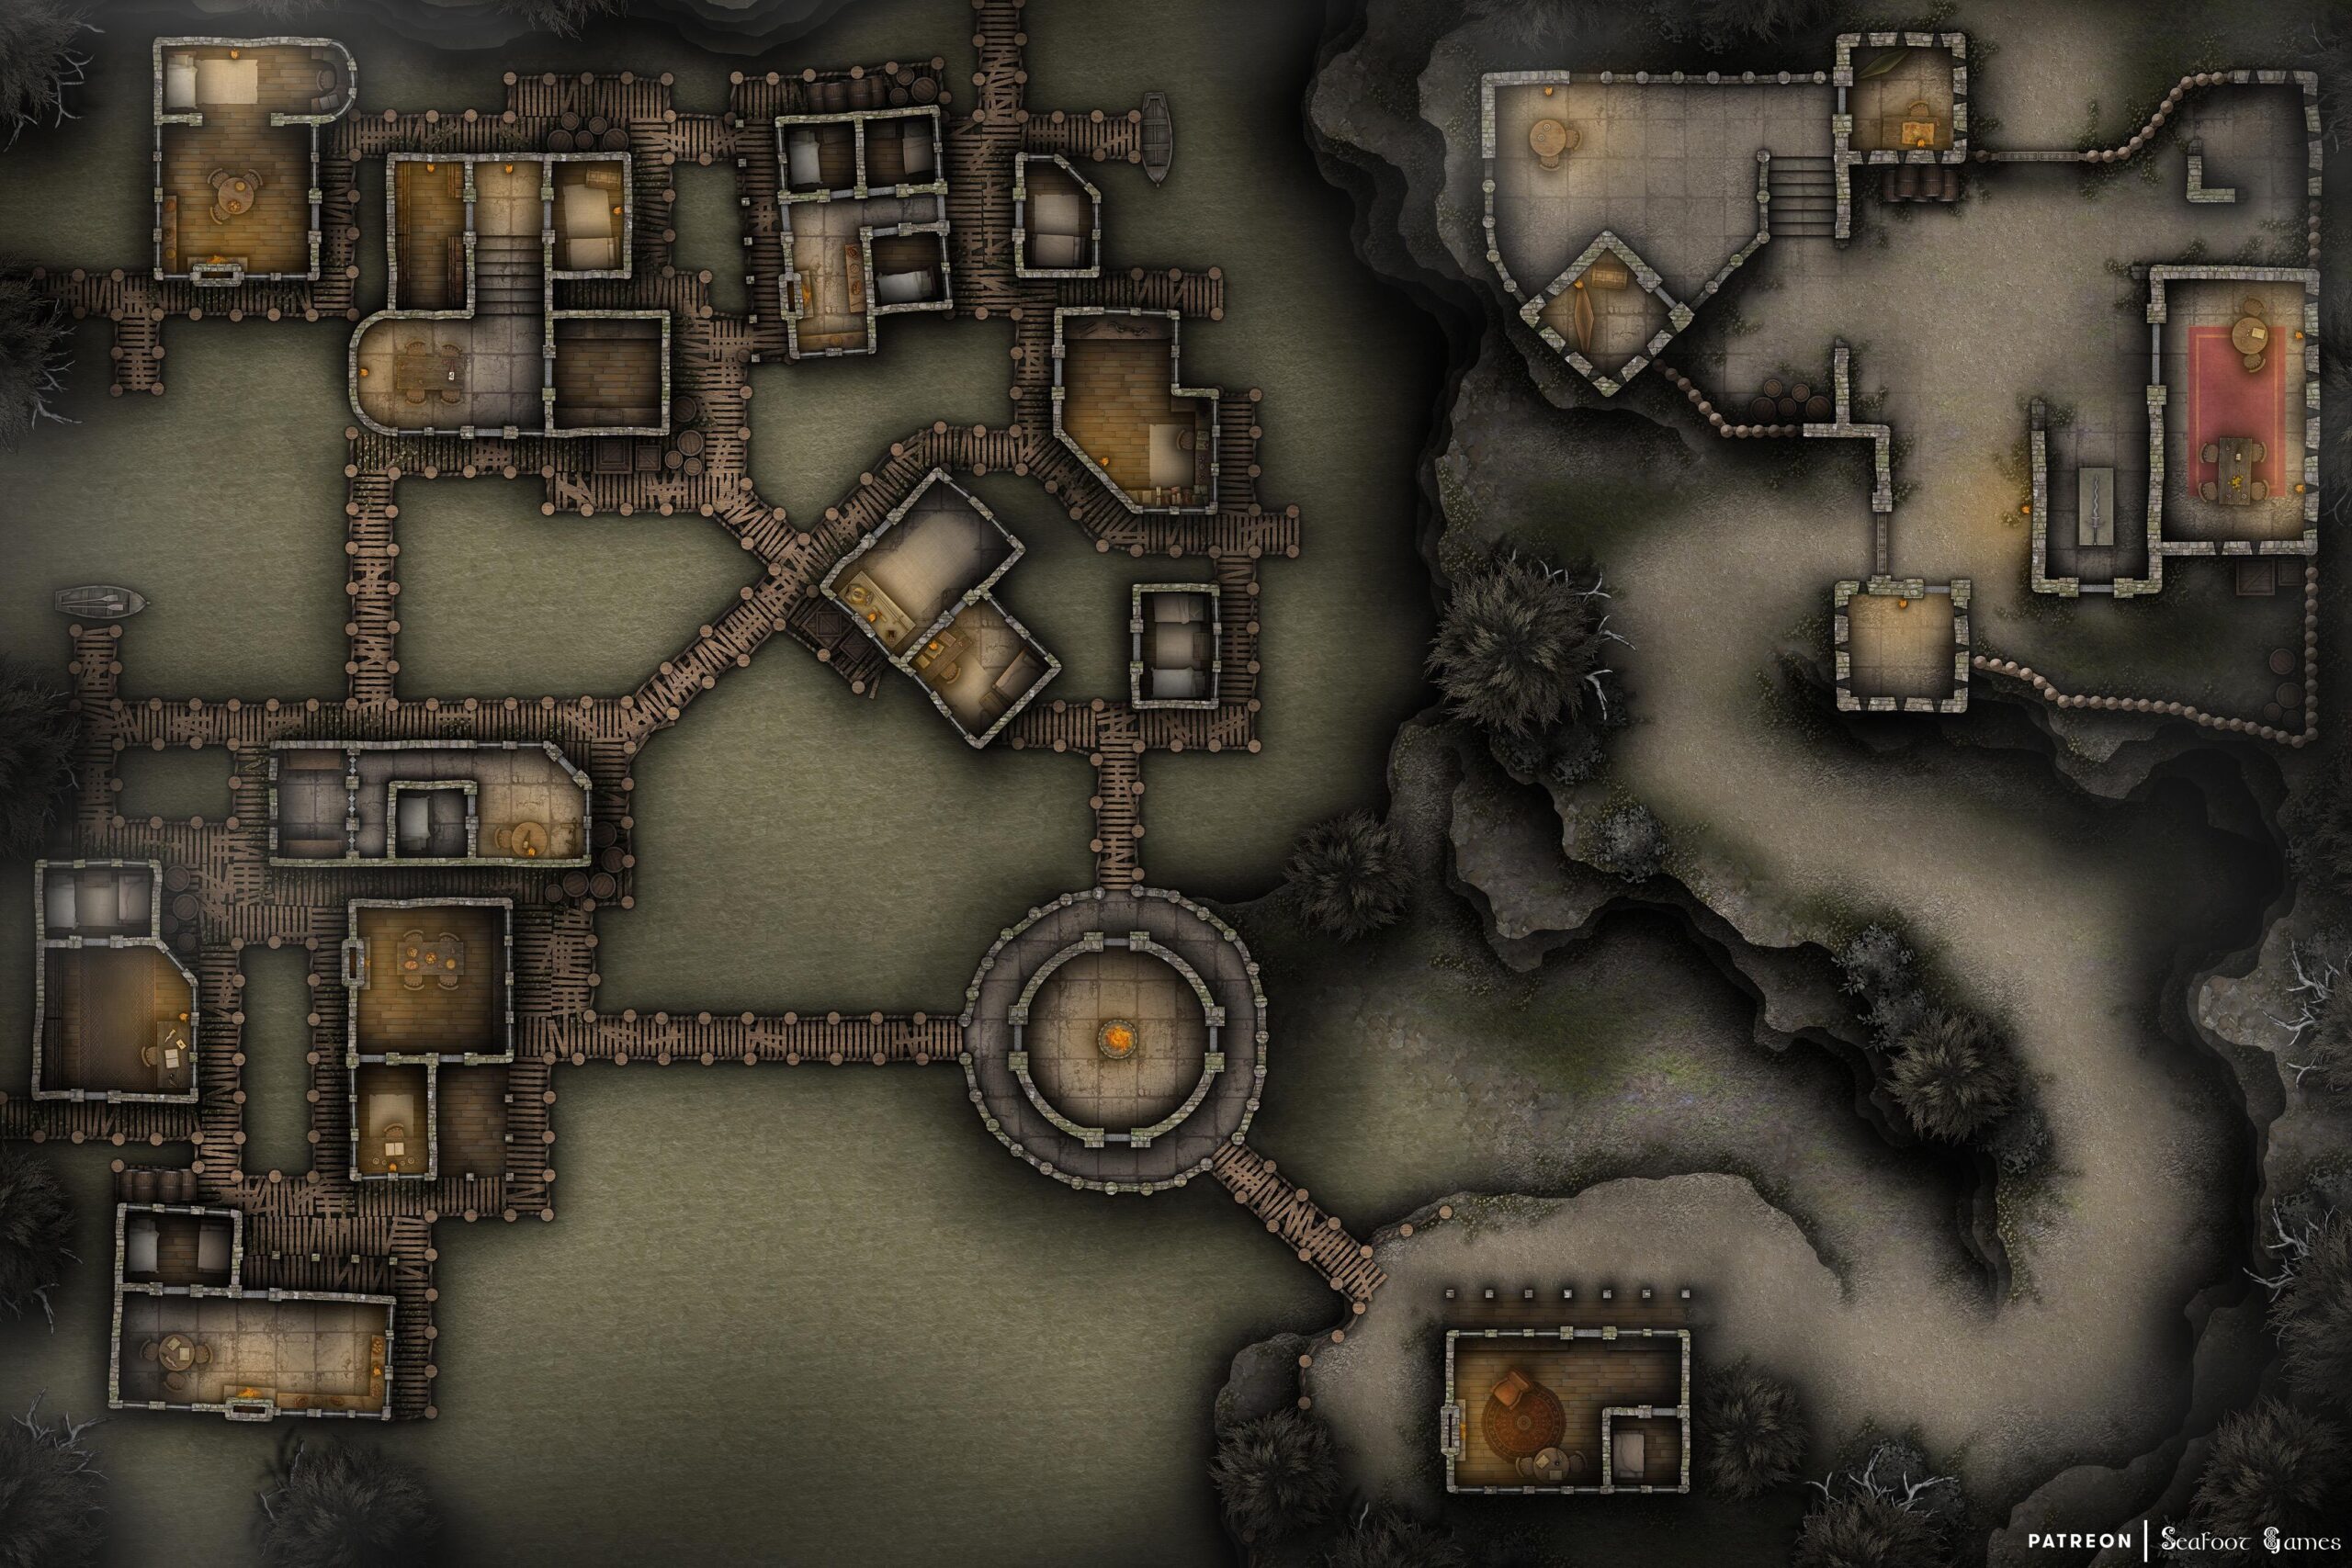
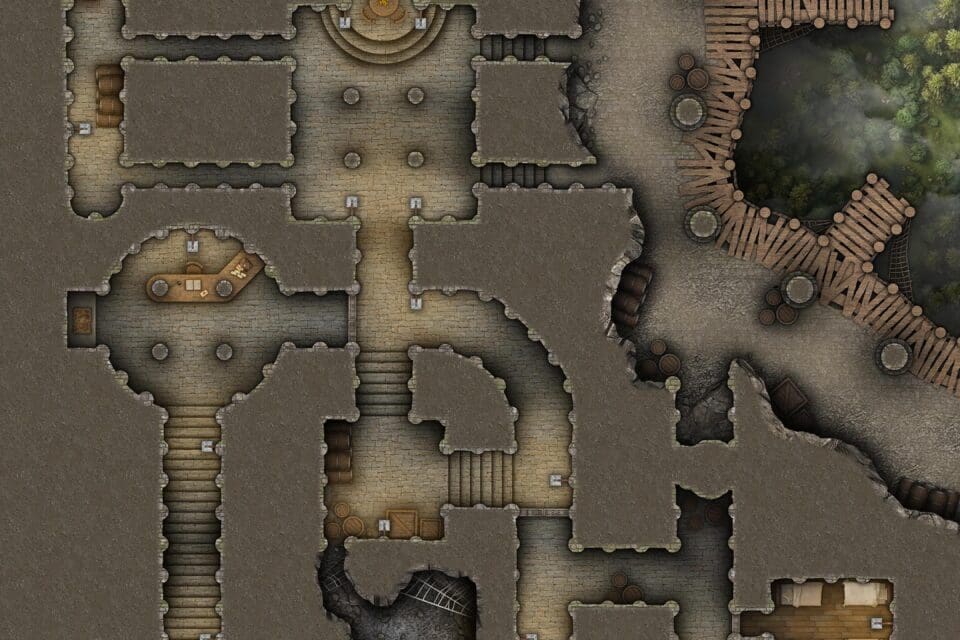
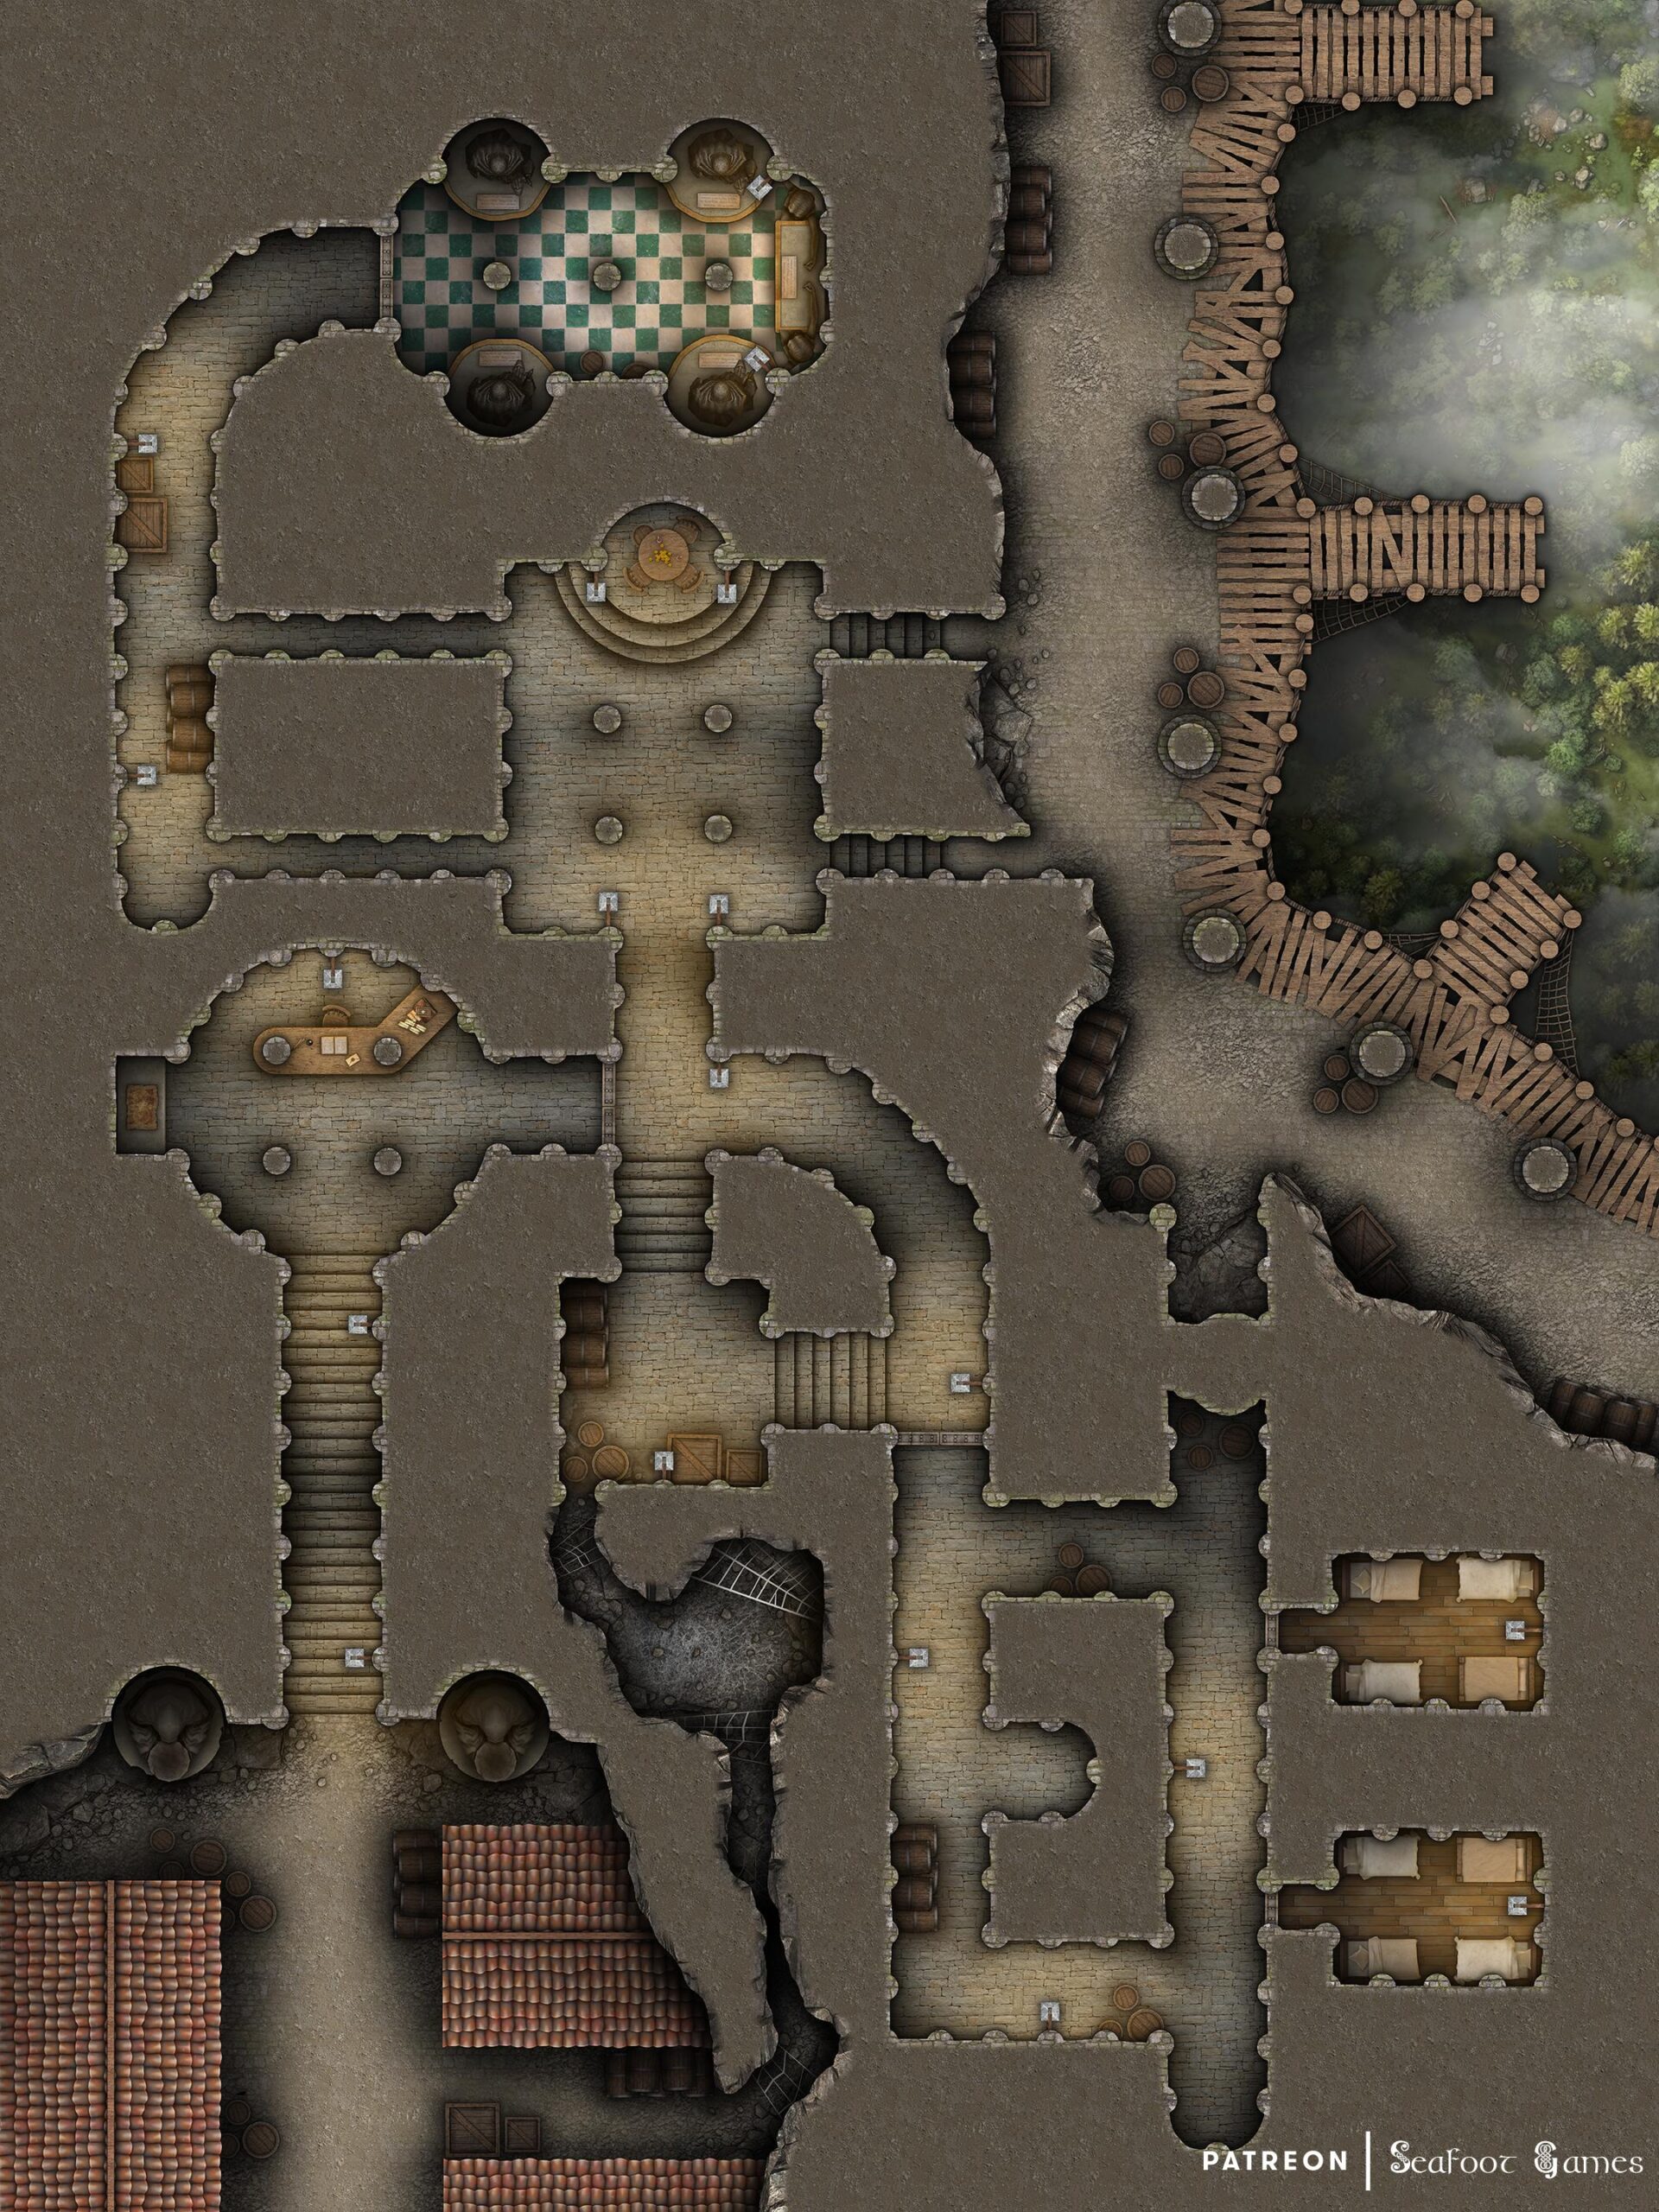
  • Swamp Village Fortress Free 60×40 DnD Battlemap & Adventure

    Swamp Village Fortress Free 60×40 DnD Battlemap & Adventure

    Swamp Village Fortress Free 60x40  DnD Battlemap & Adventure, featuring a curse decimating a remote village. Do they deserve it? VTT ready!
    Swamp Village Fortress Free 60×40 DnD Battlemap & Adventure, featuring a curse decimating a remote village. Do they deserve it? VTT ready!

    Swamp Village Fortress Free 60×40 DnD Battlemap & Adventure

    Drowning Curse

    Arriving at a small town in a swamp via small rafts that ferried you through the fetid waters, you find the town eerily abandoned. Signs of a small struggle can be found, such as knocked over barrels, scrapes in the boardwalk that seem to have been made by weapons, as well as an odd, black sticky goo that’s covered some areas of the walkways.

    While you’re investigating this, muddy, goo-like creatures rise from the surrounding swamp and attack, seeking to enfold you into themselves and drown you. There are arrows stuck in their muck, and one even has a pitch fork sticking out of its back. Once defeated, you find the bodies of murdered villagers within the slimy horrors, which seem to have been partly consumed by the goo. Upon closer inspection, it appears it is the goo that killed the people, not the weapons stuck in the monsters they became.

    If you make your way up the cliff to the stronghold overlooking the town, you find another group of the–similarly arrow-ridden–monsters attempting to break down the front door. Once they’re dead the goo drains into the soil disappearing from sight, if you call through the door the surviving locals who have been sheltering inside the fortress gratefully let you in, thanking you for killing the monsters, though they say bitterly it won’t be long before the horrors rise up again, and they’ve already run out of arrows.

    As they talk, an older man steps forward, wearing glasses and some minor magical necklaces on his person. He sends a couple of the villagers outside to reclaim what arrows they can before the creatures rise again, before introducing himself as Loyd.

    Loyd explains that the town was cursed about a week ago by a witch of the swamp while she was executed by their town’s leader, Milo, for the suspected kidnapping and murder of a young girl. Only, after her execution, the girl was found drowned nowhere near where the witch lived.

    When villagers started disappearing due to the witch’s curse and the locals discovered the monsters that had taken their place, the townspeople fled to the fortress to survive. Loyd explains that, thinking ahead, he brought one of his books on magic with him. Since they’ve been trapped inside the fortress he’s managed to find a translation of the witch’s curse, but what he’s learned isn’t good.

    He explains that the curse she called down upon the village centers around Milo’s son, Yol and according to the translation, only sacrificing Yol to the creatures made of goo within the center of the village will lift the curse. As much as he hates it, no one here can afford to flee their homes and start up somewhere else, assuming they’d even survive the journey. They can’t allow anyone else to die, the gods know enough of their loved ones have fallen to this curse already. And these monsters seem to come back no matter how many times they’re killed.

    Loyd explains that unfortunately, Milo and his son caught wind of their plan before they had a chance to act, so they barricaded themselves in one of the fort’s rooms and now, understandably, refuse to let anyone in.

    They’re waiting us out, Loyd explains, hoping the monsters will kill us or cause us to flee before we can get to them. He asks you to go and talk some sense into the man and his son, as terrible as that reason might be. Maybe he’ll trust an impartial stranger more than the rest of us.

    Should you go and talk to the condemned father and son through the barricaded doors, if you don’t seem hostile Milo lets you into the room, before barring the door again behind you. His son, a boy about 10 years old, is sitting sadly on a chair, his eyes red and puffy from crying. Milo is holding a kitchen knife up between you and his son with a shaking hand, and explains nervously that he has made a terrible mistake and never wanted so many of his people to die. He would atone for it if he could, and die in his son’s place–but sadly, that would do nothing to lift the curse.

    You see, his son and the drowned girl were friends, and when they were playing they got into a fight and he pushed his friend into the swamp, not realizing it wasn’t water but rather a strange, tarry mud. She drowned in the sticky substance before he could get her out, so his terrified son ran to him for help.

    Milo explains that, to his shame, he blamed the death of the girl on the witch to save his son’s life, for though it was an accident the girl’s mother would likely sue for blood and she holds much sway within the town. In addition, by their laws blood for blood is common within the swamp and that would mean it was likely his son would be sentenced to death.

    Milo continues that the girl’s death was an accident, his son shouldn’t be made to pay the price for it more than he already is. Please, Milo begs you, the boy doesn’t deserve death. If you could just convince the rest of the villagers that it’s better that they all leave their homeland and find somewhere new to start again–if you offer your protection during their travels, they would surely listen! Then, his son could live.

    GM’s Note’s:

    The witch realized something was up when Milo–usually a reasonable man–didn’t believe her pleas of innocence. In her last moments he accidentally said enough that she figured out what he had done, which is why she bitterly cursed his son as she died.

    If the players do not want to force the townsfolk to leave but do not want to give up Milo and his son, perhaps they could also cleanse the town of the curse through other means such as fighting a goo avatar of the witch within the center of town or perhaps even convincing the spirit of the witch that her punishment is to harsh for a child.

    If you’d enjoy more TTRPG resources like this Swamp Village Fortress Free 60×40 DnD Battlemap & Adventure, Luke and I have released our newest Hardcore GM’s bundle of 520 large, 40Ă—30″ DnD battlemaps (double the size of those in the Quarantine Bundle) with 255 fantasy adventures for $39. It’s your chance to have a great deal on some of our most beautiful maps! We guarantee that is something here for every GM—no matter what setting you prefer, from large cities to underwater seascapes.

    Paying just $39 rather than full price saves you over 98%! Take a look at all the extra maps you can download with one click in the Hardcore GM’s Bundle here

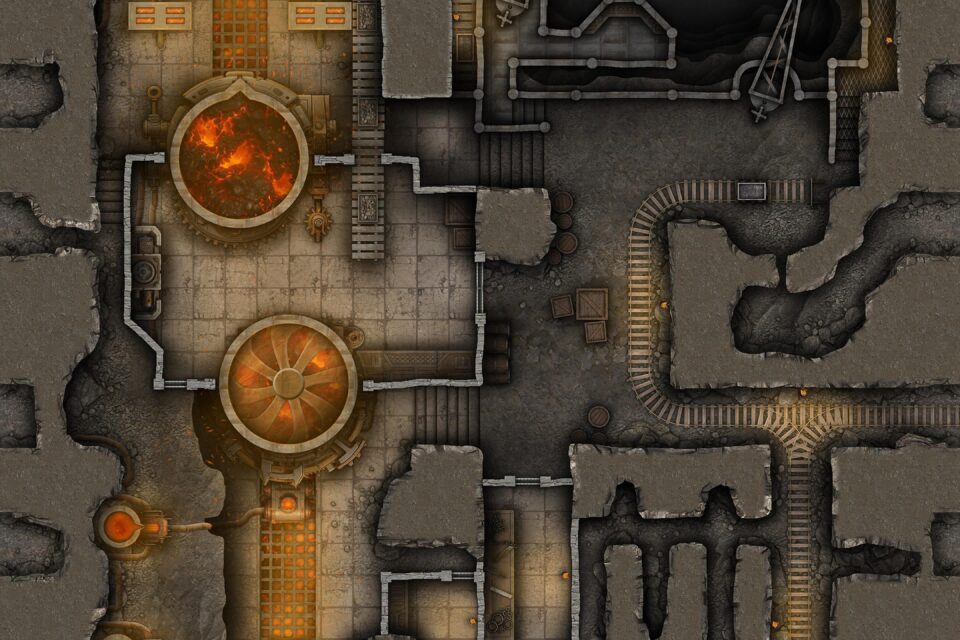
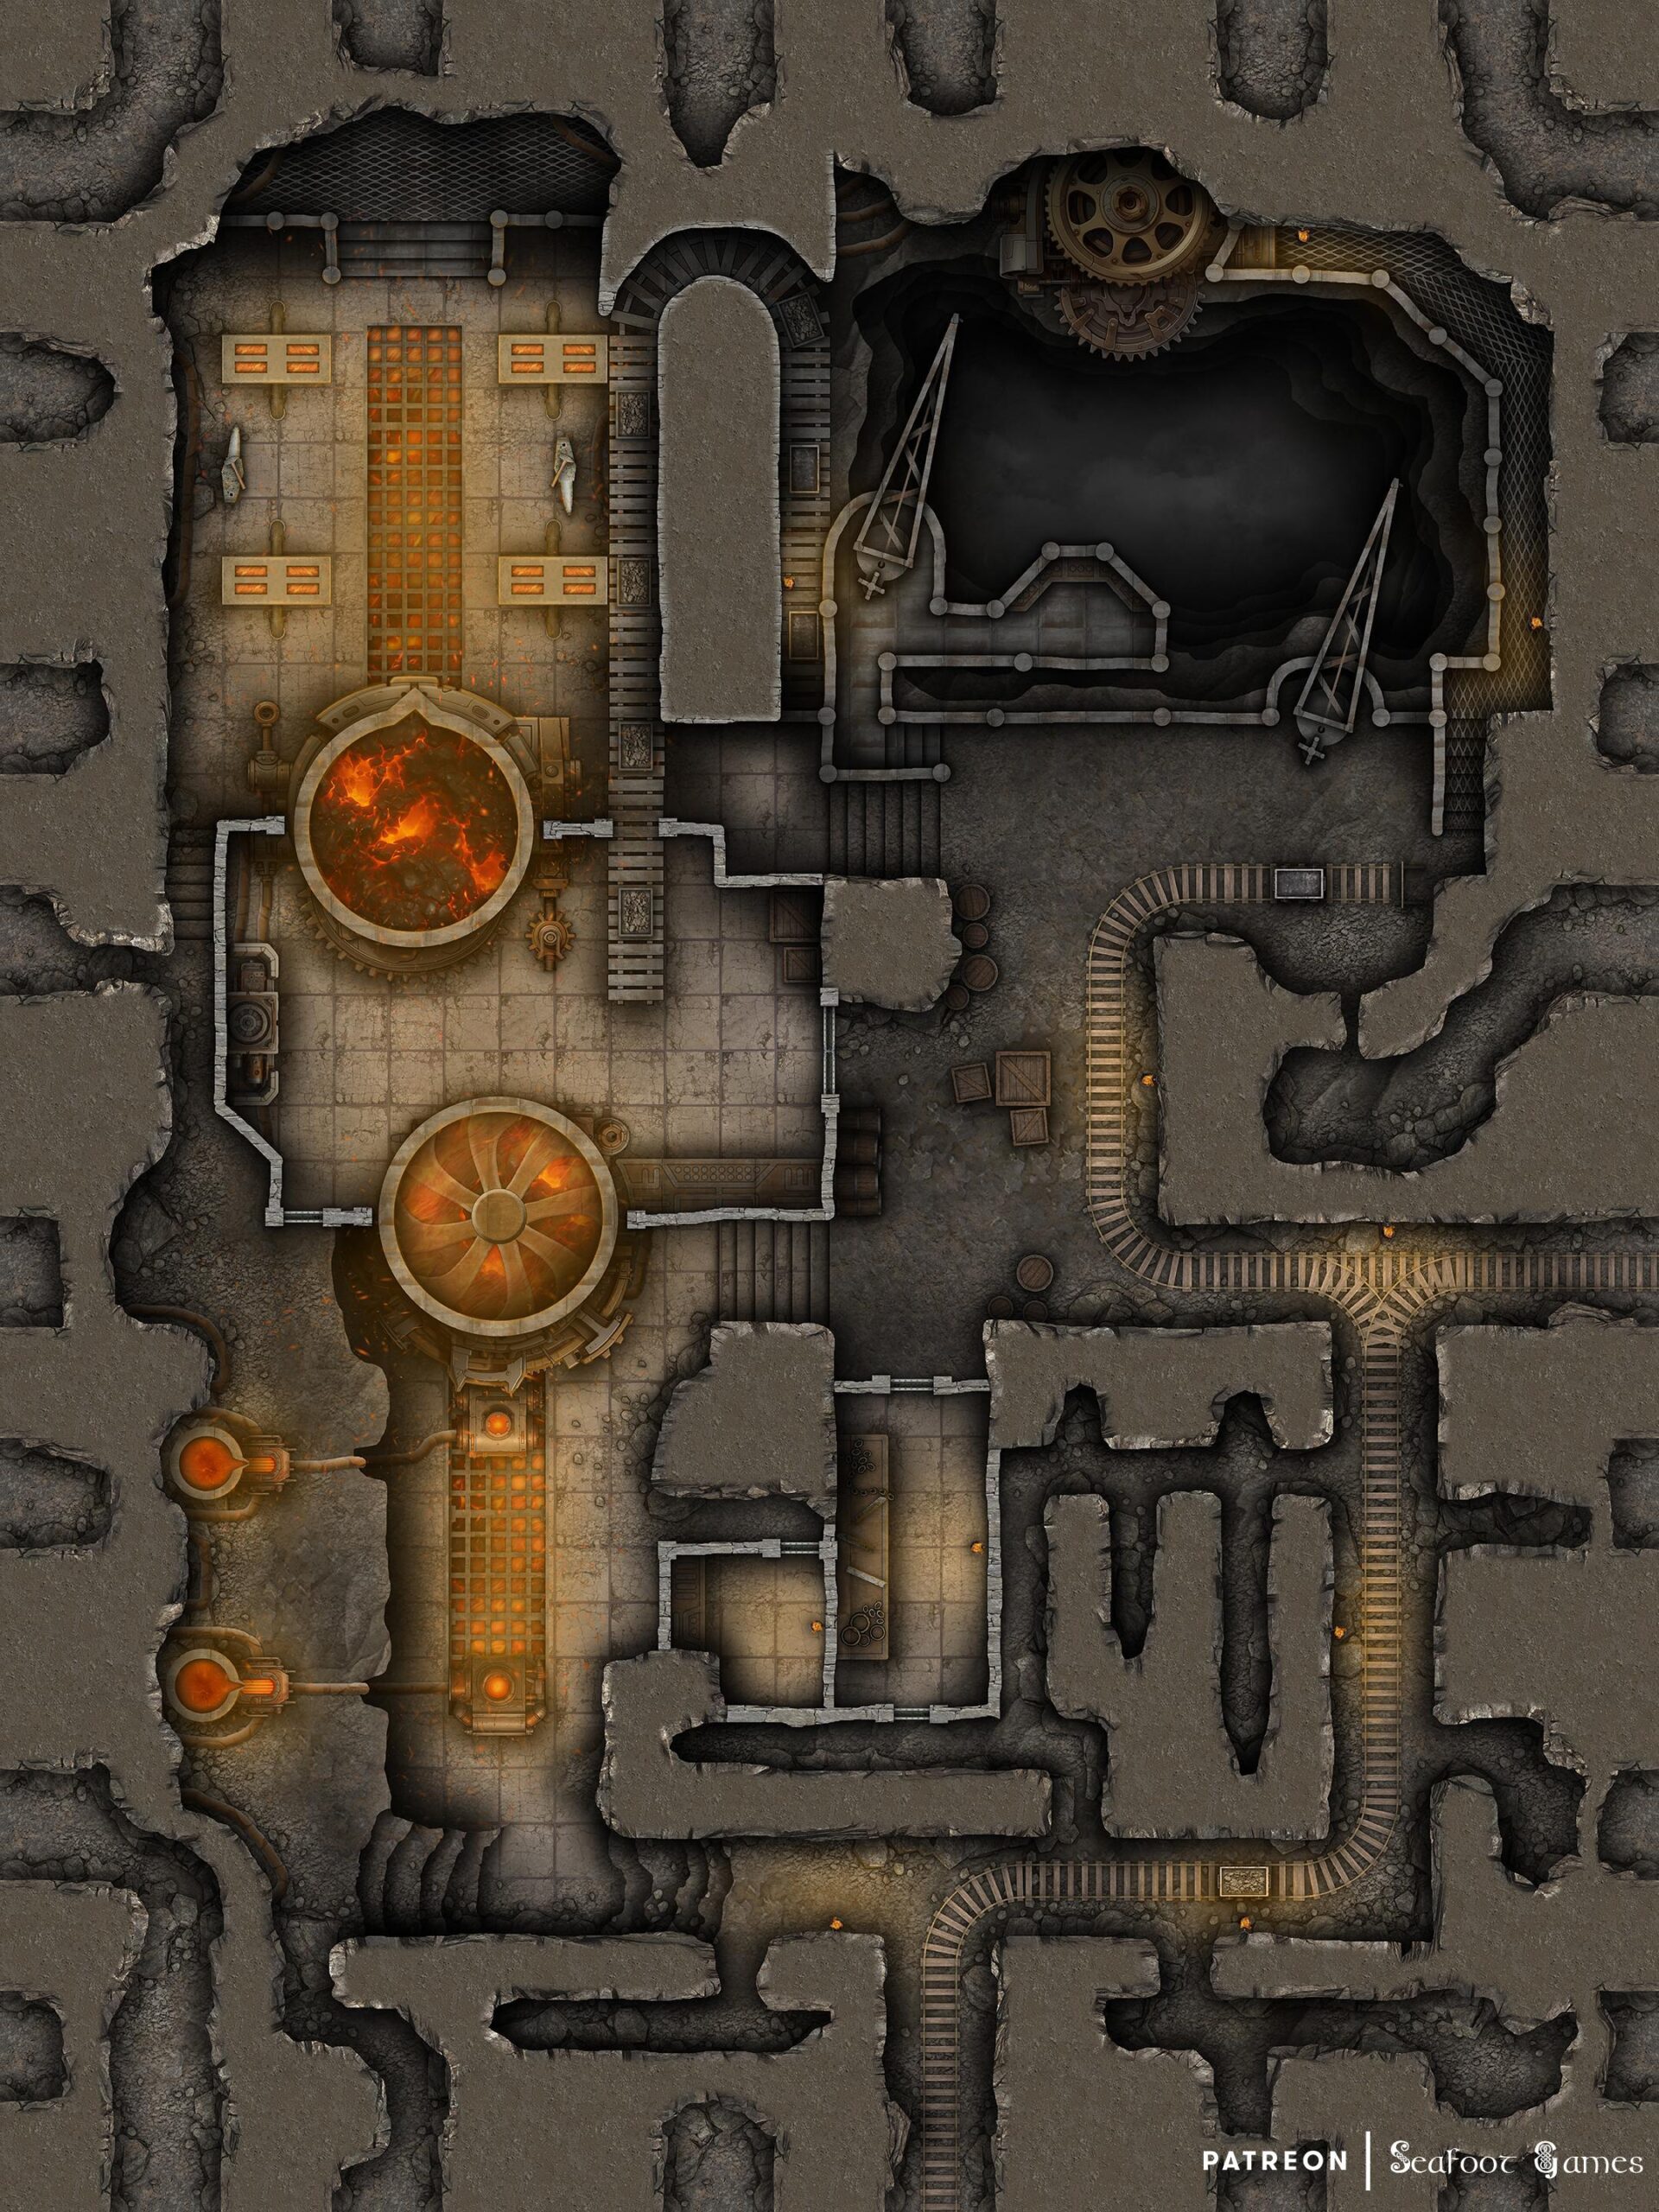
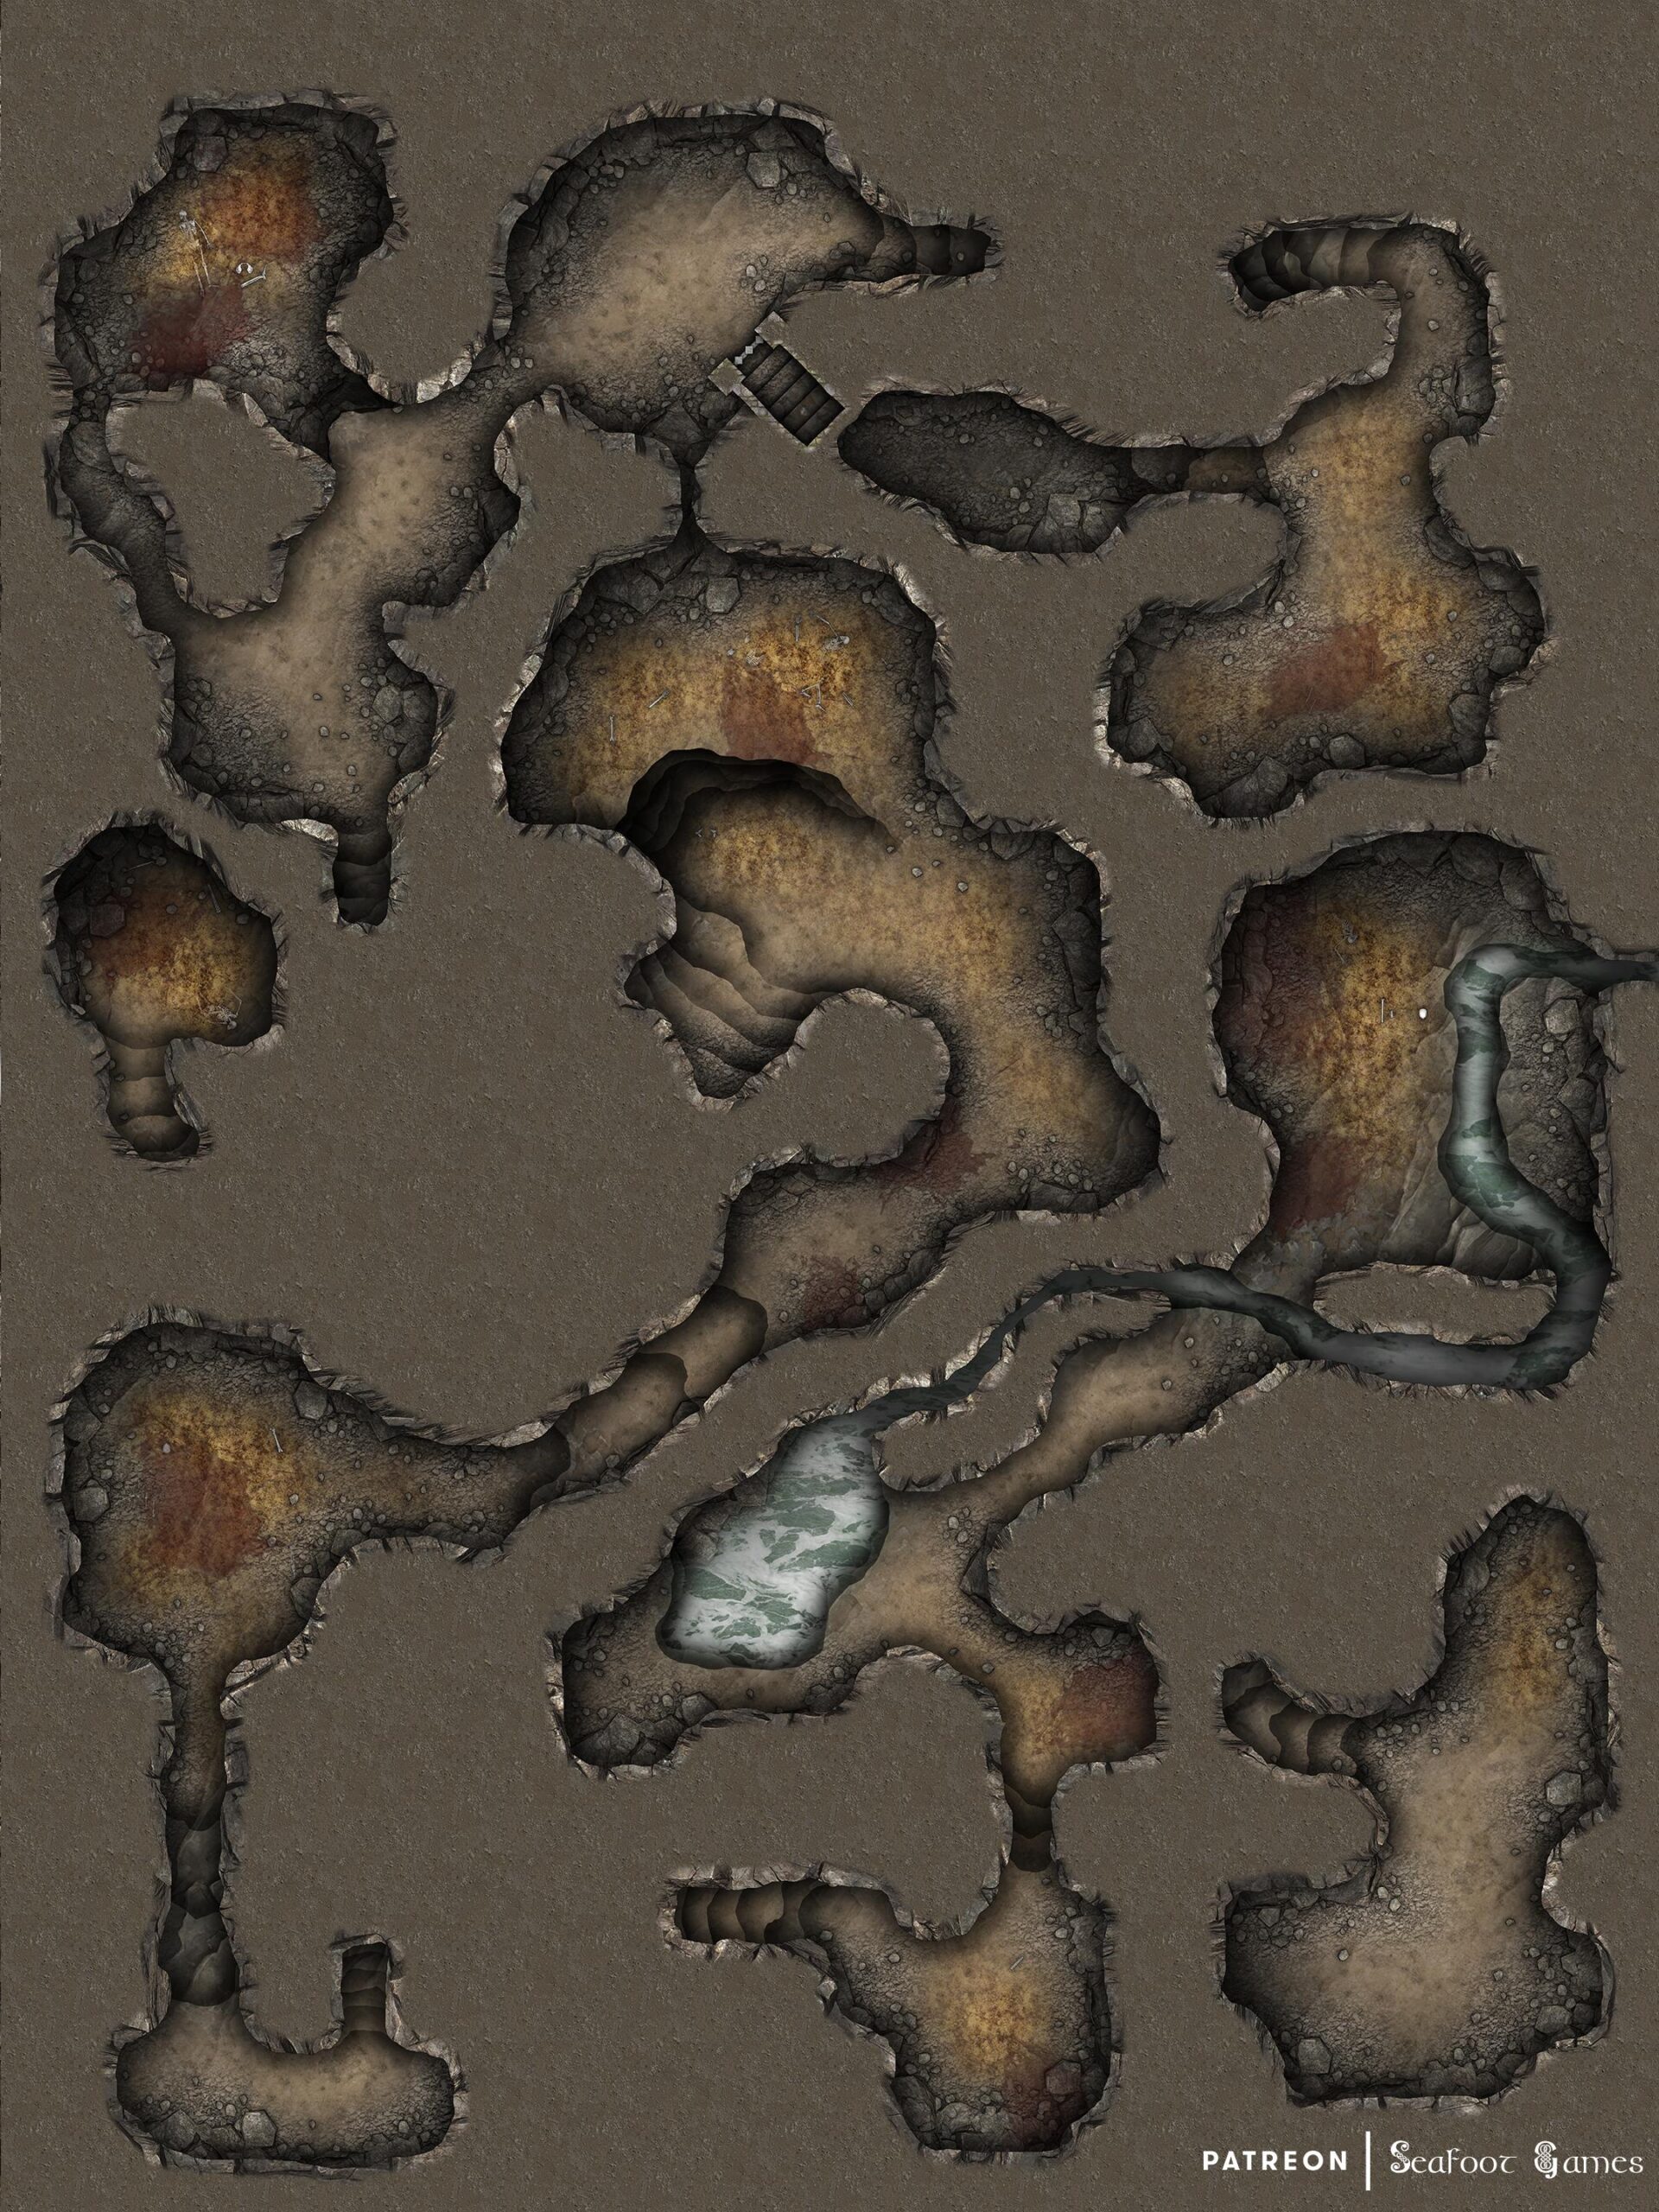
  • Underground Forge Complex Free 40×30 DnD Battlemap & Adventure

    Underground Forge Complex Free 40×30 DnD Battlemap & Adventure

    Underground Forge Complex Free 40x30 DnD Battlemap & Adventure featuring malfunctioning gnomish magi-tech in a Dwarven mine. VTT ready!
    Underground Forge Complex Free 40×30 DnD Battlemap & Adventure featuring malfunctioning gnomish magi-tech in a Dwarven mine. VTT ready!

    Underground Forge Complex Free 40×30 DnD Battlemap & Adventure

    Servitors of the Deepmines

    The Dwarven Mining Guild has reached out to anyone willing to help in investigating a sudden and widespread malfunction in the gnomish magi-tech servitors that manage the enchanted forges, they caution that the servitors have become dangerous and only those with combat experience should contact them as a confrontation is very likely.

    Choosing to help, you find yourself in the mines control center, where you meet Chief Engineer Gearspark. She explains that two days ago all of the magi-tech servitors that normally run the forge went haywire at the same time, breaking off from their normal tasks, Attempts to reboot them failed and a couple of the dwarven overseers were injured but managed to make it out of the mines with their lives.

    Engineer Gearspark points to a large magical display showing the status of the forges and the locations of malfunctioning servitors before explaining that there are at least six servitors within the main forge complex but the display hasn’t been able to track them correctly since they went haywire so you should be careful.

    If you choose to take on this request Gearspark explains you’ll need to deal with the servitors before investigating the rest of the complex. She requests you don’t destroy the servitors completely as they cost a lot to replace but understands if you need to damage them somewhat to put them out of commission for the meantime.

    In addition one of the cogmasters has also gone missing within the complex and Gearspark fears the worst and would be very grateful if you found them. Taking a railcar you descend several miles deeper into the mines before it slows and you disembark at a small station used for miners. Signs up ahead point you in the right direction and following the mine tracks you soon find yourself within the Forge complex.

    If you’re careful you might be able to observe some of the servitors carrying around strange purple ore in crates before pouring it into one of the many forges. If they spot you or you intervene in their work they will however attack you with deadly force, using their hammer like fists to pummel you to death.

    Making your way around the complex you may find a servitor repair bay, with a desk full of parts. If you’re knowledgeable about engineering or other crafts which may include servitor design you might notice the remains of some strange parts which are not normally part of the usual design.

    Further inspection reveals them to be transcription cogs which are normally used to help program the servitors but in this case they look like they may function as additions on top of the usual cogs, perhaps even overriding the original transcription cogs.

    Outside the repair bay you find some crates which if inspected look to have recently been filled with purple ingots which seem to almost glow and upon closer inspection it appears crates have been moved in the area recently, perhaps onto the rail network.

    Inside the main building which houses the largest forges, you find three of the servitors busily carrying purple ore and depositing it into the forges. When spotted, they head towards you threateningly.

    Deeper within the complex you find a large pit with cranes above it, the cranes appear to be pulling up the purple ore from below and if you listen closely it’s almost like you can hear a faint whisper coming from the pit. Perhaps it’s just the wind, however.

    The last area you come upon is the ingot forging room which is heavily guarded by the servitors who are collecting the fresh purple ingots and preparing them to be shipped. They also attack you on sight. On a platform at the end of the room you find the missing cogmaster passed out but alive.

    Returning to Engineer Gearspark with the unconscious cogmaster, she motions for you to place them on a sleeping cot nearby. Gearspark is intrigued to hear about the purple ore and ingots, explaining that while the ore they normally mine is used in the creation of magically infused ingots via the forges, the purple ore must be new. She pauses for a few moments in thought before speculating that perhaps they broke into a new cavern in the pit mine that contained this new ore.

    If you mention the odd transcription cogs you found or the whispers you heard near the pit mine, Gearspark is concerned and suggests that you and her try and wake the cogmaster as perhaps they have more information.

    While difficult, you eventually get the cogmaster semi-conscious, they seem confused rolling about in the bed cot, talking softly about whispers from the mine. That it felt like they were watching through another’s eyes as their body moved, creating the transcription cogs and implementing them in the servitors.

    The cogmaster continues that the voices wanted them to collect the ore to make the ingots and to send them to a specific kingdom and that several shipments have already been sent via the rail network… With that last sentence the cogmaster passes out again.

    Engineer Gearspark looks very concerned about everything, before thanking you for your help. She explains that in the meantime she’ll make sure no one else accesses that area of the mine or the forges while she tries to trackdown where those ominous purple ingots were sent to. With that she offers you a reasonable reward, either in gold or some of the usual magical ingots they produce which can be used in crafting magical equipment.

    If you’d enjoy more DnD resources like this Underground Forge Complex Free 40×30 DnD Battlemap & Adventure, Luke and I have released our newest Hardcore GM’s bundle of 520 large, 40Ă—30″ DnD battlemaps (double the size of those in the Quarantine Bundle) with 255 fantasy adventures for $39. It’s your chance to have a great deal on some of our most beautiful maps! We guarantee that is something here for every GM—no matter what setting you prefer, from large cities to underwater seascapes.

    Paying just $39 rather than full price saves you over 98%! Take a look at all the extra maps you can download with one click in the Hardcore GM’s DnD Battlemap Bundle here. 

  • Daggercoast Great Ruins Bandit Hideout 60×40 DnD Battlemap & Adventure

    Daggercoast Great Ruins Bandit Hideout 60×40 DnD Battlemap & Adventure

    Daggercoast Great Ruins Bandit Hideout Free 60x40 DnD Battlemap & featuring a dark magical artifact. VTT ready!
    Daggercoast Great Ruins Bandit Hideout Free 60×40 DnD Battlemap & featuring a dark magical artifact. VTT ready!

    Daggercoast Great Ruins Bandit Hideout Free 60×40 DnD Battlemap & Adventure

    The Eye of Zor

    While staying at a seaside town you’ve heard whispers about an old seaside ruin that appears to have been uncovered recently by a storm. Talking to some of the townsfolk, particularly the fishermen, you find the ruin is half a days sail down the coast and can only be accessed by boat due to all the sheer cliffs. Fishermen who have sailed past the entrance also claim to have seen lights radiating from its entrance.  Some of the more learned clerical folk or librarians within the town may be able to give you more information about the history of the location, including its name which is Khazad Zor.

    Tomes containing information about Khazad Zor, claim that it was a thriving port stronghold used by the dwarves of the underground to access to coastal cities of man for trade hundreds of years ago, but after an unspecified disaster the stronghold simply went missing.   If further research is done you may be able to find one rare diary in particular by a dwarven sailor who was away from the stronghold at the time of the disaster. Inside the diary the dwarf references an object called “The Eye of Zor” which he claims was the source of the prosperity of the dwarves but with the stronghold lost, he fears for their future. Other pages aren’t as interesting, mostly focusing on the mundane work required to keep a trade vessel going.

    Making your way to Khazad Zor, you can either take your own vessel or potentially hire a fisherman’s vessel at the town for a reasonable fee. The trip is uneventful, just hours of sheer rocky cliffs and the occasional sunken vessel. Finally ahead you can see a small beach with a staircase carved into the cliff face, light flickering in its dark entry way reminiscent of torch light.

    Investigating further you find yourself in old corridors carved right from the earth. While damaged you can still make out the architecture being dwarven in design. A fresh torch burns, illuminating a dwarven statue in mountain armor which has been carved into an alcove at the top of the stairs.

    Following the torches you pass by some crates which have clearly been brought here recently before finding yourself outside a set of iron doors. Listening carefully you can hear people inside talking in frustrated voices about what to do next now that their previous plan failed and got one of them killed.

    If you open the door, five humans in various armor draw their weapons as if anticipating an attack, shocked for a moment to see you. They ask who you are and why you’re here. If you explain you’re here to explore the ruins, the leader, an attractive woman dressed like an archaeologist, introduces herself, motioning to the others to stand down.

    She says her name is Ceres and she and her comrades are here to study the ruins and in particular an artifact which has been buried here for hundreds of years called The Eye of Zor.

    If pressed on what she hopes to find, she explains that she hopes to uncover the cause of the sudden disappearance of the Khazad Zor primarily, but if you’ve insightful you might notice that that does not seem to be the whole truth.

    If you mention that you were told that Khazad Zor was buried and only recently uncovered by a storm she will retort that that is just coincidence and that the records she has previously found indicate that Khazad Zor wasn’t buried, it disappeared, as in gone from this plane of existence.

    If you ask what she and her comrades were arguing about before you entered the room she will look away, unnerved for a second before mentioning that they actually found The Eye of Zor but have run into a hitch.

    You see, Ceres continues, the eye appears to be surrounded by a magical protection spell which stops anyone from approaching it. Ceres spent the last week reading through hundreds of records left behind by the dwarfs and eventually found mention that the eye was under constant protection and could only be accessed if both the high priests and the lord of the stronghold were to come together. Each had a magical rod and when combined they would lower the barrier that surrounds the orb.

    On top of that Ceres says she managed to find records noting that the two high priests were buried with these rods within Khazad Zor. The problem is the crypt where they should be is crawling with undead. She explains they already got one of them before they managed to retreat and bar the door but perhaps you could help?

    If you agree, she smiles before showing you a map of the areas her and the others have explored. She explains that the crypt has two entrances, one in the south of the complex which goes directly to the two high priests tombs but the door is locked by an intricate design which they couldn’t get past. The other door is in the north, which is where they entered but ended up having to flee. She explains that while that door it’s barred for the moment it’s probably your best bet of entry if you’re not a capable lock-picker.

    If you choose to enter the crypt from the north you must fight your way past half a dozen undead before arriving at the two high priests tombs, on the way you find the body of one of Ceres’ men as she described. If you instead lock-pick or otherwise open the other door you may directly enter the chamber containing the two high priests tombs.

    At the feet of each tomb you find small stone vaults containing the rods you seek. The vaults are engraved in dwarven saying let those of wisdom and strength wield The Eye of Zor. If you attempt to take the rods without having either of those traits, the spectral spirits of the high priests rise and attack you. Opening the high priest’s tombs you find a variety of gold, silver and jewels scattered around skeletal corpses.

    Returning to Ceres’ she is excited to see you with two of the rods. She explains that while you were gone, she figured out where the final rod might be. She calls you over and shows you an old scroll which talks about the lord of the stronghold, who shockingly was named Zor. She’s not sure of the connection to the orb or if the orb was simply named after him but what she did find was that Zor had a type of throne room made for himself which is located in the northeast of the complex. She’s not completely sure if that’s where the last rod is but it’s the best place to start looking, she suggests.

    Assuming your success, Ceres says she’ll get her men to start setting up in the chamber with the orb so they can get to work examining it right away. Making your way to the throne room, you find Zor’s skeletal body slumped in his chair. In his left hand he holds the rod you seek, while his right hand carries an ornate axe.

    Approaching him, his eyes light like flame and his head tilts toward you. In a ghostly dwarven voice he calls out to you asking who you are and how you have come to be here, asking if the everdark has finally receded?

    If you ask what the everdark is, Zor explains that hundreds of years ago a disaster occurred which caused The Eye to take his stronghold somewhere else. He and his followers could not leave, all around the stronghold was black and those who stepped into the black never returned.

    Months passed and supplies dwindled. Many choose to enter the black which they had named the everdark, until but few remained. Eventually even those lost hope and guided by the two high priests, they took their lives. Only he remained, Zor continues, he interred the dead in the crypt and sat upon his throne and slept for what has seemed eternity.

    If you ask Zor about The Eye, he will look spitefully at you, before explaining that it harbors great danger and should never have been created, for its power cannot be controlled. If you ask about destroying it, Zor will explain that while the orb is empowered it is indestructible. That it cannot be destroyed for its power comes from beyond this world, from the place only he now understands as the everdark.

    With that, Zor looks at you in thought before asking you if you’d be willing to take his rod and hide it far away from this place, explaining that the only way to keep others from accessing the orb is to make sure they can never touch it, to keep the magical barrier in place for eternity. He eyes you keenly watching for any deception as you answer.

    If you truly agree to hide the rod, he grimly smiles and says that perhaps with it gone, he may finally rest. If you, however, try to lie to him about your intent, his keen insight may give you away, resulting in him attacking you for your deception. Either way once you have the rod Ceres’ eagerly awaits your return, rushing up to you to ask if you have the rod.

    If you lie and say that it wasn’t there Ceres will be furious, yelling at you that it must be there. If you ask why she is so angry Ceres will almost start crying, before explaining that she’s in deep with the mob and if she doesn’t recover the orb she and her comrades are as good as dead. This was her last chance. If any of Ceres or her crew figure out you do in fact have the rod they will attempt to bargain with you but if forced to they will attack having no other choice. Surprisingly they’re decent combatants and put up a good fight.

    If you instead choose to give Ceres the rod, she’s ecstatic. Running up to the magical barrier, she combines all the rods and just like expected the magic fades. Grabbing the orb, she turns to you and freezes with a look of shock on her face. Her hands begin to turn black before it quickly spreads to the rest of her body and before your eyes she turns to ash. The orb hits the stairs with a clang and it rolls towards your feet, blackness spreading wherever it touches, like an ink vial that has been knocked over.

    Ceres crew say screw this before bolting out of the ruins, leaving you alone with the orb.

    GM’s Notes: The Eye of Zor was a powerful magical artifact created hundreds of years ago with the intent of allowing time manipulation on a large scale, including both to the past and the future but the artificers working on it could never find an actually supply of magical energy that would feed such powerful magics.

    Eventually after many years a stranger came to them, teaching them of a place of infinite energy (The place Zor would call the everdark) and for his knowledge he wanted nothing. The artificers, more smart than wise, agreed to use this power source from this strange man. The Eye was then gifted to Zor and wise and strong leader of his time to oversee the expansion of the dwarven realms to the coastal lands of the humans.

    With the aid of the Eye, Zor cleared the oceans of pirates for anytime he lost a fleet he would simply return to a time before they were lost. He would always know the best trade deals to make and when to have his merchants sail to avoid all of the worse weather. Anytime anything went wrong, he simply reset the world from his stronghold and used his knowledge of future events to shape his plans.

    Eventually however, the downside of the orb became apparent for the energy was ultimately unstable and rifts began to form in the vicinity of the orb, expelling powerful necrotic energy turning any it touched to black ash.

    Despite this Zor continued its use, now addicted to its power it had given him. That was until everything went black and he and his followers found themselves fully surrounded by the black of the everdark. Seemingly the stronghold had fallen into a rift in its entirety where it stayed for hundreds of years. Eventually the stronghold returned, the rifts ceasing from lack of use of the orb.

    If the players try to touch the orb unless they have resistances to necrotic type damage they may suffer a similar fate to Ceres or at least suffer heavy damage to the limb they touch it with, but using a creative method perhaps the players could get the orb back on its stand and activate the barrier again before disperse the rods as Zor advised them too. If the players find a way to hold the orb without taking damage they may too use its time traveling powers which affect an area similar in size to Zor’s stronghold but which each use they run the risk of creating new rifts to the everdark or worse.

    If you’d enjoy more DnD resources like this Daggercoast Great Ruins Bandit Hideout Ruined Desert Outpost Fortress Free 60×40 DnD Battlemap & Adventure, Luke and I have released our newest Hardcore GM’s bundle of 520 large, 40Ă—30″ DnD battlemaps (double the size of those in the Quarantine Bundle) with 255 fantasy adventures for $39. It’s your chance to have a great deal on some of our most beautiful maps! We guarantee that is something here for every GM—no matter what setting you prefer, from large cities to underwater seascapes.

    Paying just $39 rather than full price saves you over 98%! Take a look at all the extra maps you can download with one click in the Hardcore GM’s DnD Battlemap Bundle here. 

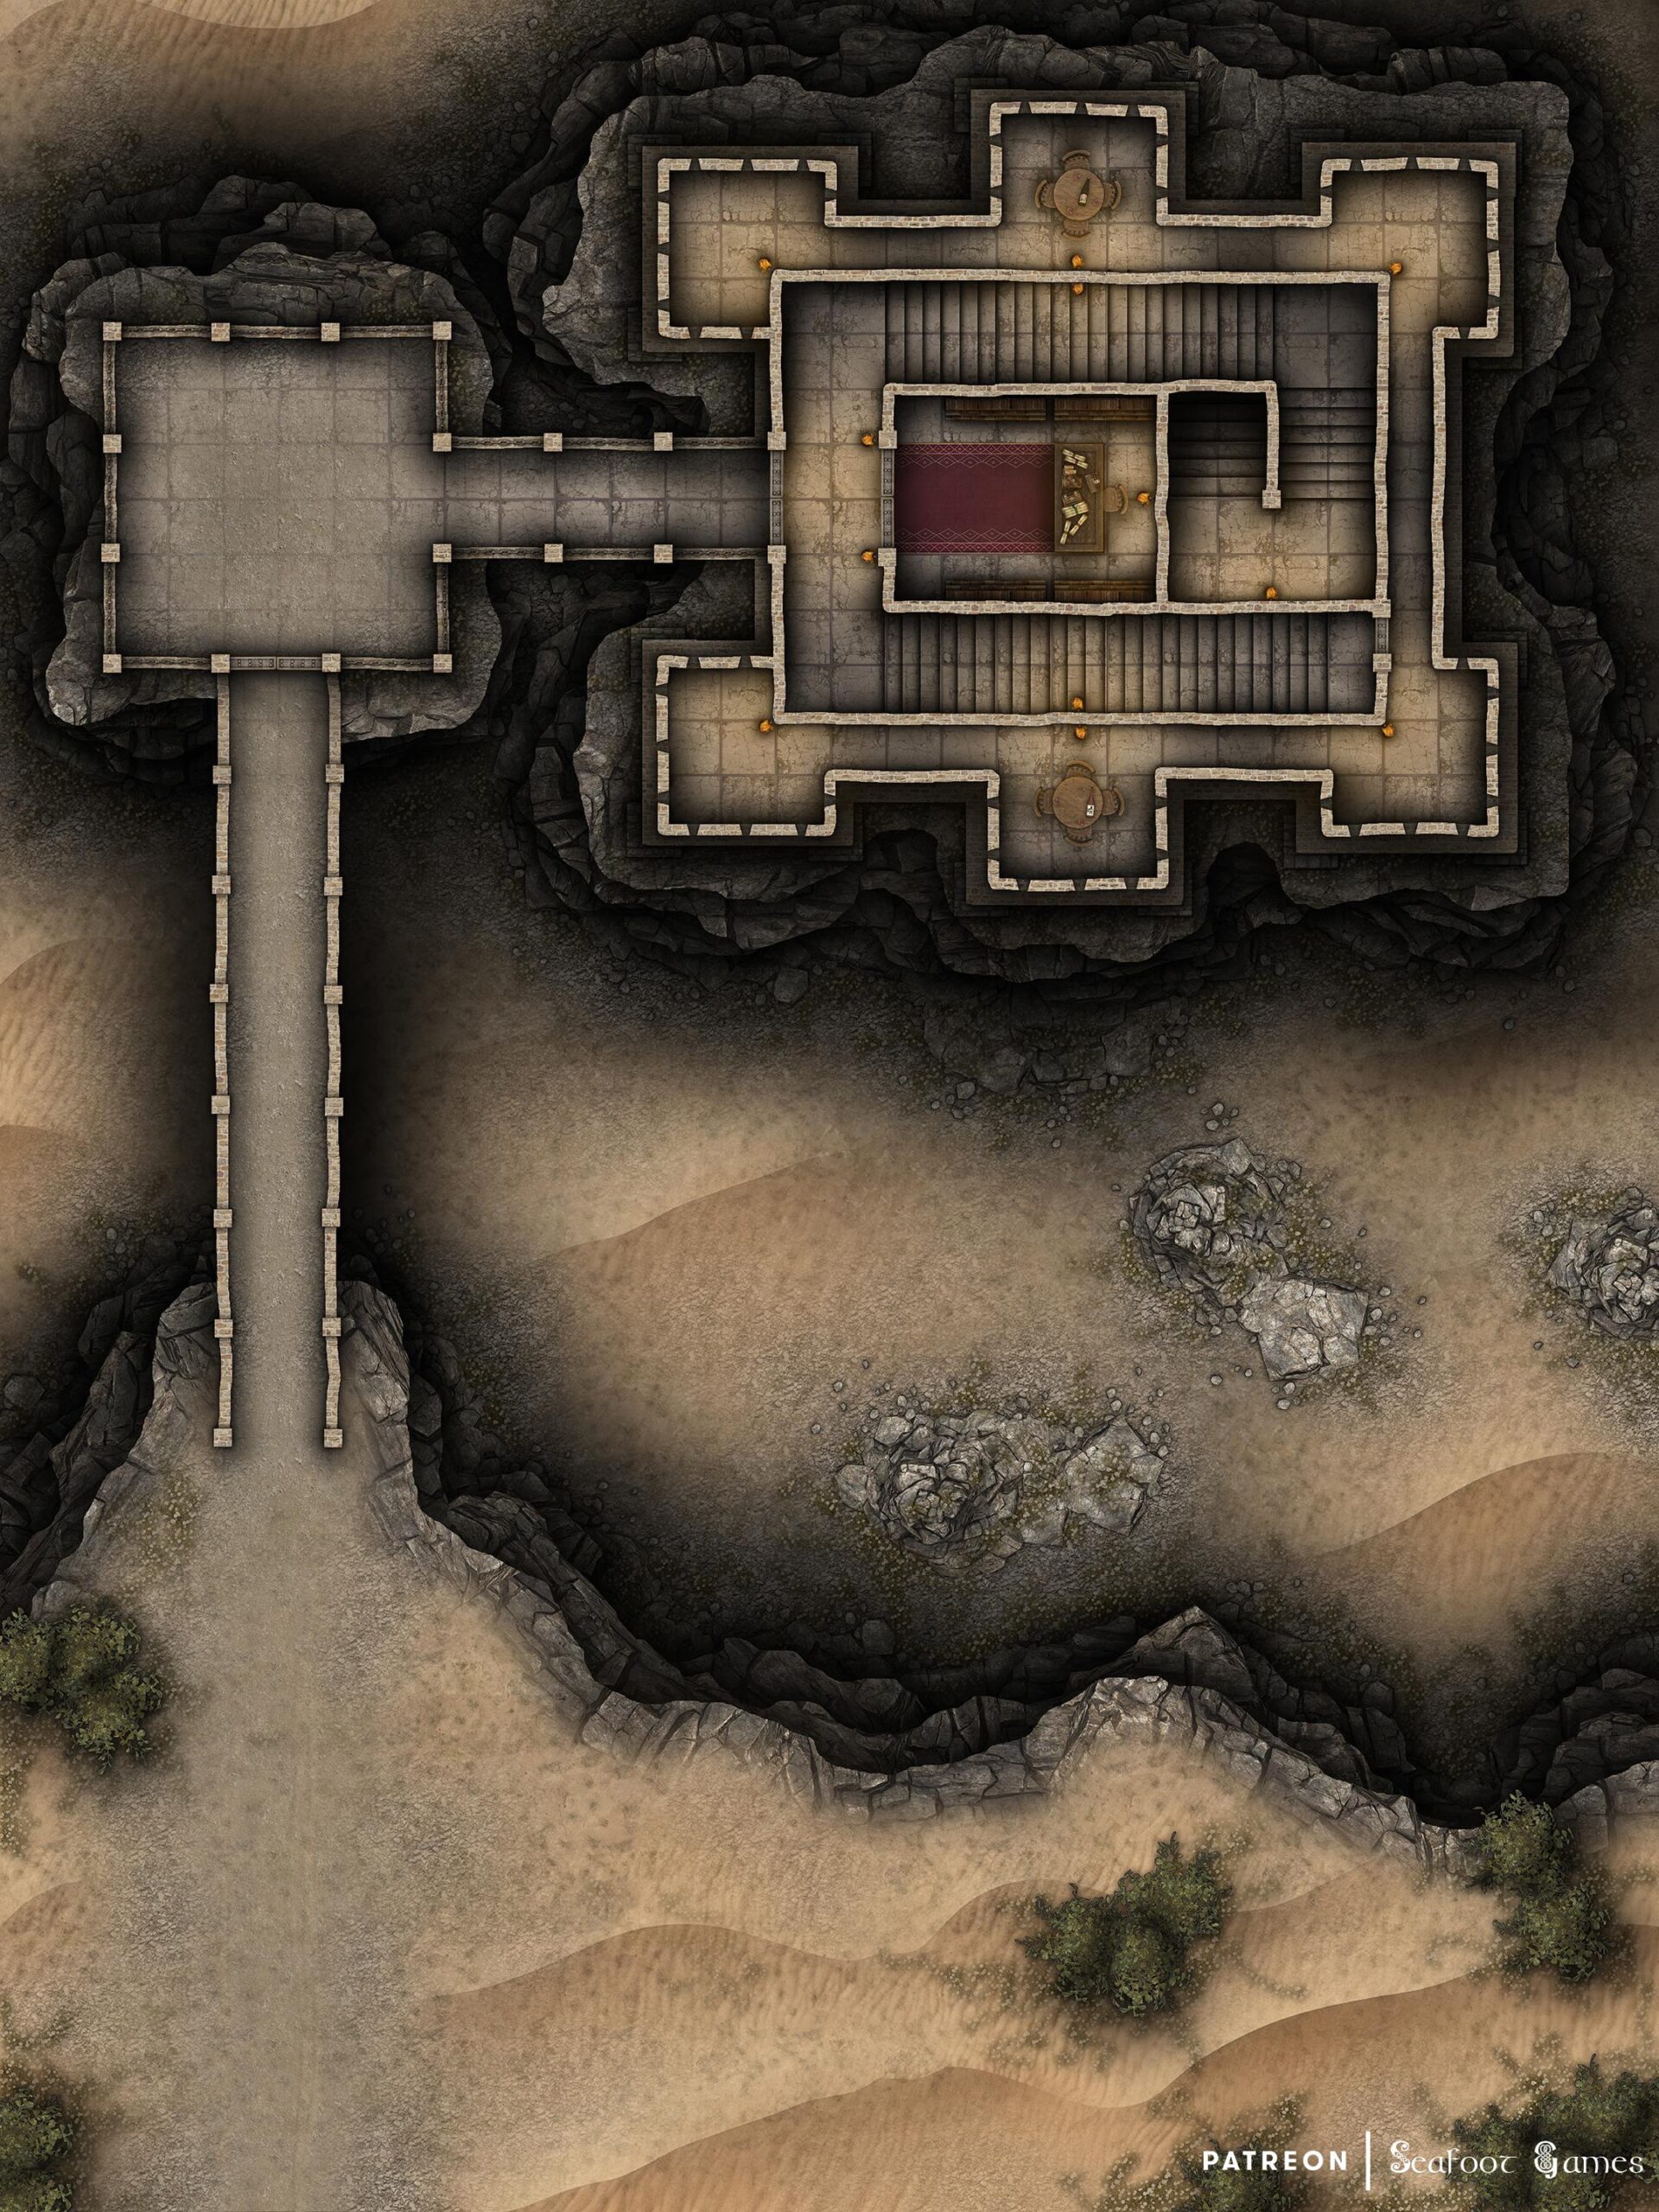
  • Ruined Desert Outpost Fortress Free 40×30 Multi-Level DnD Battlemap & Adventure

    Ruined Desert Outpost Fortress Free 40×30 Multi-Level DnD Battlemap & Adventure

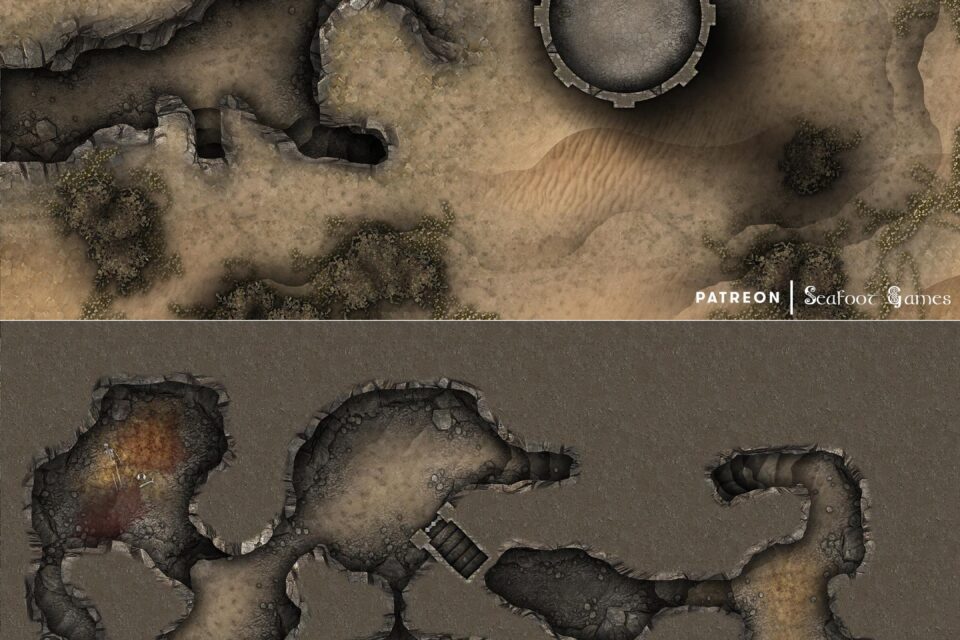
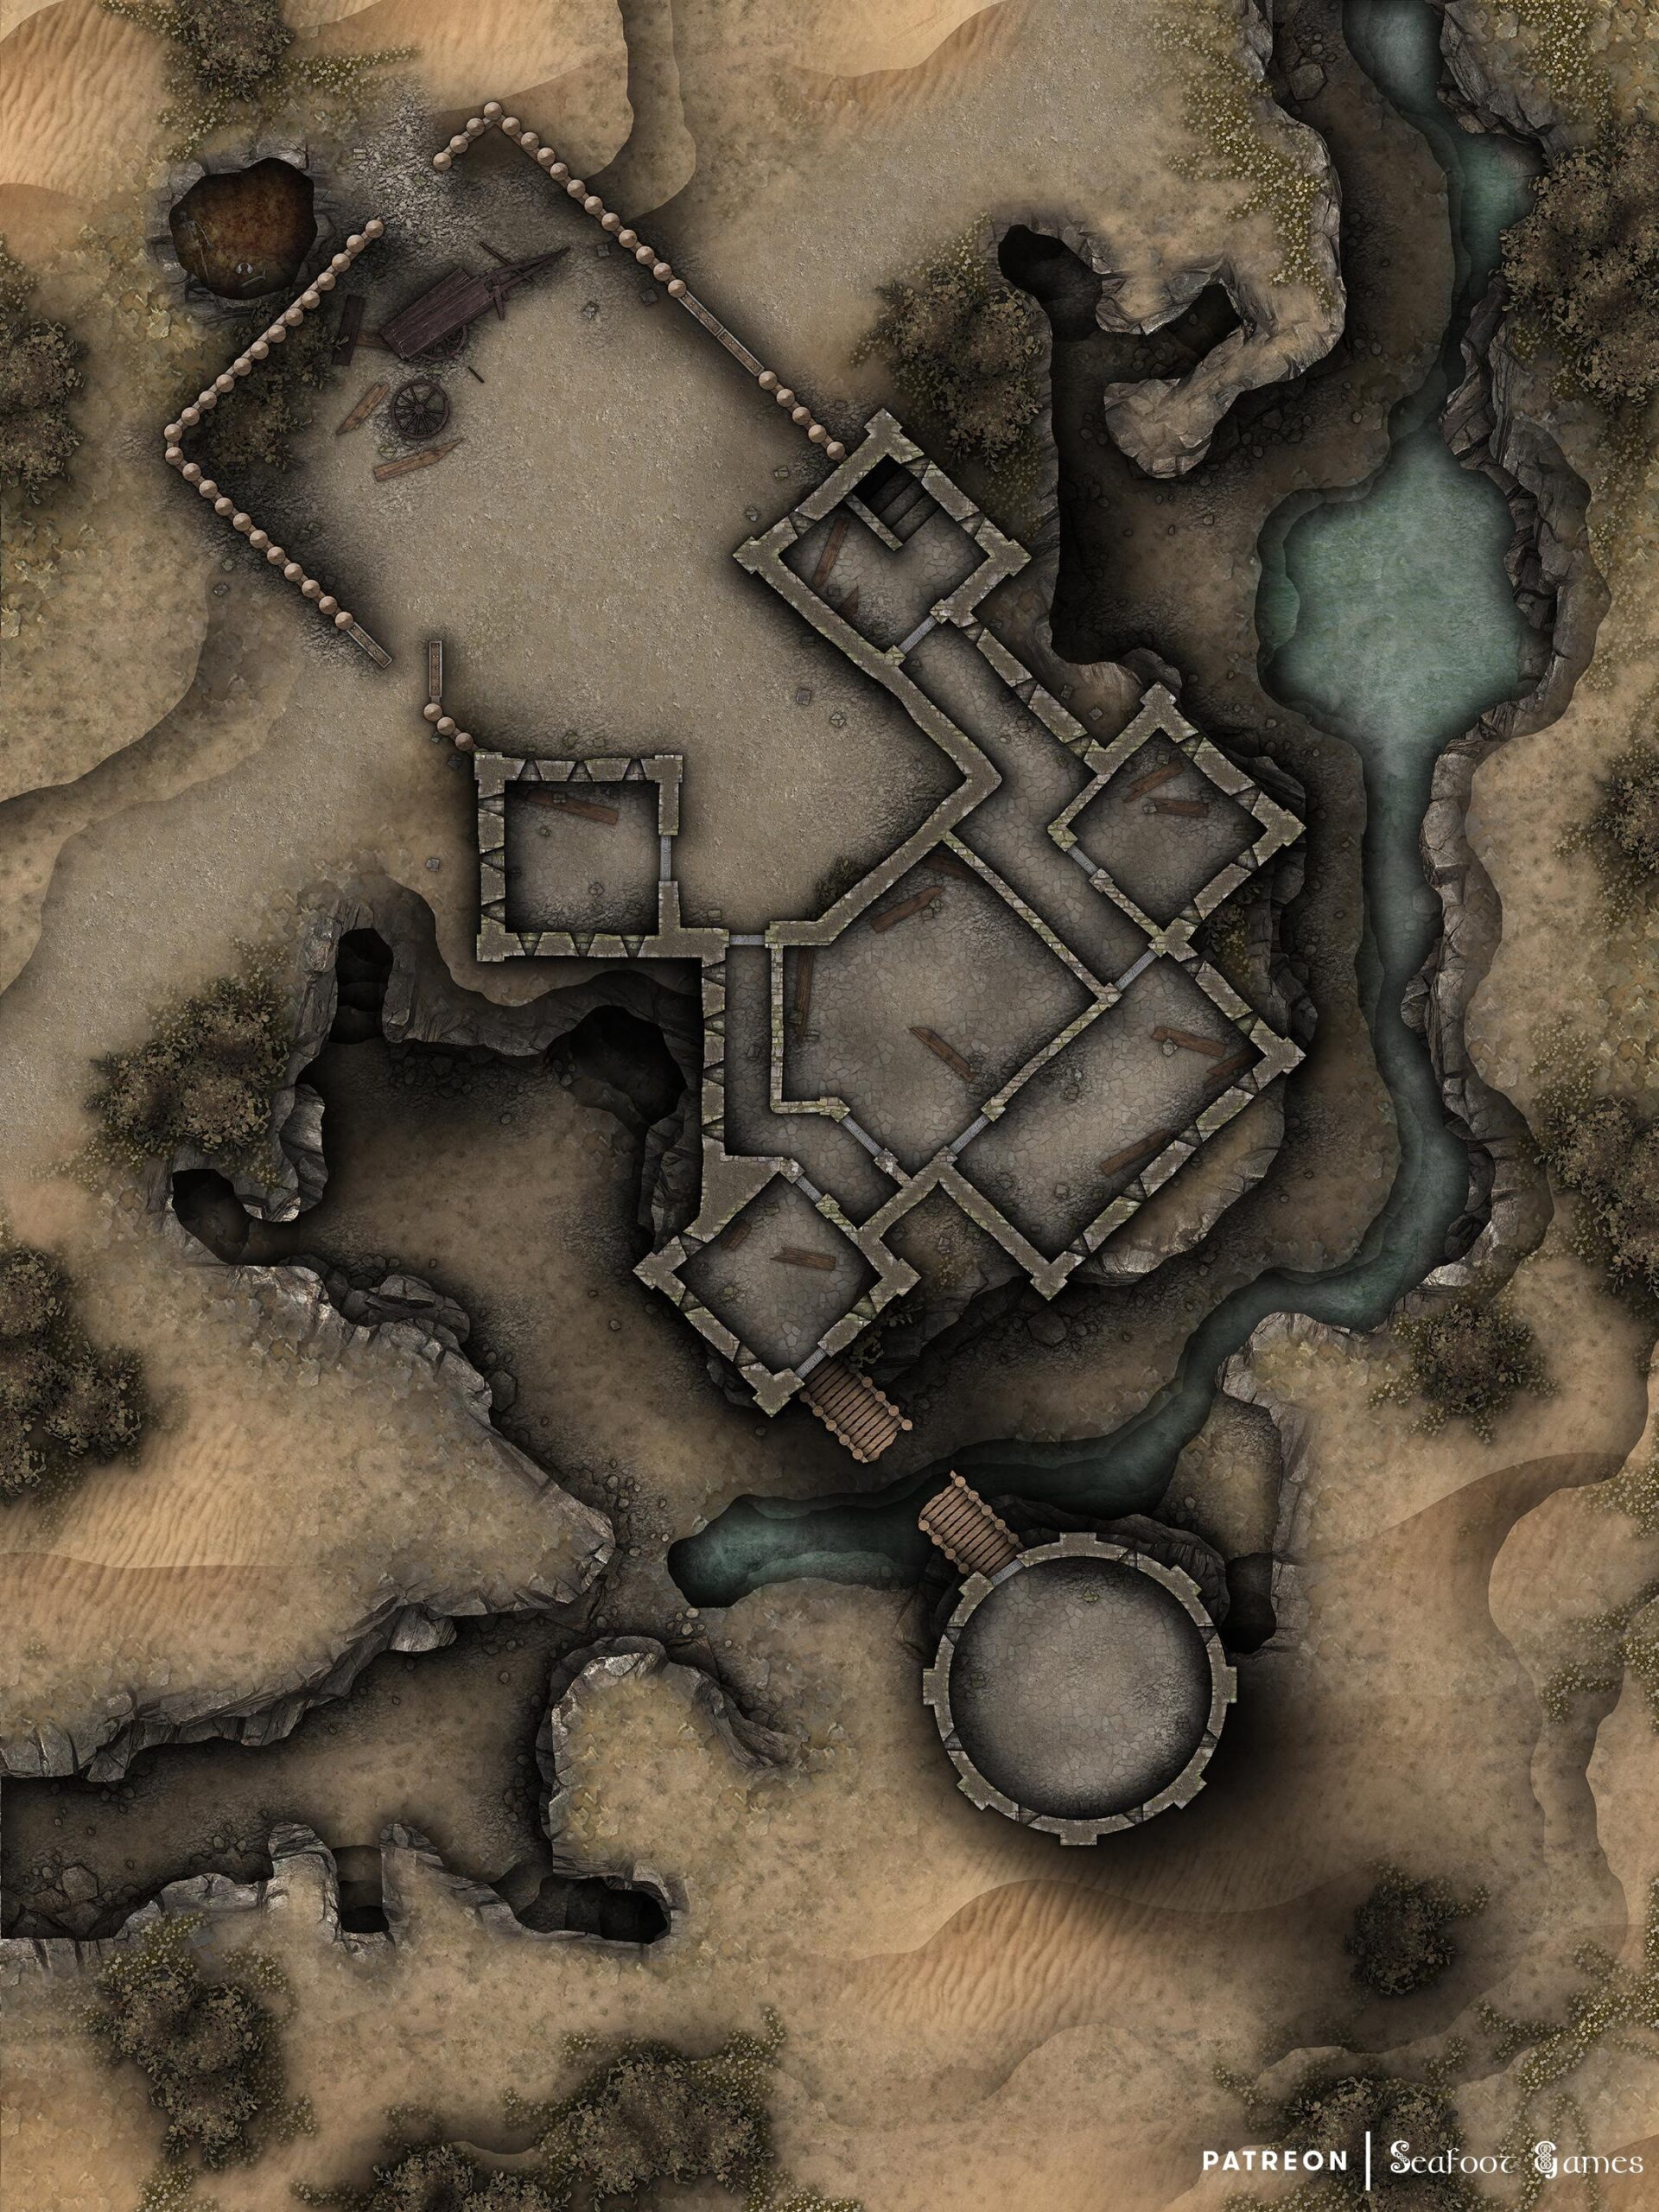
    Level 1 of our Ruined Desert Outpost Fortress Free 40x30 Multi-Level DnD Battlemap & Adventure, featuring those who dwell beneath the sands. VTT ready!
    Level 1 of our Ruined Desert Outpost Fortress Free 40×30 Multi-Level DnD Battlemap & Adventure, featuring those who dwell beneath the sands. VTT ready!
    Level 2 of our Ruined Desert Outpost Fortress Free 40x30 Multi-Level DnD Battlemap & Adventure, featuring those who dwell beneath the sands. VTT ready!
    Level 2 of our Ruined Desert Outpost Fortress Free 40×30 Multi-Level DnD Battlemap & Adventure, featuring those who dwell beneath the sands. VTT ready!

    Ruined Desert Outpost Fortress Free 40×30 Multi-Level DnD Battlemap & Adventure

    Those Who Dwell Below the Sands

    While staying at a desert town you find a notice board with a selection of jobs including one from a grieving woman looking to hire someone to investigate the disappearance of their husband.

    Upon meeting the woman, who has two young children, she explains that her husband, a merchant traveling the desert roads, vanished a month ago. Unfortunately, she lacks substantial information but mentions he was last seen heading towards a nearby town through an unused shortcut, passing an abandoned desert toll station. She provides additional details, describing her husband’s caravan engraved with the words “The Merry” and a necklace medallion he always carried.

    Heading to the Toll station you travel on a desert road which now due to the toll station being abandoned has deteriorated. The toll station is four days away by horseback and when you arrive you find it abandoned just as the wife described.

    Inside the Palisade you find a broken caravan matching the description the wife gave you next to an opening in the palisade which harbors strange claw marks which make it look like the outpost was perhaps attacked at some point. Inside the outpost you find little but for rubble, wood and tattered cloth.

    Eventually you find a staircase that leads into natural caverns below the outpost, it’s unnaturally silent and exploring the many caverns you begin to find what looks to be the remains of humans, stripped completely of all flesh with gnawing marks on their bones.

    Near the bodies you find a leatherbound journal written by one of the guards from the outpost explaining that he has been spending more time down in the many caverns under the outpost as he believes they can be put to good use for storage but that they unsettle him. He thinks he’s seen some old symbols carved into the stone but they look quite worn and he’s not a scholar so hell if he knows what they mean.  He continues that he intends to map out the entire cavern network but will bring some of the others next time as the place kinda creeps him out.

    Later in the journal the guard claims to be hearing voices when in the caverns and has chosen to avoid them because of it. He says the other guards who have spent time in the caverns are also acting erratically. He doesn’t know what is going on but he intends on leaving the outpost when his contract is up as it just doesn’t feel right being here.

    Most of the other pages of the journal are missing or torn but what you can make out is the words, hunger repeated, until the language shifts and appears to begin being written in the same symbols as on the walls of the caverns. If you understand the language of undead you note that the motif of hunger continues repeating in this language.

    Searching the other caverns you hear sound up ahead before spotting what looks like a pale emaciated man in tattered guards clothes hunched over in the corner of the cavern, the sound of crunching can be heard as if he was eating something.

    As you approach however, the creature turns to face you revealing a deformed humanoid creature with elongated limbs, pale milky eyes, a drooping jaw covered in blood and viscera and the remains of a rat in its hand. He attacks you on sight, hunger in its eyes as if it had not eaten in weeks.

    Searching further you encounter more of these creatures, and begin seeing the cryptic symbols on the walls of the cavern mentioned in the journal. Once again if you understand the language of undead you may decipher their meaning which details this site as a place of unholy worship, where grand sacrifices were made to dark gods and where the cultists of this place ate the forbidden flesh.

    Eventually you find a creature not like the others, more human. When you approach this one you find him resembling the description of the merchant but beginning to become deformed, with a bloody drooping jaw, one milky white eye and his right arm and leg becoming longer.

    He’s confused and doesn’t know where he is or who you are but after some talking he calms down. If you ask what happened, explaining who you are, he explains he stopped at the toll station ruins for the night but was awoken by the sounds of scraping on the walls, he ignored it at first but decided to go check it out when the noise didn’t stop, he encountered creatures much like he is now within the toll station and he fled from them eventually ending up in the caverns beneath.

    He found a hiding spot within a crack and can’t remember much since then but for flashes of eating meat and the sun being too bright to be in so he stayed in the caves. The man begs you to end his misery as he looks down upon his deformed body and to take his medallion necklace back to his wife, to tell her it appears there was an attack on the outpost by bandits and he was killed, don’t tell her the horror of what he has become, he begs you.

    GM’s Notes: Hundred of years ago a cult used these caverns for its horrible rituals involving the consumption of human flesh which eventually caused them, as well as the caverns to become corrupted, changing them into horrible monstrosities. Eventually they were dealt with by a group of heroic adventurers but over the centuries this information was lost.

    When a new road was set to be built across the dry landscape of the desert, this location was chosen due to its proximity to the rare creek which runs through the chasm below the toll station. Unbeknownst to the builders of the toll station the caverns were a corrupting influence on any who spent too much time down there. Over the years, the guards lost to madness and then began to eat the flesh of other humans who attempted to pass through the toll station. The more flesh they ate the faster they changed.

    As so many people kept going missing in the region eventually the toll station was abandoned, leaving the now deformed and monstrous guards to roam the caverns.

    If you’d enjoy more DnD resources like this Ruined Desert Outpost Fortress Free 40×30 Multi-Level DnD Battlemap & Adventure, Luke and I have released our newest Hardcore GM’s bundle of 520 large, 40Ă—30″ DnD battlemaps (double the size of those in the Quarantine Bundle) with 255 fantasy adventures for $39. It’s your chance to have a great deal on some of our most beautiful maps! We guarantee that is something here for every GM—no matter what setting you prefer, from large cities to underwater seascapes.

    Paying just $39 rather than full price saves you over 98%! Take a look at all the extra maps you can download with one click in the Hardcore GM’s DnD Battlemap Bundle here. 

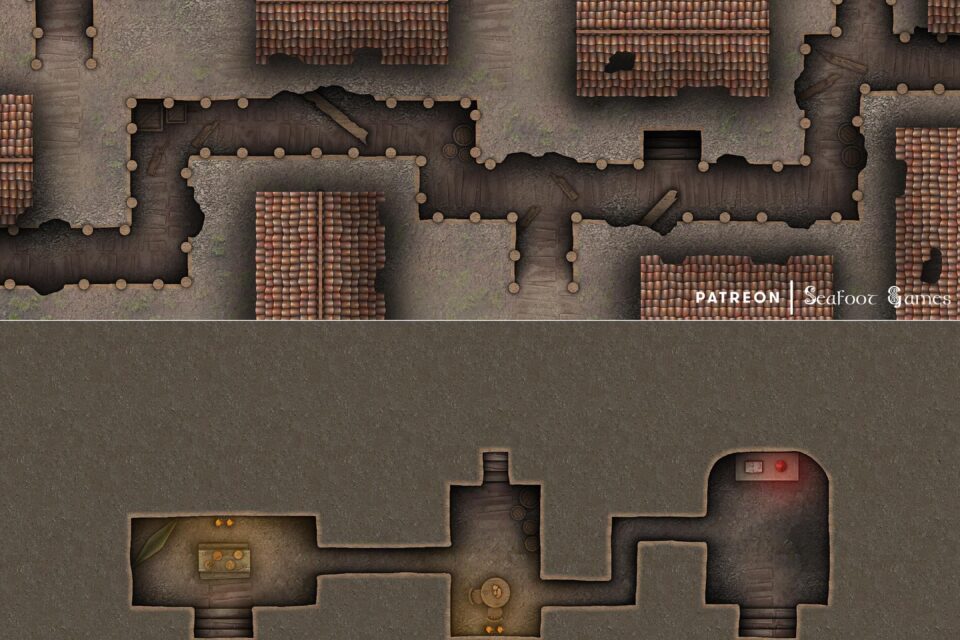
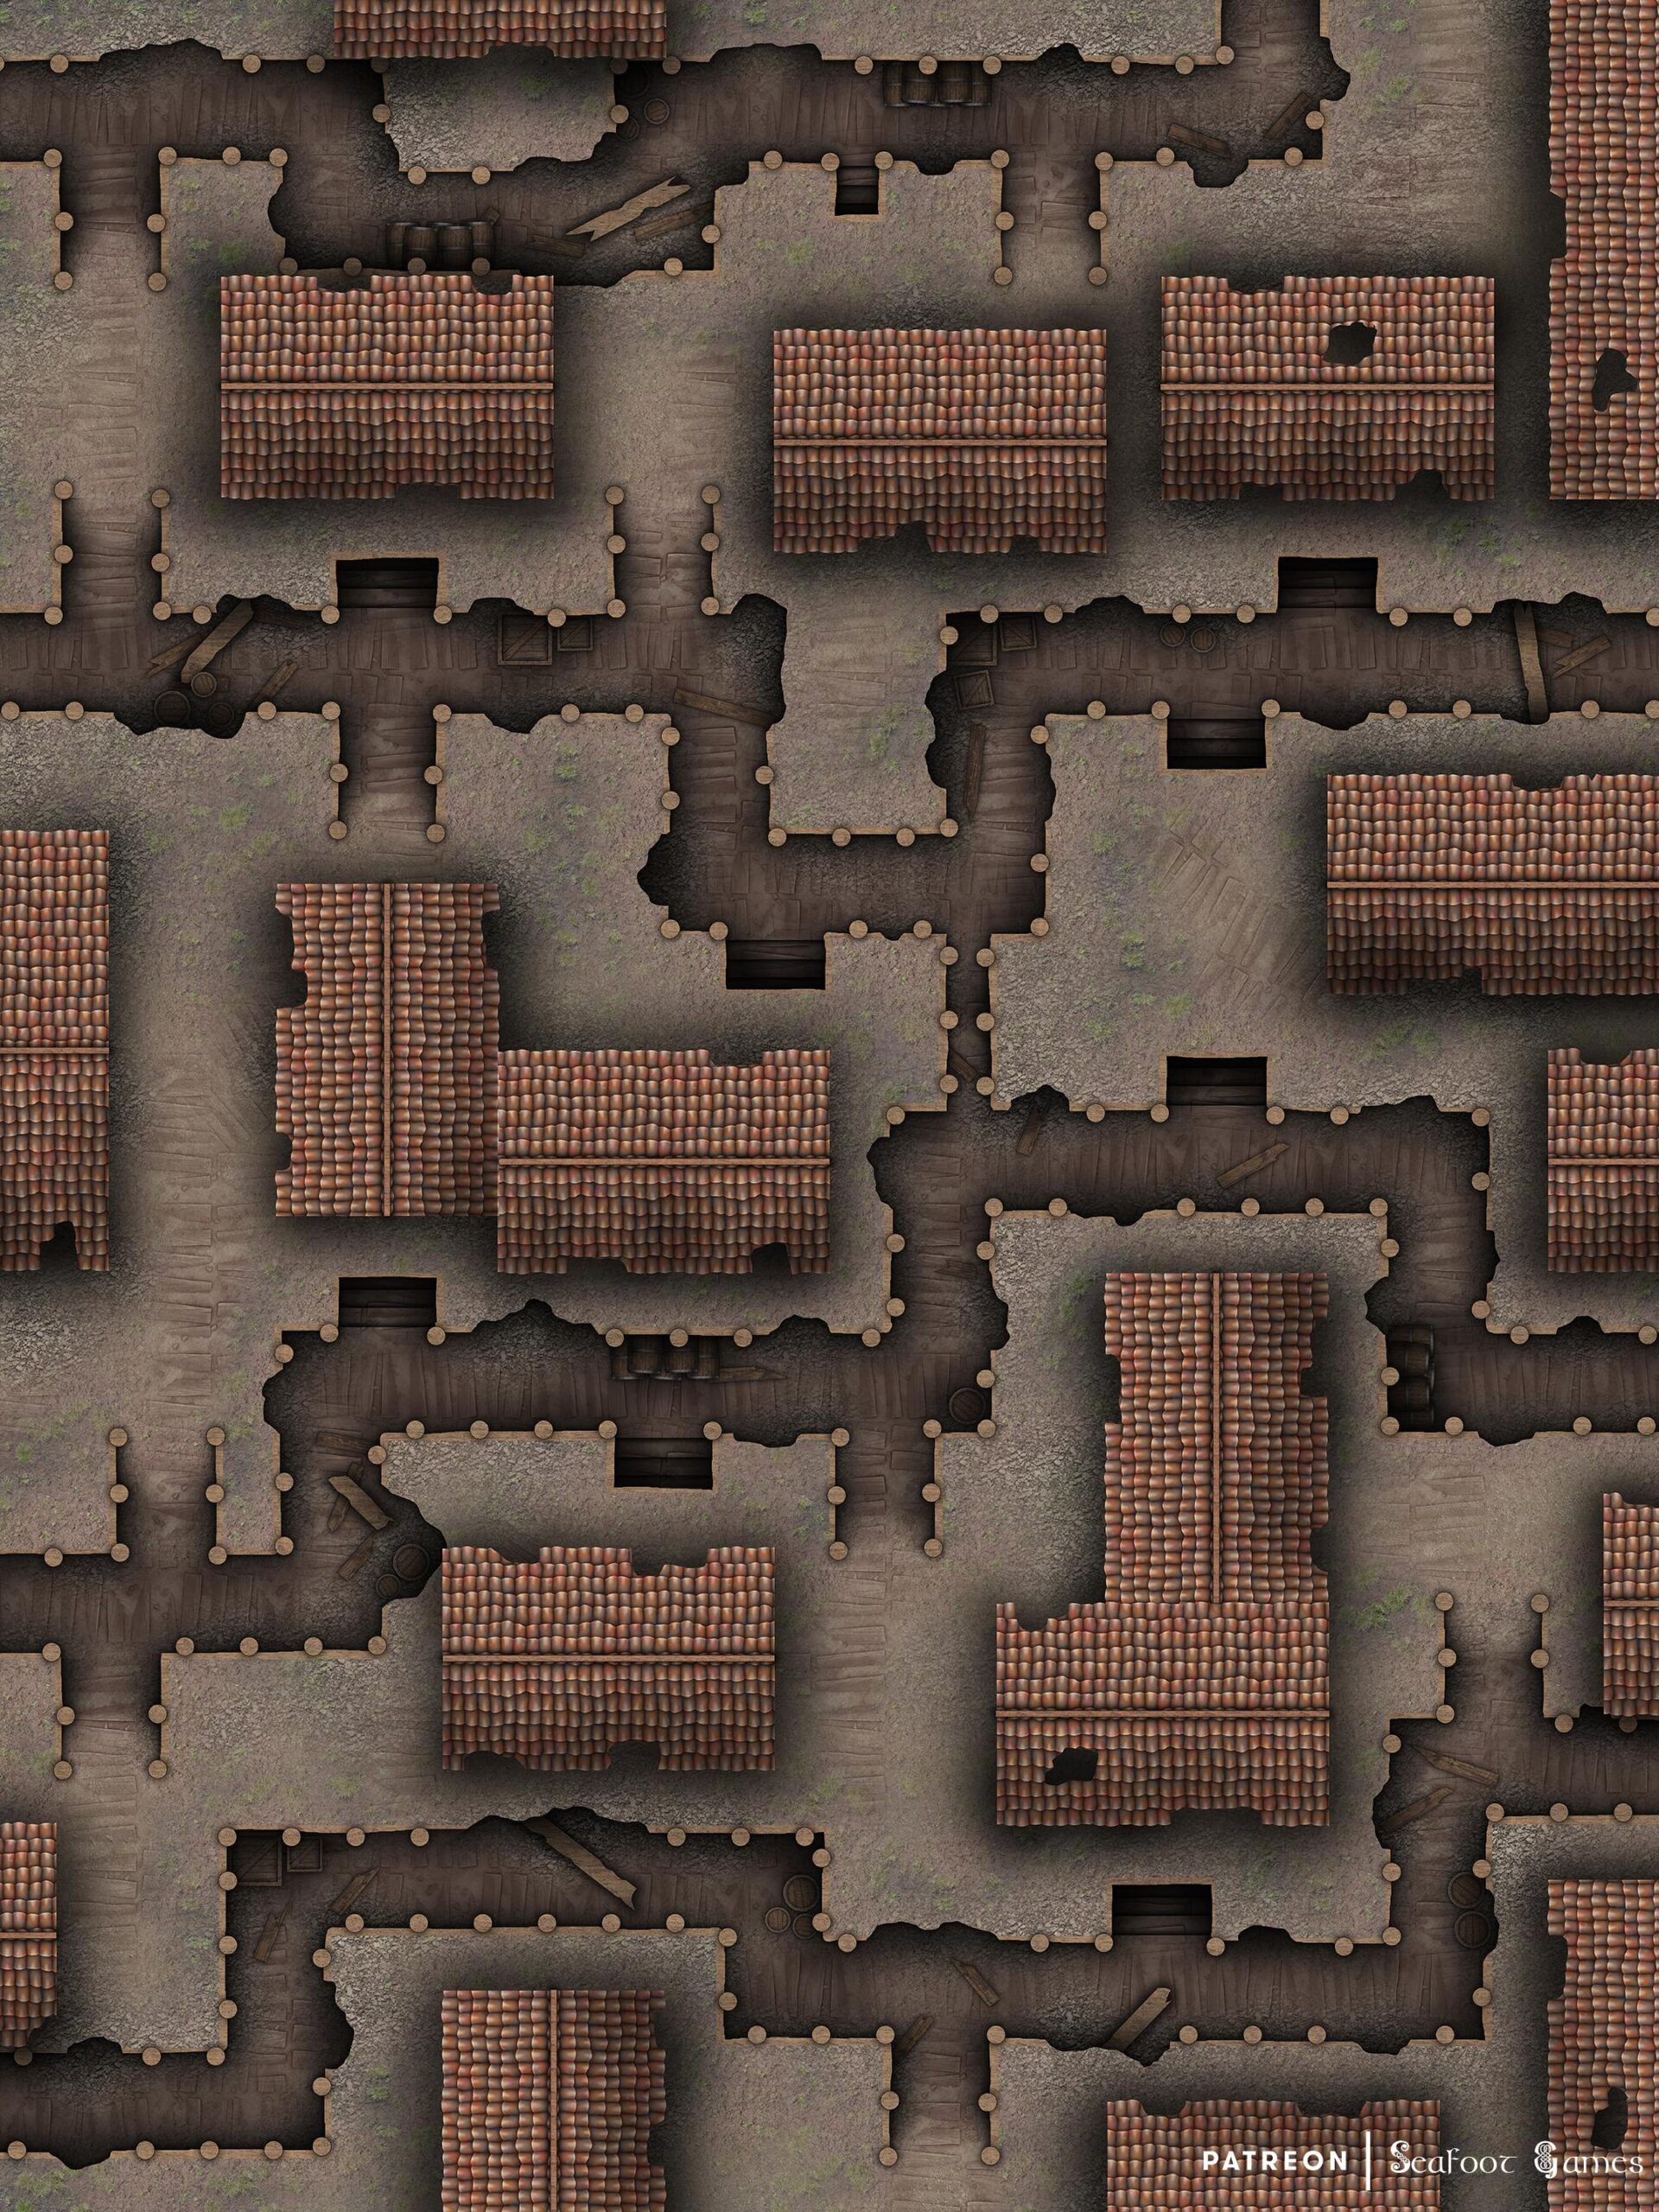
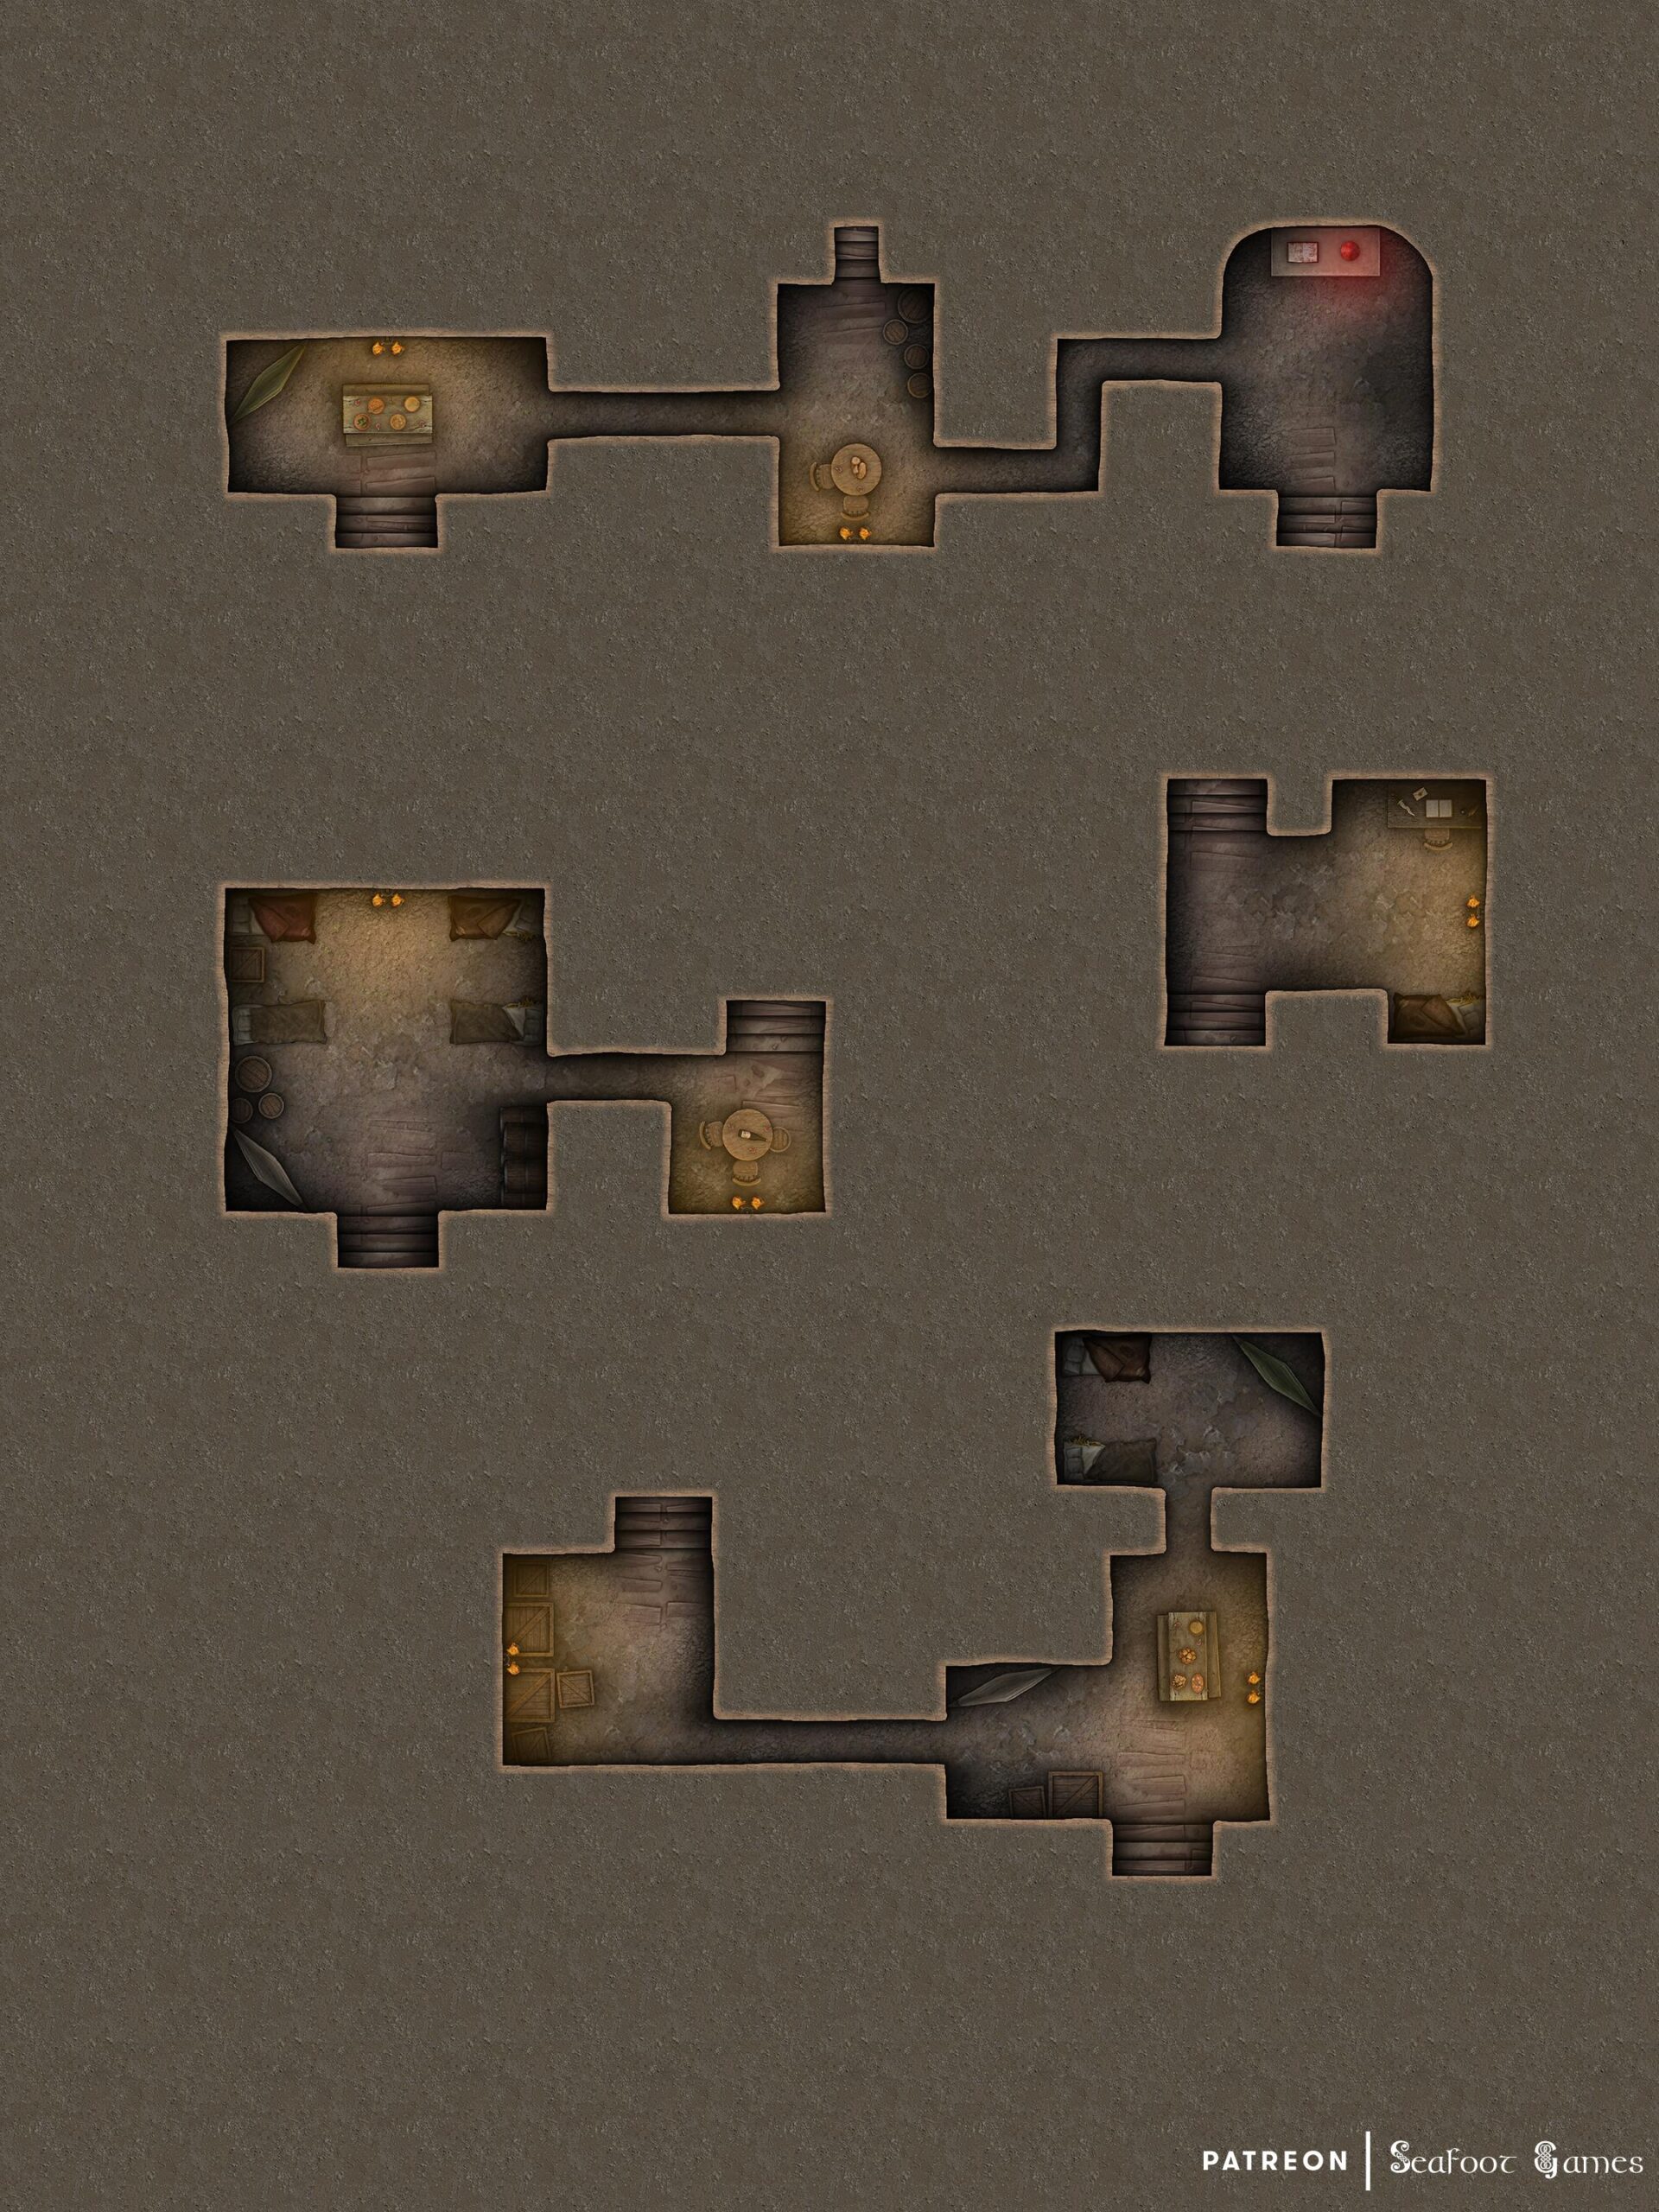
  • Abandoned Wartorn Town Thieves Dens Free 40×30 Multi-Level DnD Battlemap & Adventure

    Abandoned Wartorn Town Thieves Dens Free 40×30 Multi-Level DnD Battlemap & Adventure

    Level 1 of our Abandoned Wartorn Town Thieves Dens Free 40x30 Multi-Level DnD Battlemap & Adventure, featuring a journey to the shadowrealm to save knowledge. VTT ready!
    Level 1 of our Abandoned Wartorn Town Thieves Dens Free 40×30 Multi-Level DnD Battlemap & Adventure, featuring a journey to the shadowrealm to save knowledge. VTT ready!
    Level 2 of our Abandoned Wartorn Town Thieves Dens Free 40x30 Multi-Level DnD Battlemap & Adventure, featuring a journey to the shadowrealm to save knowledge. VTT ready!
    Level 2 of our Abandoned Wartorn Town Thieves Dens Free 40×30 Multi-Level DnD Battlemap & Adventure, featuring a journey to the shadowrealm to save knowledge. VTT ready!

    Abandoned Wartorn Town Thieves Dens Free 40×30 Multi-Level DnD Battlemap & Adventure

    The Broken Crystal of Eldermere

    One day, while traversing the countryside, you are suddenly shocked to discover a large wooden timber doorway in front of you. As you approach, both doors swing open side-by-side, revealing what appears to be the interior of a castle hallway. Voices beckon you inside by name, claiming to have sought you out in particular.

    Once inside, the doors behind you close, and you find yourself in a long stone hallway. Eventually, you reach another set of doors, swinging them open to reveal a circular chamber. Inside, seven wizards sit upon thrones.

    The wizards welcome you to their abode and introduce themselves as the Council of Arcane Scholars, an organization that monitors magical artifacts and disturbances across the realm. They explain that a surge in magical energy has been detected in a place called Eldermere, once beautiful but now in ruins.

    The council fears that the dormant power of a long-thought-destroyed artifact known as the Echo Crystal may be the cause of the disturbance. They request your assistance to investigate and, if necessary, collect and bring the artifact back to them for the safety of the realm.

    If you inquire about why you were chosen, one of the wizards explains that they keep tabs on all types of heroes within the realm, and you seemed to fit the requirements of this request the best. If you ask what made you the best choice, they may cite your aptitude for the arcane, should you possess any skills in that area, or comment on your previous achievements.

    Inquiring about the Echo Crystal, the wizards reveal that it was once a powerful scrying device used by the wizards of Eldermere. During the war, it was damaged in a magical explosion, fragmenting into many pieces. These shards were thought lost, but the current disturbance suggests otherwise.

    Agreeing to assist in the investigation, the wizards thank you but also warn that malevolent forces, drawn to the artifact’s potential, may be converging on the village. With this caution in mind, you leave the wizard’s castle through the original hallway entrance and find yourself in a desolate land upon a hill overlooking the remains of what must be Eldermere.

    Making your way down the hill to the town, you discover it seemingly empty at first. Old trenches line the streets between houses, remnants of fortifications from the war. Using spells to detect magic might reveal the general location of the Echo Crystal, but a thorough search of the town could also lead you to a set of underground basements within the trenches that still appear to be inhabited.

    The townsfolk are dressed in somewhat plain but well-kept cotton clothes and are shocked to see an outsider, looks of apprehension on their faces because of your arrival. If you explain your search for the Echo Crystal, the townsfolk say they don’t know what you’re talking about in worried voices and wish for you to leave immediately.

    If you choose to leave without forcing the townsfolk’s hands, you may be able to track the crystal down either via magic or an extensive sweep of the rest of the town.

    Approaching the area where the crystal is hidden, you notice something seems off and soon after find bodies of some of the residents, their throats slit. Making your way through the trenches to reach the crystal you find more bodies until you begin encountering dark robed figures who are in the middle of dispatching some of the poor townsfolk.

    When they see you, they attack you on site and refuse to back down, fanatical in their assault. When you arrive at the crystal a figure in a pitch black robe that seems to steal the light is standing in front of it flanked by his loyal followers in similar garb to the men you’ve already been fighting.

    The crystal appears to only be partially fixed, Its broken shards hovering around a glowing red magical core but the man in the pitch black robe appears to be adding additional shards to its form. Before you can stop him the Echo Crystal shudders, sucking in the shards and healing itself into a fully formed orb that looks corrupted by shadow. The man in the pitch black robe then instructs his followers to deal with you and they all in unison acknowledge the man’s wishes, referring to him as Shadowseeker Kiber.

    Kiber picking up the orb is wreathed in flame like shadows and assists his followers by launching shadow magic at you from afar, clearly empowered by his position of the Echo Crystal. If you managed to get the townsfolk to assist you in finding the crystal, they beg you not to destroy the Echo Crystal but also not allow Kiber to get away with it, explaining that losing the Echo Crystal would doom them all.

    If you don’t destroy the Echo Crystal, Kiber is an extremely powerful foe, teleporting around the room from the shadows and if drawn into close combat drawing a sword of pure shadow. When dealing him a deathblow he however just disapparates into the shadows, whispering that he returns to Nihilus, for now.

    The townsfolk are ever grateful for your assistance before explaining the true extent to what befell the town of Eldermere. They explain that after the Echo Crystal was destroyed the invading army left, as it no longer had any reason to be there. Out of the remaining townsfolk all of whom were bunkered down in the district during the Echo Crystal explosion, some chose to leave while others wished to stay and rebuild. Those who tried to leave however, soon found themselves withering away into husks within days of leaving the town. Without any other choices and no idea what was happening the remaining townsfolk were forced to stay and do the best they could. That was over a hundred years ago.

    You see, the townsfolk continue, they found out that the Echo Crystal had not been fully destroyed during the explosion but only shattered into magical shards within the town. Those within a large proximity of the crystal during this time gained a connection with its power. While they could no longer leave the presence of the shards for prolonged periods of time, they no longer felt hunger or thirst while in its presence, nor did they age.

    They hoped one day when they finally recovered all the shards and reformed the Crystal that they could leave but no matter how much they tried they could never find the last few shards. Of course that makes sense now, as the man named Kiber was a former town member who must have found them long ago and fled with them.

    They believed he had just gone mad and run off into the desolate wastes but that doesn’t seem to have been the case. What horrors he now worships the townsfolk don’t know but they have a terrible feeling he will be back in future to claim the orb again and thus are happy if you ask to take it back to the wizards now that their curse and blessing has been broken.

    If you instead choose to destroy the Echo Crystal it shatters before imploding on itself in a blast of shadow energy, leaving nothing in its place. This makes Kiber much easier to deal with but the townsfolk you’re with begin to wither, his flesh drying on his skeleton then turning to dust leaving nothing but his bones. If you inspect the rest of the town afterwards you find similar skeletal remains throughout, with no living townsfolk to be seen.

    Returning to the wizards through the door on the hill outside town, they’re shocked to hear your accounting of events whether you destroyed the Echo Crystal or not. If the crystal was destroyed, they thank you for your assistance explaining that at least it appears the crystal will not go on to be used by evil even if it did mean the death of all those townsfolk. If you ask why you think they all died, one of the wizards will explain that the Echo Crystal had many powerful qualities and that it’s not beyond reasoning that its magical shards somehow gave the townsfolk eternal life, at least while they kept them close.

    If however you didn’t destroy the Echo Crystal, the wizards are pleased when you return with it. Locking it within a grand vault which opens beneath your feet in the circular chamber the wizard’s thrones are in before rewarding you with a suitable magical item of use for your efforts.

    If you’d enjoy more DnD resources like this Abandoned Wartorn Town Thieves Dens Free 40×30 Multi-Level DnD Battlemap & Adventure, Luke and I have released our newest Hardcore GM’s bundle of 520 large, 40Ă—30″ DnD battlemaps (double the size of those in the Quarantine Bundle) with 255 fantasy adventures for $39. It’s your chance to have a great deal on some of our most beautiful maps! We guarantee that is something here for every GM—no matter what setting you prefer, from large cities to underwater seascapes.

    Paying just $39 rather than full price saves you over 98%! Take a look at all the extra maps you can download with one click in the Hardcore GM’s DnD Battlemap Bundle here. 

  • Cliffside Undercity Skydock 40×30 DnD Battlemap & Adventure

    Cliffside Undercity Skydock 40×30 DnD Battlemap & Adventure

    Cliffside Undercity Skydock 40x30 DnD Battlemap & Adventure
    Cliffside Undercity Skydock 40×30 DnD Battlemap & Adventure, featuring dinosaurs & a plot to usurp political rival. VTT ready!

    Cliffside Undercity Skydock 40×30 DnD Battlemap & Adventure

    The Huntsmaster’s Eggs

    While walking the streets of a village you hear yelling coming from the local sky docks, people are fleeing toward your direction screaming about flying terrors. If you investigate, you find the sky docks in chaos with damaged cargo strewn about the place and swarms of small flying creatures resembling pterodactyls swooping and nipping at people who have become trapped, including two of the current leading elders of the village who while attempting to protect the people seem to be failing.

    Several guards can also be seen attempting to deal with the swarms but they’re clearly outmanned. The elders become ecstatic when they see you, pleading for your assistance. After the pterodactyls creatures have been either killed or incapacitated the exhausted guards approach you and thank you for your assistance.

    Soon after, more guards arrive as well as a doctor to treat the remaining injured civilians. One of the guards, walking with a limp, inspects some of the crates where the creatures were focusing their assaults revealing hundreds of speckled eggs covered in packed straw.

    Appearing shocked, the man approaches the elders and exclaims that this is the huntmaster’s fault. Pointing to the crates with the eggs, he continues that Thorpek, one of the current leading elders in the village and the one currently carrying the role of huntmaster has become arrogant and foolishly he has brought the eggs of the flying creatures here, drawing their kin to the village.

    The limping man continues that Thorpek would know just as he that these creatures can not be tamed, even if hatched from an egg and that to bring them here could only lead to others being hurt or killed.

    The other elders try to calm the man named Kuthar down, explaining that they will look into the matter once Thorpek returns to town to which Kuthar reluctantly agrees before leaving, while the elders choose to spend more time with the other injured villagers.

    If you choose to talk with the elders or other village at the sky docks they may explain that Thorpek and Kuthar have had a simmering feud the last several years after Kuthar challenged Thorpek to a duel over the right to be the Huntsmaster as he believed Thorpek has grown to old, but Kuthar lost and was injured in the bout but Thorpek still rewarded his efforts with the position as a hunting training as Kuthar was clearly still quite skilled.

    Kuthar still holds a grudge but if Thorpek really did make the mistake to bring these eggs here maybe he has a point about Thorpek. The elders request your neutral hand as outsiders to do an independent investigation into the matter if you would be so kind as perhaps it would avoid tensions rising.

    Asking around the town most villagers are aware of the feud with some taking Kuthar’s side in agreeing that Thorpek is past his prime while the majority still feel he is best suited for his position. In contrast if the young hunters of the villager are spoken too, those who have been trained by Kuthar they are all in agreement that Kuthar would make a better huntsmaster. If asked about the eggs and who collected them during a hunt. They all agree that it was set up by Thorpek to have them collected but something seems a bit off about the details. If pushed many of the hunters will excuse themselves to go tend to other tasks but eventually you might be able to get out the real truth that Kuthar was behind the eggs being brought to the village in order to frame Thorpek.

    The hunter who gives you this information asks you not to mention him as if the other hunters find out he talked about this they would see it as a betrayal, but he just can’t stay quiet. He also mentions that he doesn’t know what to do but leaves it in your hands. If you tell the elders it was really Kuthar who planned the eggs, he will most likely be banished, aggravating the hunters whose loyalty he holds into, perhaps even revolting.

    The hunter continues that If you were instead to just let Thorpek take the fall, yes an innocent man would lose his position but perhaps the village would just continue on without needless bloodshed.

    If you’d enjoy more DnD resources like this Cliffside Undercity Skydock 40×30 DnD Battlemap & Adventure, Luke and I have released our newest Hardcore GM’s bundle of 520 large, 40Ă—30″ DnD battlemaps (double the size of those in the Quarantine Bundle) with 255 fantasy adventures for $39. It’s your chance to have a great deal on some of our most beautiful maps! We guarantee that is something here for every GM—no matter what setting you prefer, from large cities to underwater seascapes.

    Paying just $39 rather than full price saves you over 98%! Take a look at all the extra maps you can download with one click in the Hardcore GM’s DnD Battlemap Bundle here. 

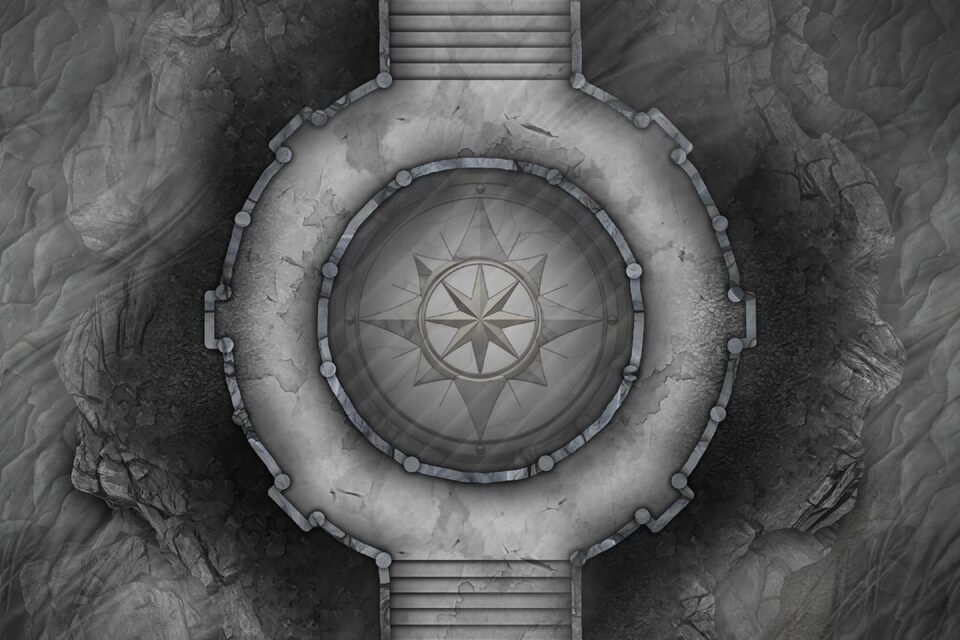
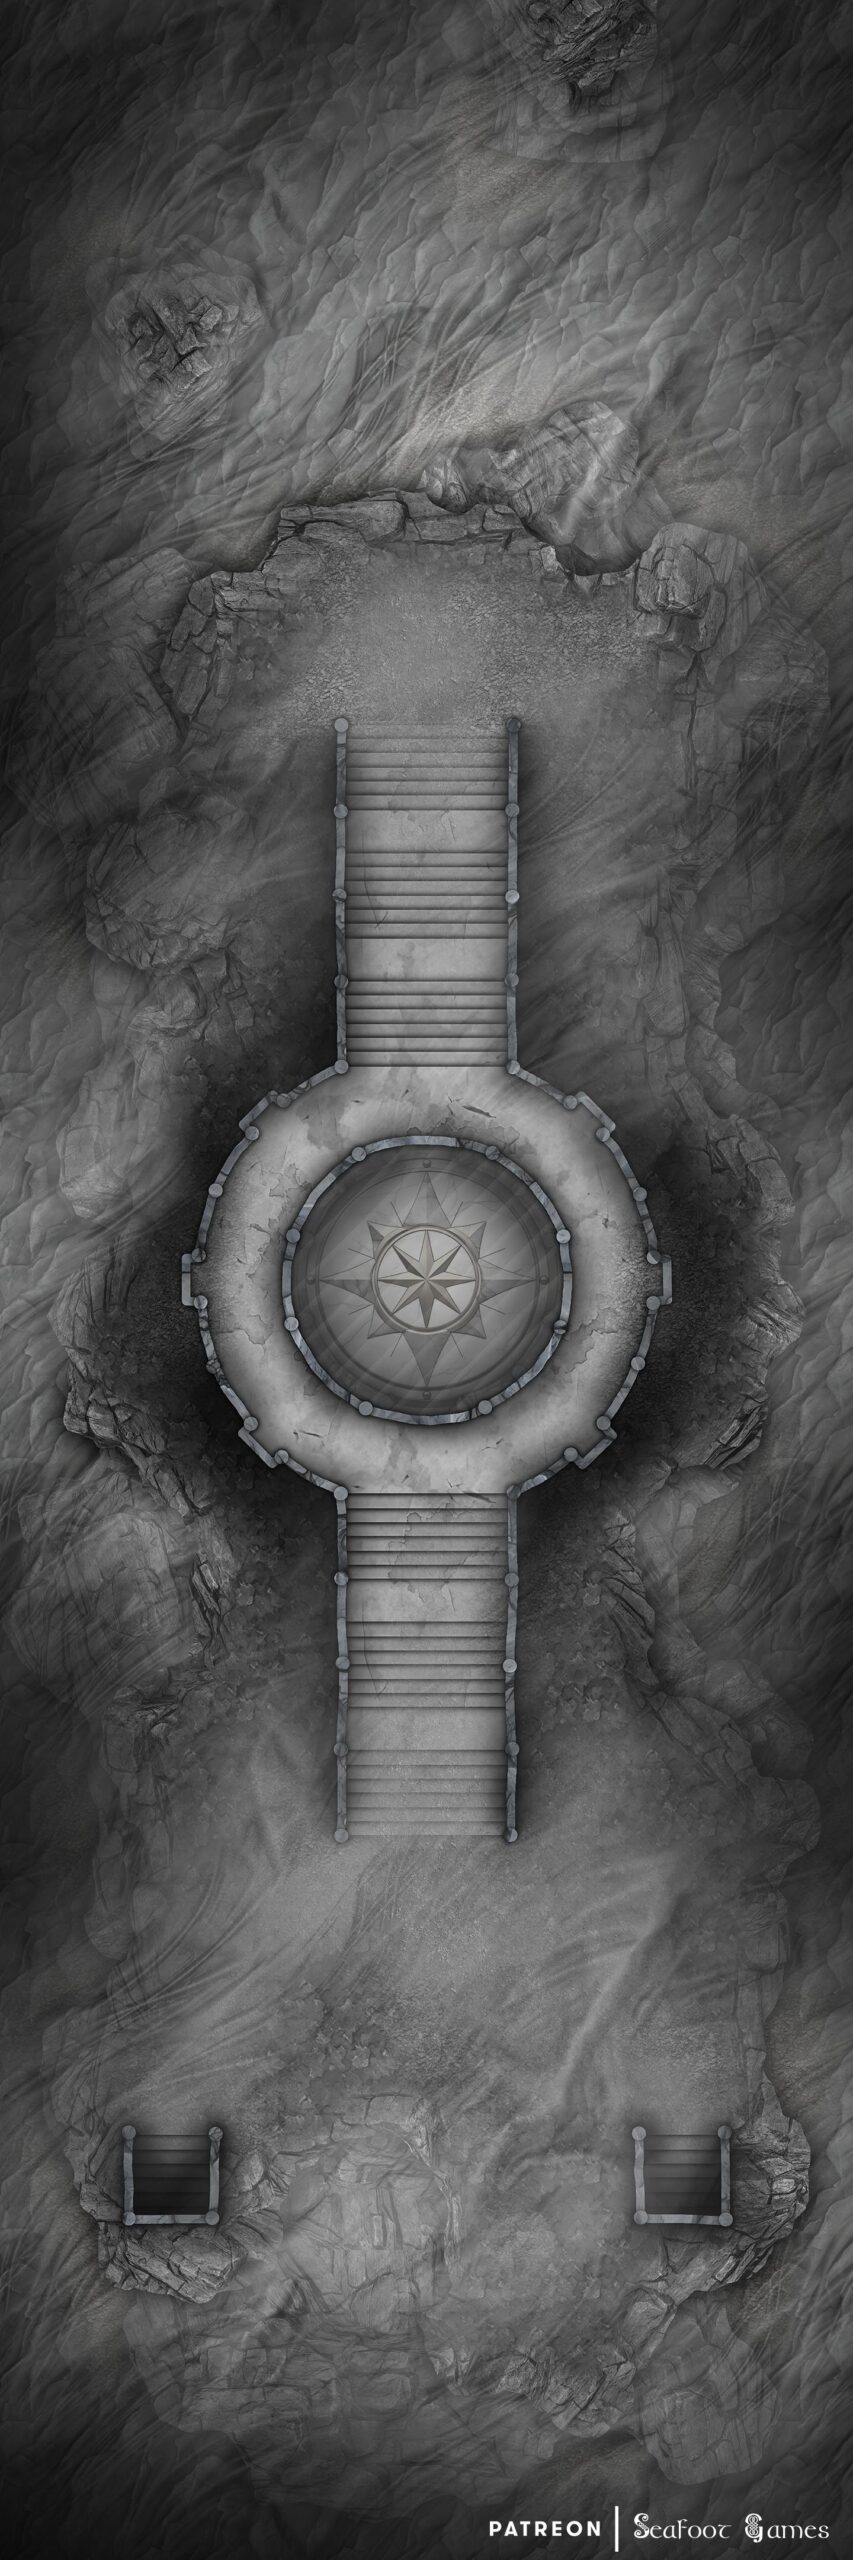
  • Shadowrealm Archive Free 60×20 Multi-Level DnD Battlemap & Adventure

    Shadowrealm Archive Free 60×20 Multi-Level DnD Battlemap & Adventure

    Level 1 of our Shadowrealm Archive Free 60x20 Multi-Level DnD Battlemap & Adventure, featuring a journey to the shadowrealm to save knowledge. VTT ready!
    Level 1 of our Shadowrealm Archive Free 60×20 Multi-Level DnD Battlemap & Adventure, featuring a journey to the shadowrealm to save knowledge. VTT ready!
    Level 2 of our Shadowrealm Archive Free 60x20 Multi-Level DnD Battlemap & Adventure, featuring a journey to the shadowrealm to save knowledge. VTT ready!
    Level 2 of our Shadowrealm Archive Free 60×20 Multi-Level DnD Battlemap & Adventure, featuring a journey to the shadowrealm to save knowledge. VTT ready!

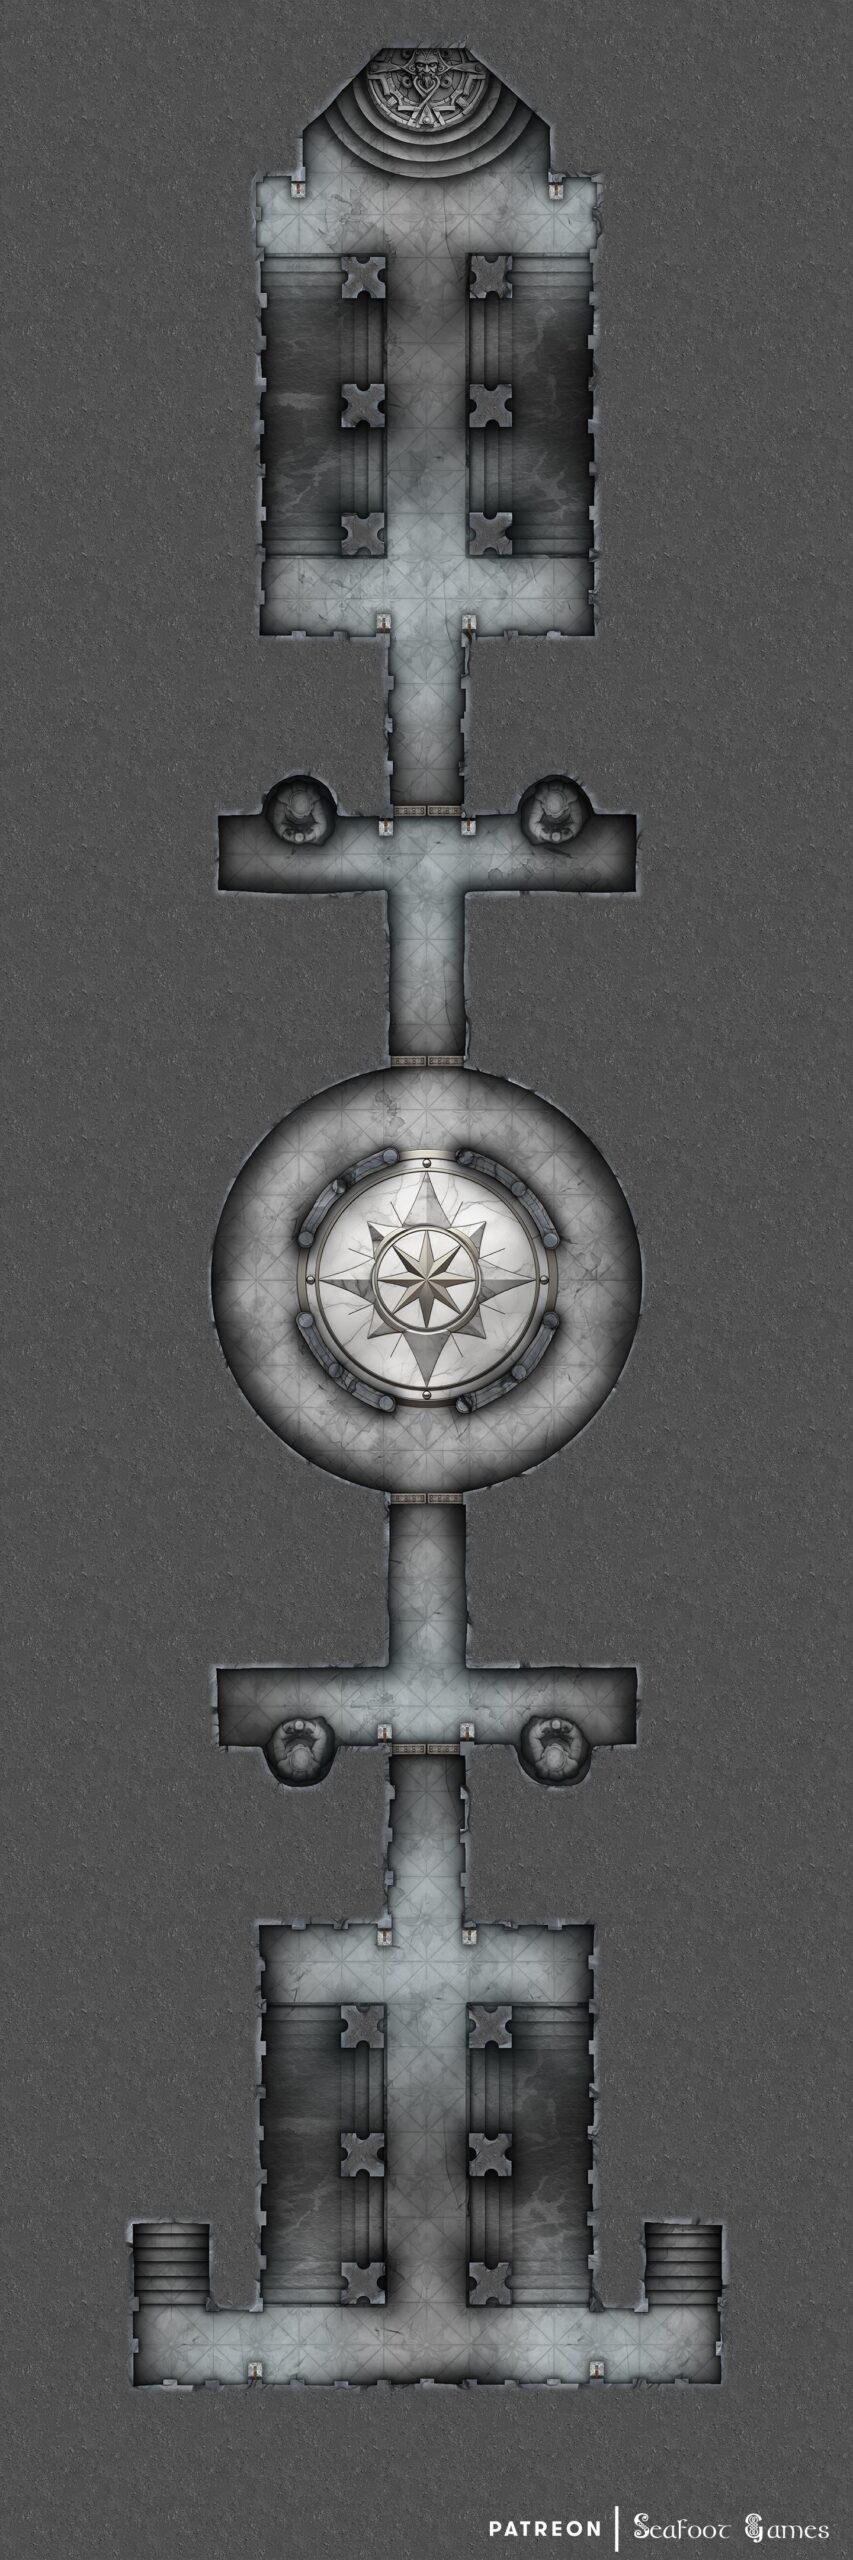
    Shadowrealm Archive Free 60×20 Multi-Level DnD Battlemap & Adventure

    The Color of Magic

    While traveling, you arrive at a coastal town full of strange architecture and colorful buildings. It’s a sunny day, but it looks as if a darkened sky is brewing over the horizon, suggesting an impending storm. The townsfolk are mostly friendly, but they express concern about the black skies over the ocean.

    They explain that it showed up around two weeks ago and was initially thought to be just a storm. However, it hasn’t moved since, and when some of the town’s men inspected it by boat, they discovered that the ‘storm’ was more like a wall of dark, airy ink. To make matters worse, it surrounds the town’s most precious location – a small island containing an ancient magical library holding countless centuries of knowledge from around the world.

    The bravest men attempted to navigate the ink wall in a boat but were found dead the next day, washed up on the shore near town. Their bodies and the remains of the ship were pale white or gray, devoid of all color. Since then, no one has dared to approach the island.

    The townsfolk explain that if you want to know more, your best bet would be to speak to the town wizard, Agriel, as he’s very smart and has been working on a solution to the ink wall since the incident with the men washed up on the shore.

    Seeking out Agriel, you find his residence in a stone tower overlooking the rest of the town. Knocking on his door, it opens swiftly, and you’re greeted by a barn owl that motions for you to follow her up the stone steps to the second floor of the tower.

    Entering a circular stone room, you find Agriel surrounded by bookshelves reaching up to the ceiling. He is mumbling to himself, studying two large tomes while sifting through the other tomes on the shelves around him with a magical blue, ghostly hand.

    When he notices you, he starts for a moment before reclaiming his balance. When you explain your interest in the ink wall, his eyes perk up. He explains that he has managed to ascertain that the ink wall is magical in nature and seems to function similarly to a cyclone or hurricane, with a destructive outer area and a stable, safe inner area.

    Agriel continues that the stable, safer inner area appears to be directly above the temple, suggesting something nefarious happening within. He has come up with a way past the ink wall to investigate but was unable to get any assistance from the townsfolk, as even the bravest among them don’t want to end up like the pale, dead men on the beach.

    If you ask what Agriel’s plan is, he explains that he intends to open a small portal between his tower and the temple grounds within the stable area. Most of the time, these small portals are unstable, but at such a short distance, it’ll be a minor jaunt.

    Agriel claims he has to stay at the tower to hold the portal open should anything go wrong, which is where the townsfolk were supposed to come in to investigate. Still, if you would be willing to help in their stead, he would be forever in your debt. Agriel explains that the temple is not something the world can bear to lose; losing all that knowledge forever would be a travesty. So, if something is happening over there, it must be stopped.

    If you agree to help, Agriel happily grins, explaining that he can open the portal when you’re ready. When the spell is completed, you find yourself at the top of the temple, standing on a glass dias in a desolate landscape. Everything is black and white, greyscale, and a heavy wind is blowing what appears to be dust. There is no water to be seen, and no sun above you, although an eerie gray light pervades everything.

    The stairs of the temple lead down to the dust-covered ground, and in the distance, you can see two stairwells leading into the rest of the subterranean areas of the temple. Tiled passages take you past colorless water and statues before you reach an end chamber where a being of shimmering, ethereal books and floating parchment awaits.

    As you approach, however, you notice many of the ethereal books that make up the Archivist’s body are torn or distorted. The Archivist greets you in broken common before attempting to explain that the magical balance in the library has been disrupted.

    It continues, repeating words occasionally that a malevolent force known as the Inkshade has infiltrated the library and has begun draining the arcane energies from the library’s vast collection of magical tomes, which the Archivist holds in his possession. These energies share a connection with certain colors within the material plane, and so the Inkshade has begun to consume the colors as well.

    The Archivist implores you to help restore the balance and save the library by providing you with a magical amulet, the Prism of Hues, which can reveal previously invisible Inkshade fragments that are feeding within the library. When defeated, they will release their stolen arcane energy and thus color.

    The Archivist explains that by collecting and restoring the stolen colors, you can weaken the Inkshade’s influence and eventually confront and defeat its true form.

    As you progress, defeating all the Inkshade fragments throughout the lower library, it begins to transform. Colors return to the world, and the once desolate landscape starts to flourish. The Archivist appears before you just as you reach the top of the stairs to return to the surface, expressing gratitude for your efforts. The temple is more stable now.

    The Inkshade, enraged by your interference, finally appears. A rumbling overhead is heard as the Inkshade takes on a nightmarish form – a swirling mass of darkness with piercing eyes. The Archivist advises that now that the Prism of Hues has recovered much of the arcane energies and color of the library, you can use it to aid you in your fight against the Inkshade. As the Inkshade becomes more vulnerable, it launches desperate attacks, distorting reality with shadow illusions and summoning more Inkshade minions.

    Upon defeating the Inkshade, it disperses into mist, almost like it was but a bad nightmare, and the library temple begins to return to its former glory, with lush greenery and aqua ocean shores. The Archivist expresses its deepest gratitude, offering you access to the library’s most profound secrets and granting you a boon of magical knowledge.

    As you leave the magical library temple, you find yourself back in the familiar world, the teleportation spell completing its course. The experience leaves you forever changed, armed with newfound magical insights and the memories of a journey through the shadows to save a realm of knowledge.

    If you’d enjoy more DnD resources like this Shadowrealm Archive Free 60×20 Multi-Level DnD Battlemap & Adventure, Luke and I have released our newest Hardcore GM’s bundle of 520 large, 40Ă—30″ DnD battlemaps (double the size of those in the Quarantine Bundle) with 255 fantasy adventures for $39. It’s your chance to have a great deal on some of our most beautiful maps! We guarantee that is something here for every GM—no matter what setting you prefer, from large cities to underwater seascapes.

    Paying just $39 rather than full price saves you over 98%! Take a look at all the extra maps you can download with one click in the Hardcore GM’s DnD Battlemap Bundle here. 

  • Haunted Manor Free 40×30 Multi-Level DnD Battlemap & Adventure

    Haunted Manor Free 40×30 Multi-Level DnD Battlemap & Adventure

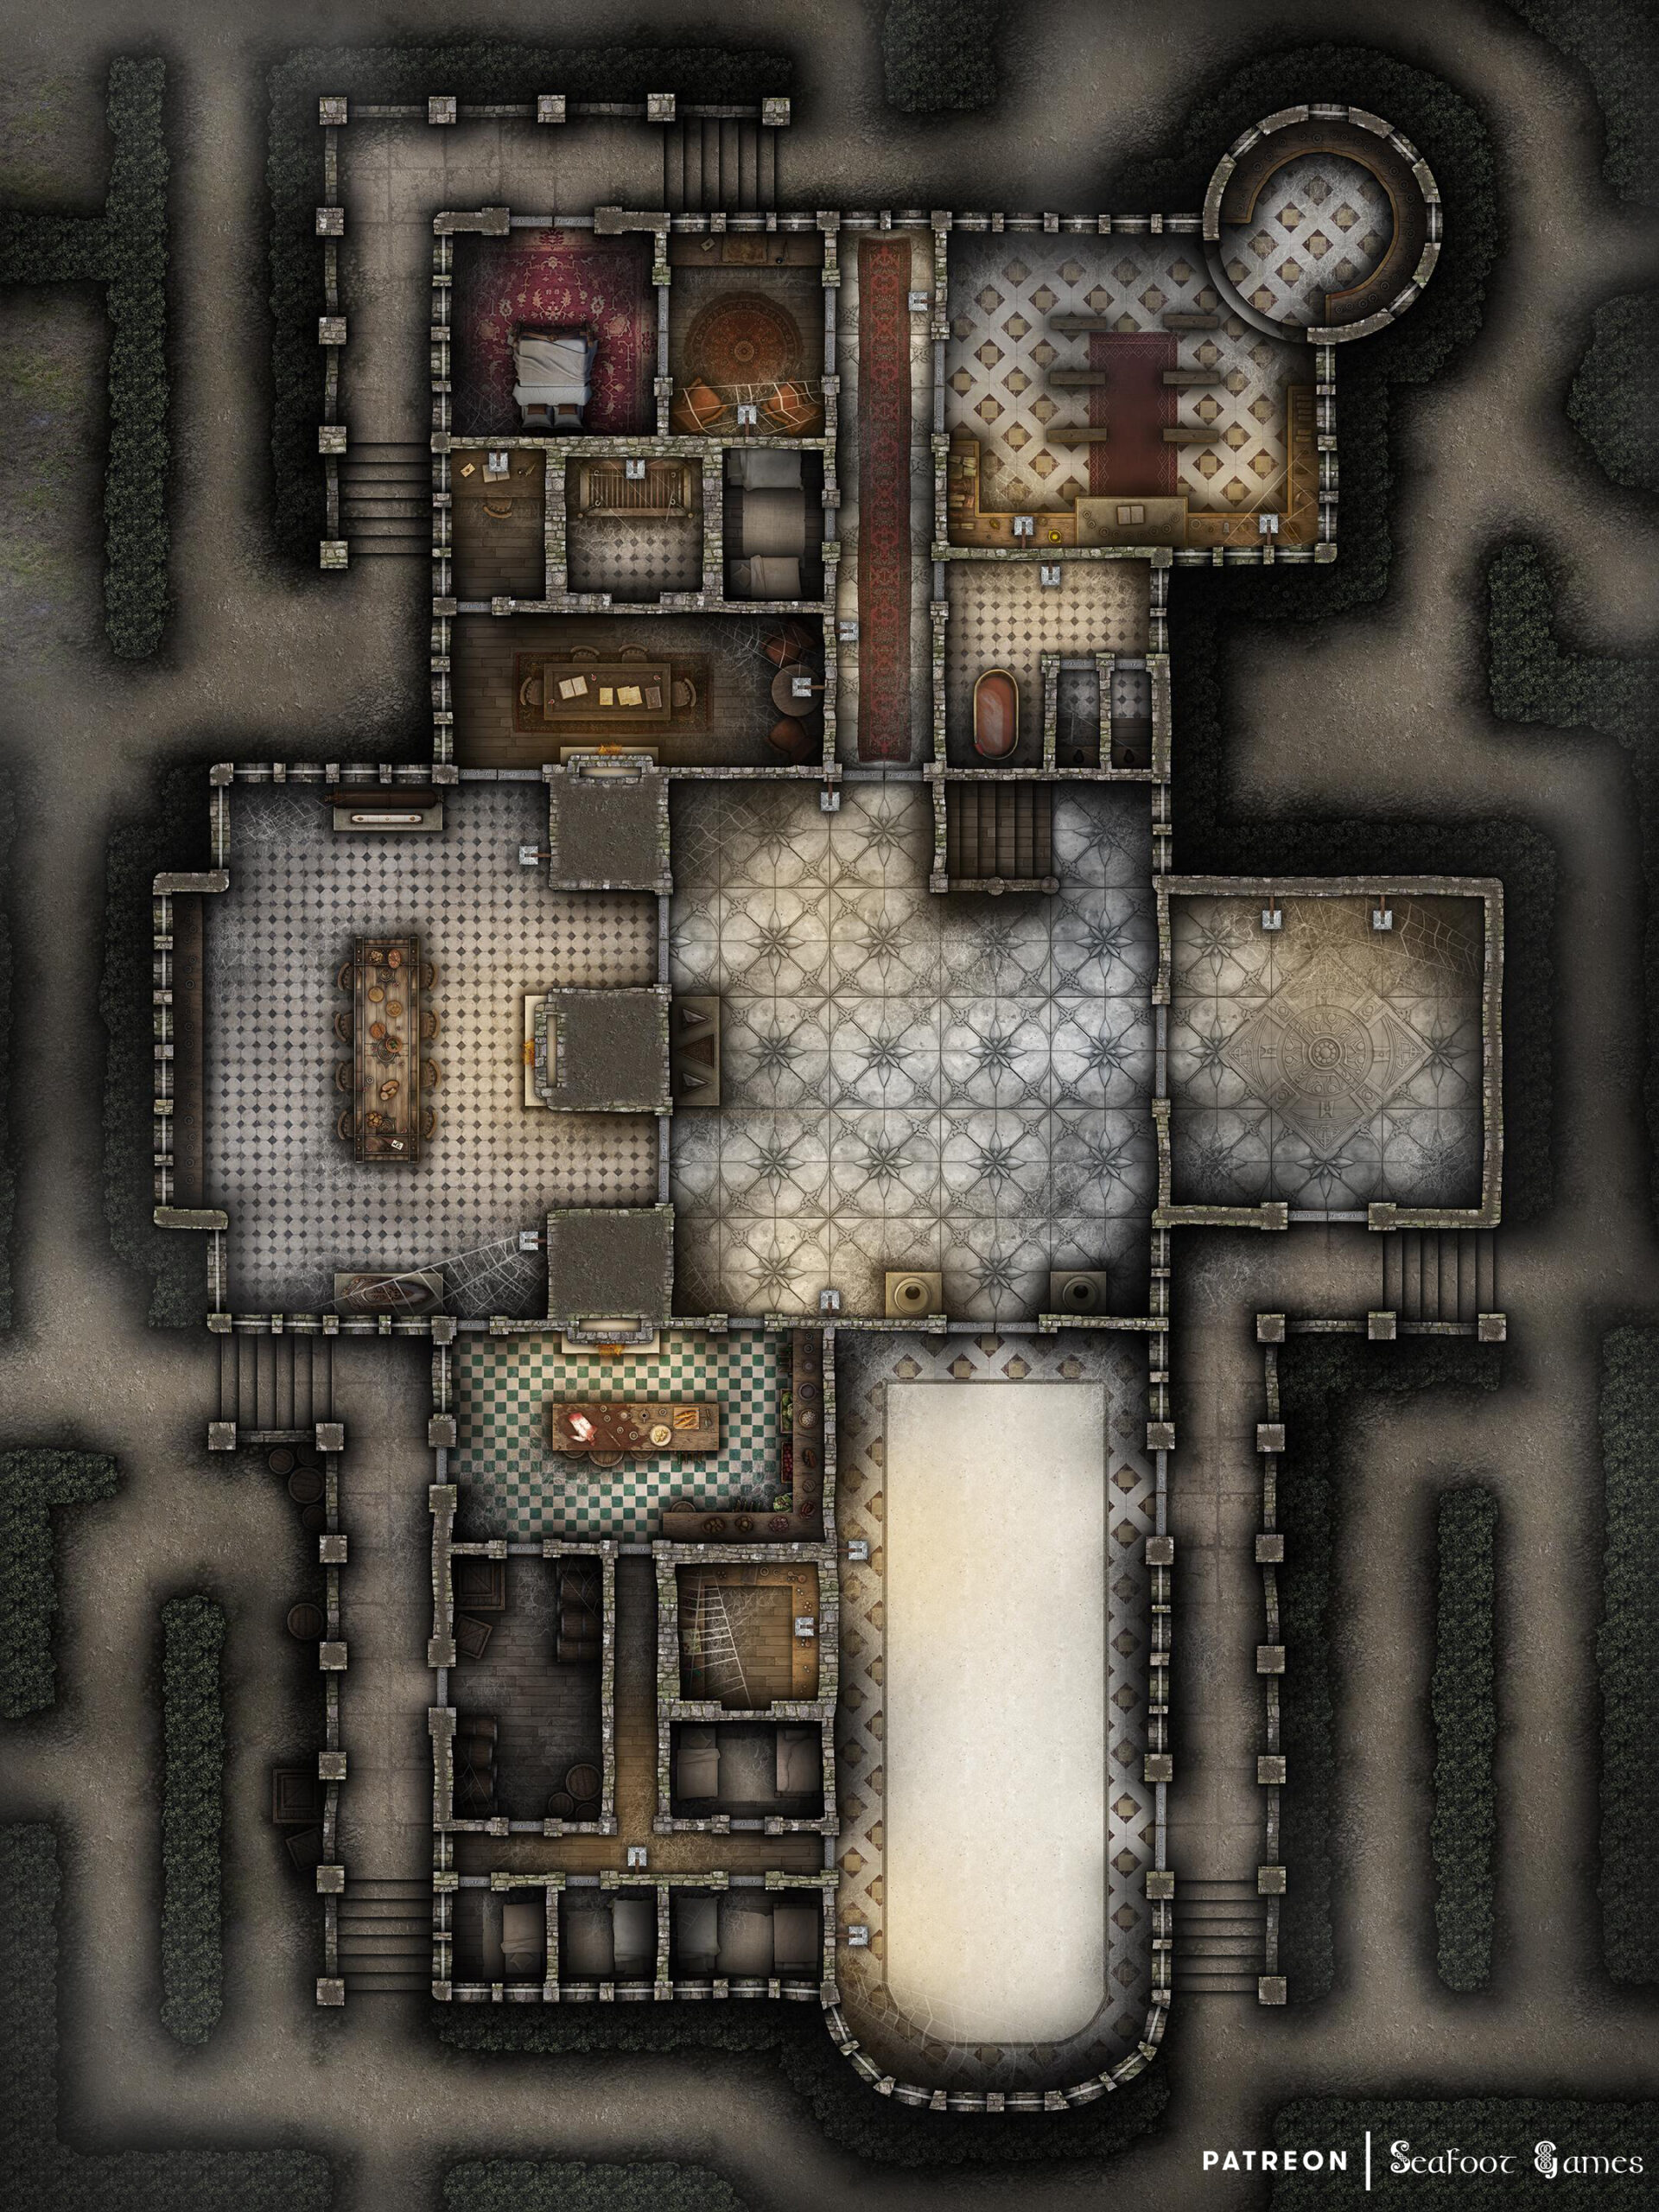
    Level 1 of our Haunted Manor Free 40x30 Multi-Level DnD Battlemap & Adventure, featuring the haunted ruins of a mansion with a disturbing past. VTT ready
    Level 1 of our Haunted Manor Free 40×30 Multi-Level DnD Battlemap & Adventure, featuring the haunted ruins of a mansion with a disturbing past. VTT ready
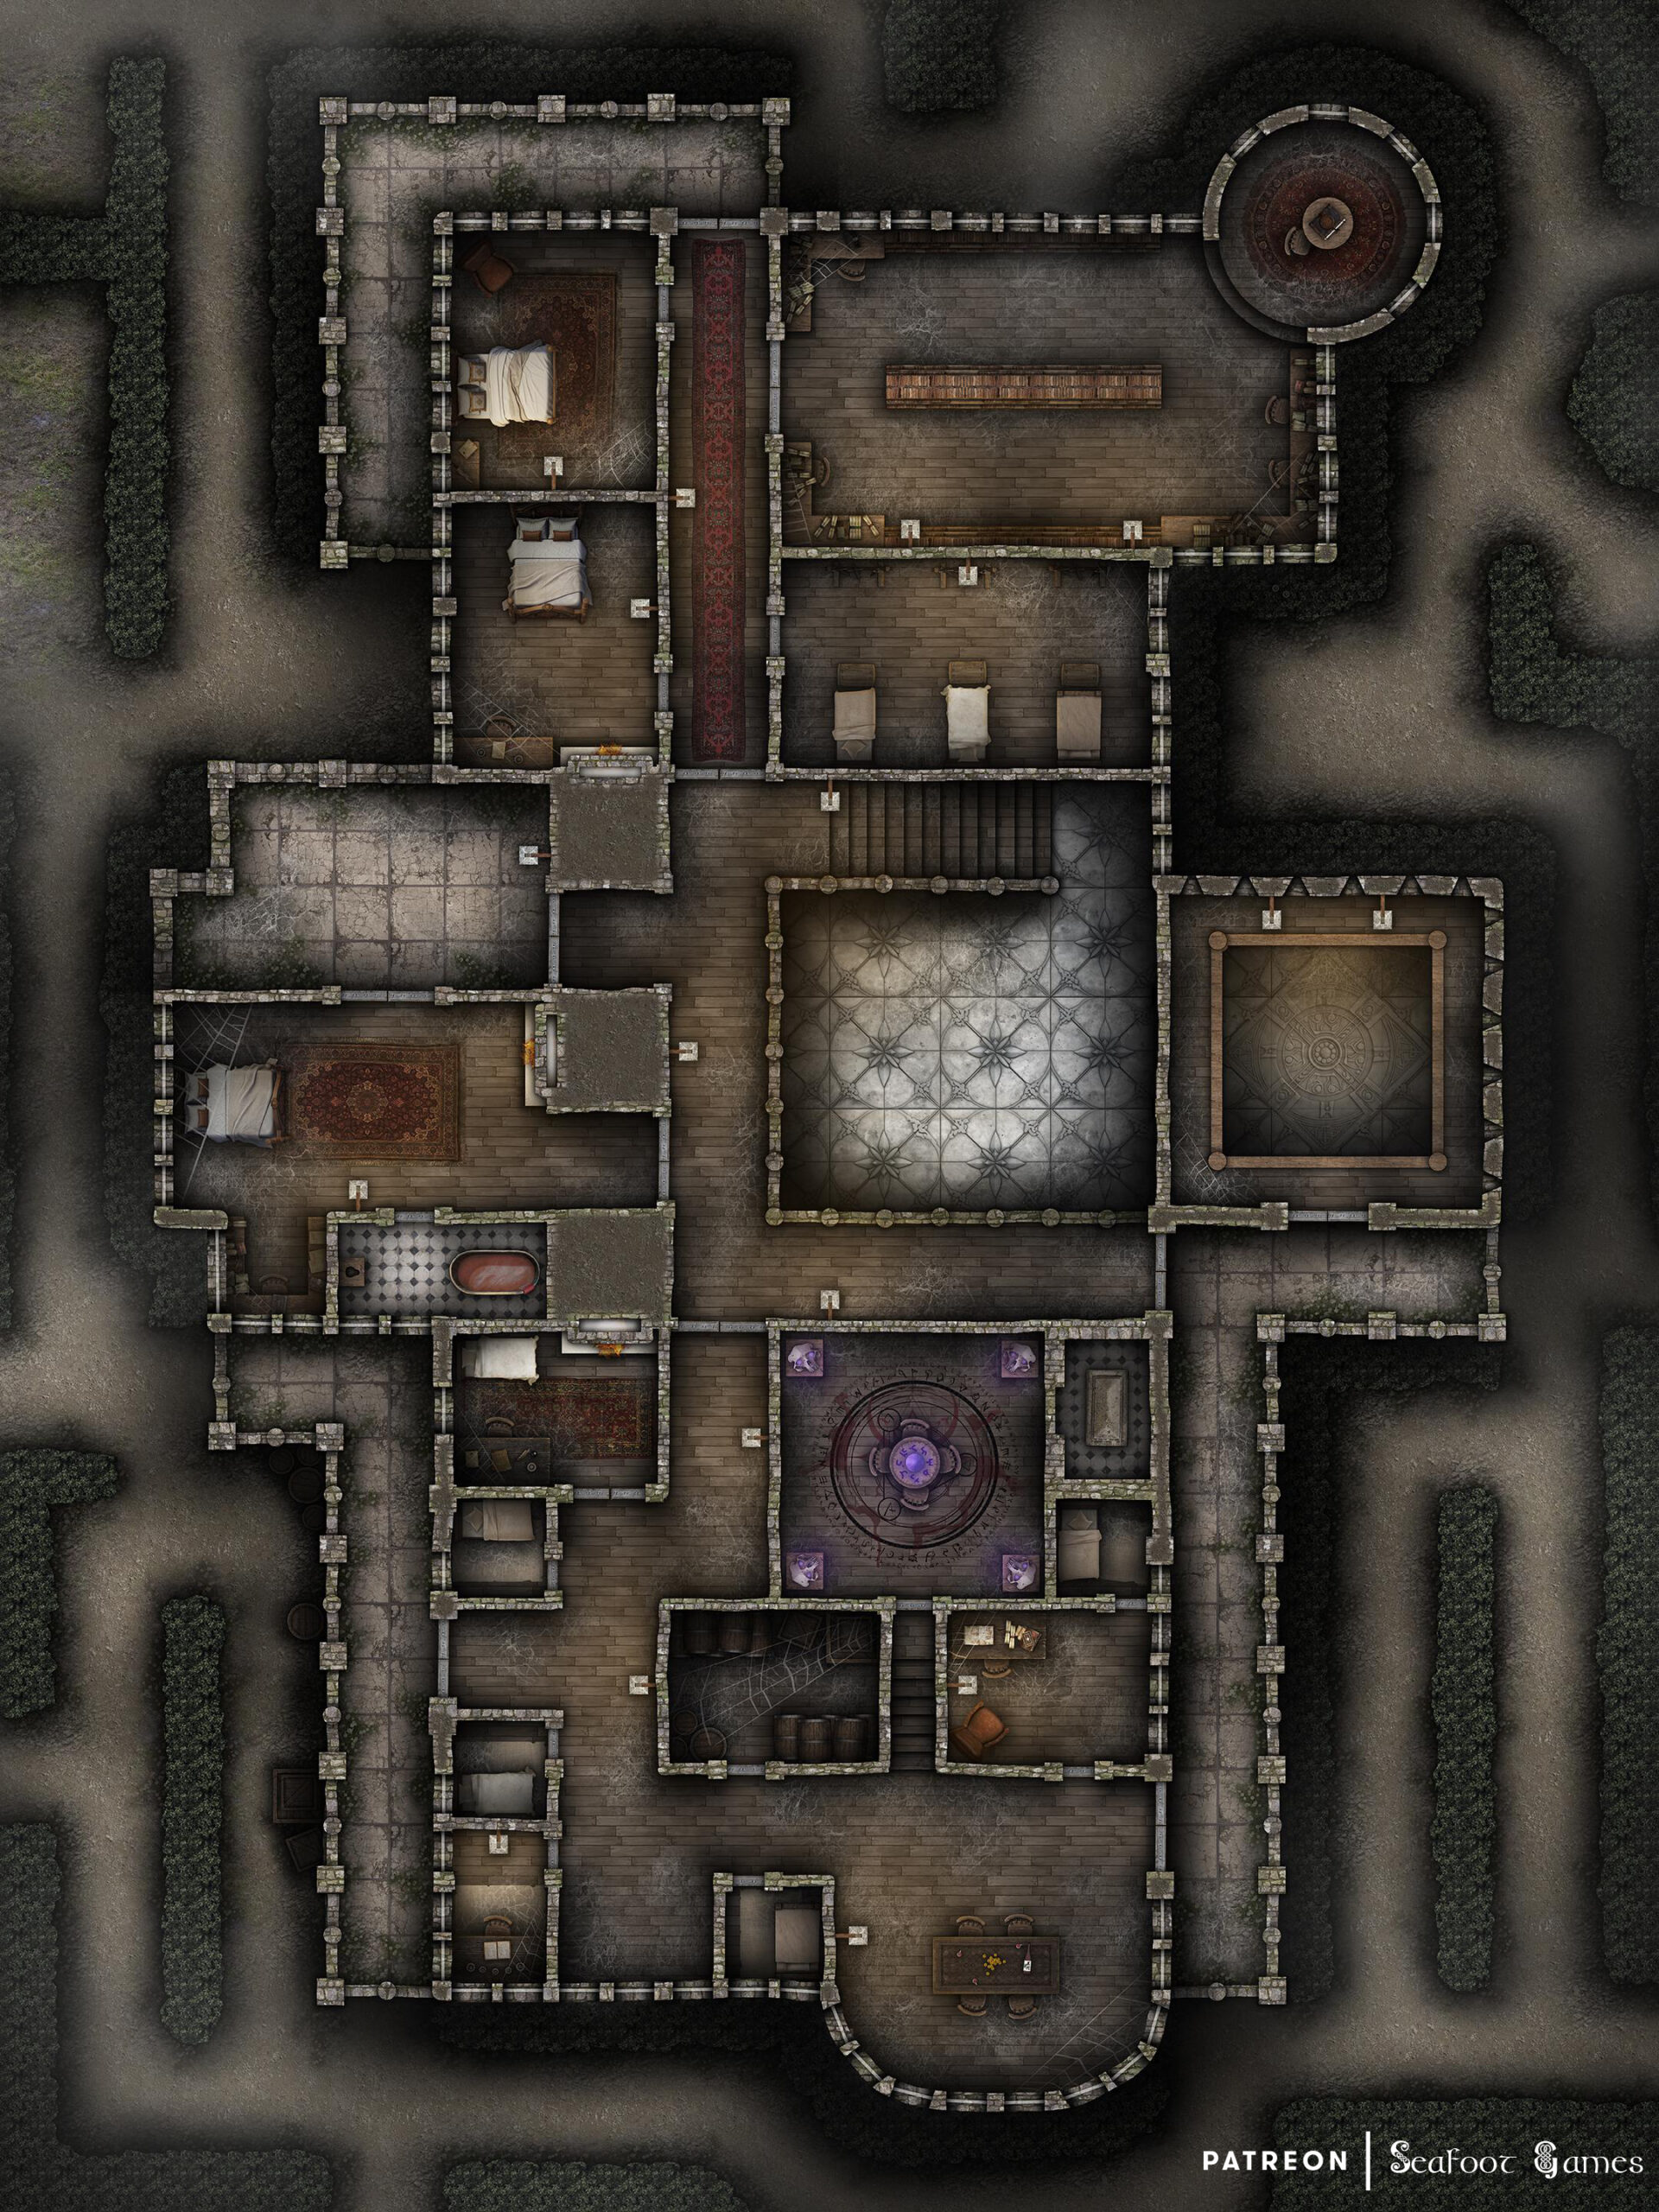
    Layer 2 of our Haunted Manor Free 40x30 Multi-Level DnD Battlemap & Adventure, featuring the haunted ruins of a mansion with a disturbing past. VTT ready
    Level 2 of our Haunted Manor Free 40×30 Multi-Level DnD Battlemap & Adventure, featuring the haunted ruins of a mansion with a disturbing past. VTT ready

    Haunted Manor Free 40×30 Multi-Level DnD Battlemap & Adventure

    The Haunting of Bellview Manor

    While eating dinner at a tavern in a small town, two distressed parents burst in through the doors. Quickly scanning the room, they set eyes on you and approach. The woman explains in a hurried voice that her two teenage sons entered an abandoned manor known by the village to be haunted on a friend’s dare earlier in the day, and they haven’t come back. They’ll pay you to go get them, but you must leave soon lest something terrible happen!

    They give you instructions for how to get there and urge you to hurry. Should you go, the manor is a short hike from the town on a nearby hill. As you get closer the road degrades visibly and becomes overgrown with tall weeds. When you finally lay eyes on the manor however, there are lights shining from the windows.

    Knocking on the door, it’s opened by a friendly butler. Should you mention that you thought the mansion was abandoned, the butler’s face falls, and he explains sadly that they have had to cut many of the staff so the building has come into disrepair, but it is very much still in use. He gestures to the cobwebs in the rest of the entry room, saying that he can understand why some people might describe it as abandoned.

    If you ask after the missing boys, he shakes his head, saying they haven’t had any visitors, but he’d be more than happy to help you check the grounds for them in case they are fooling around somewhere. But first, he invites you to come inside and dine with Lord Aldenbracht, as his Lord has just sat down for dinner and there is enough to share. It would be a shame to dine alone as they haven’t had company in a long time, due to the rather unfortunate state of the manor.

    Should you agree, the butler leads you inside and through a large, dusty foyer. As you approach the dining room you hear loud noises, as if someone moaning in pleasure, paired with sounds of eating. Ushering you into the dining room, you see a long table laden with a feast, and at the end sits presumably Lord Aldenbracht; a morbidly obese man eating with the rush of one starving, gravy dribbling down his chin as he chomps through pork pies and roasts.

    The butler introduces you, and the Lord simply acknowledges your presence with a nod, before gesturing at the food in an invitation to partake. Sitting at the table, should you try the food, it’s incredibly delicious; like nothing you’ve ever eaten before, and all other food pales in comparison. You feel compelled to eat far beyond fullness, to the point of pain, and even then you can’t seem to stop.

    Mid-way through the meal, with Lord Aldenbracht eating a seemingly inhuman amount, the butler returns and whispers something in his ear. Both excuse themselves, Aldenbracht wiping his greasy chin with a linen before removing his considerable paunch. He has a sickly, rattling breath as he leaves the room.

    Having finished your food and after waiting what seems like a long time, there is still no sign of the Lord or his butler. Feeling a little sick from all the decadent food, you begin exploring the mansion.

    If you look in the kitchen, you find the remains of a human body lying on the butcher’s block. The body is scarred, like that of a warrior, and smells too old to have been the missing teenagers. Nearby are spices, some of which have already been rubbed into slices of meat taken from the torso. There is no sign of a cook, however.

    Further in are abandoned servant sleeping quarters which look like they haven’t been used for a very long time. There is also a small storage room that smells strongly of different spices, and something repugnant like decay. Should you open any of the crates, hordes of rats will pour out, leaving behind small, empty vials and jars that appear to have once held herbs and spices, tonics, or essential oils, but dried up long ago.

    There’s also a secret alchemical room. Inside it are mixing containers and powders, as well as notes detailing how to “pacify animals strong enough to fight back”, thus making them willing sacrifices. Should anyone try any of the powders, they all taste slightly different (peppermint and apple, another of cinnamon, honey and ginger, one tastes of liquorice and the last of savory spiced roast pork), but all are delicious and intoxicating, making the imbiber lightheaded, giggly for no reason, rather slow of wit and willing to agree to almost anything.

    Exploring more around the kitchen, you find an office. There’s a ledger book detailing decadent food expenses, as well as an opened letter sent by a man looking for his missing brother, who disappeared on a business trip and was last rumored to have visited this manor. It asks if the Lord perhaps knows what happened to him? Did he grow ill, or move onwards? Which direction did he head? He must know the fate of his brother so that he can finally rest and say goodbye in his heart.

    There is also a secret servant quarters, which are long abandoned, as well as a hidden room with shackles and a stretching-rack. The timber of the rack is bloodstained and scratched deeply, with a few human fingernails stuck deep in the wood.

    Moving onwards and heading back through the foyer, you find a long-abandoned washroom. It has a steaming bathtub, full of warm blood.

    Further down the corridor is a strange worshiping room with pews. At its head is a statue of a flayed man pinned to a cross, his face and body contorted in extreme ecstasy. Looking at it, you feel drawn in, and as if something is compelling you to drop to your knees and worship the terrible visage. It is hard to search the rest of the room due to the allure of the statue, but should you read any of the scrolls, you learn that His name is Syealoss, and that he yearns for flesh sacrifices. The scroll details how to prepare and celebrate the highest offering–a young innocent. You can’t forget the horror you learn, and feel something dark and unsettling shroud your soul as a result.

    Opposite the small temple room is a gentleman’s room, with a map inside it. Should you look, it leads to a place labeled “Underground Ruins of Halbrak Village”, with a question mark next to it. Next to it is a letter from someone named Lord August, suggesting that great power can be claimed by the worthy, should they be bold enough to take it.

    The next floor up is in equal disrepair, with abandoned cobweb-strewn bedrooms for nobles and servants alike, though the rooms with hearths all have crackling fires lit. The air rushing through the chimneys creates an eerie, howling sound throughout the manse.

    One of the sumptuous bedrooms has a squeaky timber under the rug, and should you fold it back and lift up the loose timber, you find the remains of a human skull.

    Should you visit the library, within you find The Crimson Cookbook. It details hundreds of decadent recipes, but they only include human flesh as the meat. If you read it to the end, afterwards, when you look at people, sometimes you’ll find yourself wondering what they would taste like if cooked as one of the recipes.

    There is still no sign of the butler or Lord Aldenbracht. There is another storage room, which reeks strongly of death and decay. Should you open any of the crates or barrels, they are filled with dry, crusty blood soaked clothes and shoes, as well as some low-value personal affects, including toys.

    Lastly, there is a room where eerie purple light filters below the door. Should you enter it, you see four inhuman skulls with glowing eyes in each corner of the room, a blood-splattered floor with a sinister sigil burned into it, as well as a table with seats and a shining orb on it.

    Should you look into the orb, you’re suddenly transported in your mind to a dark void where a disembodied voice talks to you. You can’t remember exactly what was said, but when you return to yourself you find the orb cracked.

    Afterwards, normal food doesn’t taste the same. It all tastes off somehow. And now, in its place, human flesh smells and looks delicious. When you sleep, you have vivid, tempting dreams of eating it.

    Once the orb cracks the visage of the manor suddenly disappears and the manor takes it’s true form as ruins all around you, the eyes of the skulls are no longer glowing but the orb on the table remains cracked. You can hear loud banging and calling from a hidden room attached to the room you’re now in, where a roof has partially fallen in and collapsed. Should you clear some of the rubble, the two teen boys cry with relief and thank you, saying they were exploring the ruined manor on a dare when the ceiling collapsed, trapping them inside.

    If you ask them about Lord Aldenbracht or the butler, or otherwise mention anything that happened to you, they give you odd looks and explain that Bellview Manor has been a ruin for over 100 years. It is said their ancestors rose up against the Lord for some reason, locking everyone inside and burning them alive.

    There is a sarcophagus inside the room the boys were trapped in. Should you look inside, you find the remains of a creature that looks like it might once have been a woman, with long gray hair attached to the skull. However, all the limbs are slightly too long, the proportions aren’t quite right, and she doesn’t seem quite human. Her hands are clasped around some kind of amulet on a chain, and if you move them to see it, you find a small version of the flayed, ecstatic man.

    Once you set eyes on the symbol, you feel drawn to take it, and hold it covetously close around your neck and under your shirt, where it will whisper to you…

    GM’s Notes:

    Only the first player to look at the orb is transported to the other place, and it happens so quickly that none of the other players should notice their mental absence. To everyone else, the orb should just seem to crack as soon as they walk into the room.

    What’s really happening in this manor is that Lord Aldenbracht and his family, and servants, were involved in some sort of sinister, cannibalism cult roughly 100 years ago. While they started snatching travelers and poor locals discreetly, soon they grew brazen about it and eventually it grew so bad that the peasants devised a plan to rise up and kill the evil growing in the manor, as well as gain retribution for their loved ones.

    As a result, the manor has in fact been in ruins for almost 100 years, and even though exactly what happened here has been long forgotten, the peasants still do not go there, for almost no-one comes back. The two boys only went there on a dare by a friend, and when they didn’t return, their terrified friend ran to confess to their parents what they did, which sent their parents off to get help at the tavern.

    What your players experience is a haunting, an echo of the great evil that occurred here. It’s been lingering over this place, haunting it for the last century, but as time goes on the haunting has grown weaker. Sometimes the manse is as the players experienced it, sometimes it’s just ruins. The two boys were lucky to find it only as ruins. But, now that the orb has been broken, the haunting of the building has ended–but perhaps it has transferred something sinister onto the player who looked into it.

    If you’d enjoy more DnD resources like this Haunted Manor Free 40×30 Multi-Level Battlemap & Adventure, Luke and I have released our newest Hardcore GM’s bundle of 520 large, 40Ă—30″ DnD battlemaps (double the size of those in the Quarantine Bundle) with 255 fantasy adventures for $39. It’s your chance to have a great deal on some of our most beautiful maps! We guarantee that is something here for every GM—no matter what setting you prefer, from large cities to underwater seascapes.

    Paying just $39 rather than full price saves you over 98%! Take a look at all the extra maps you can download with one click in the Hardcore GM’s DnD Battlemap Bundle here.Â